Browsing Category

Research

0 In Research

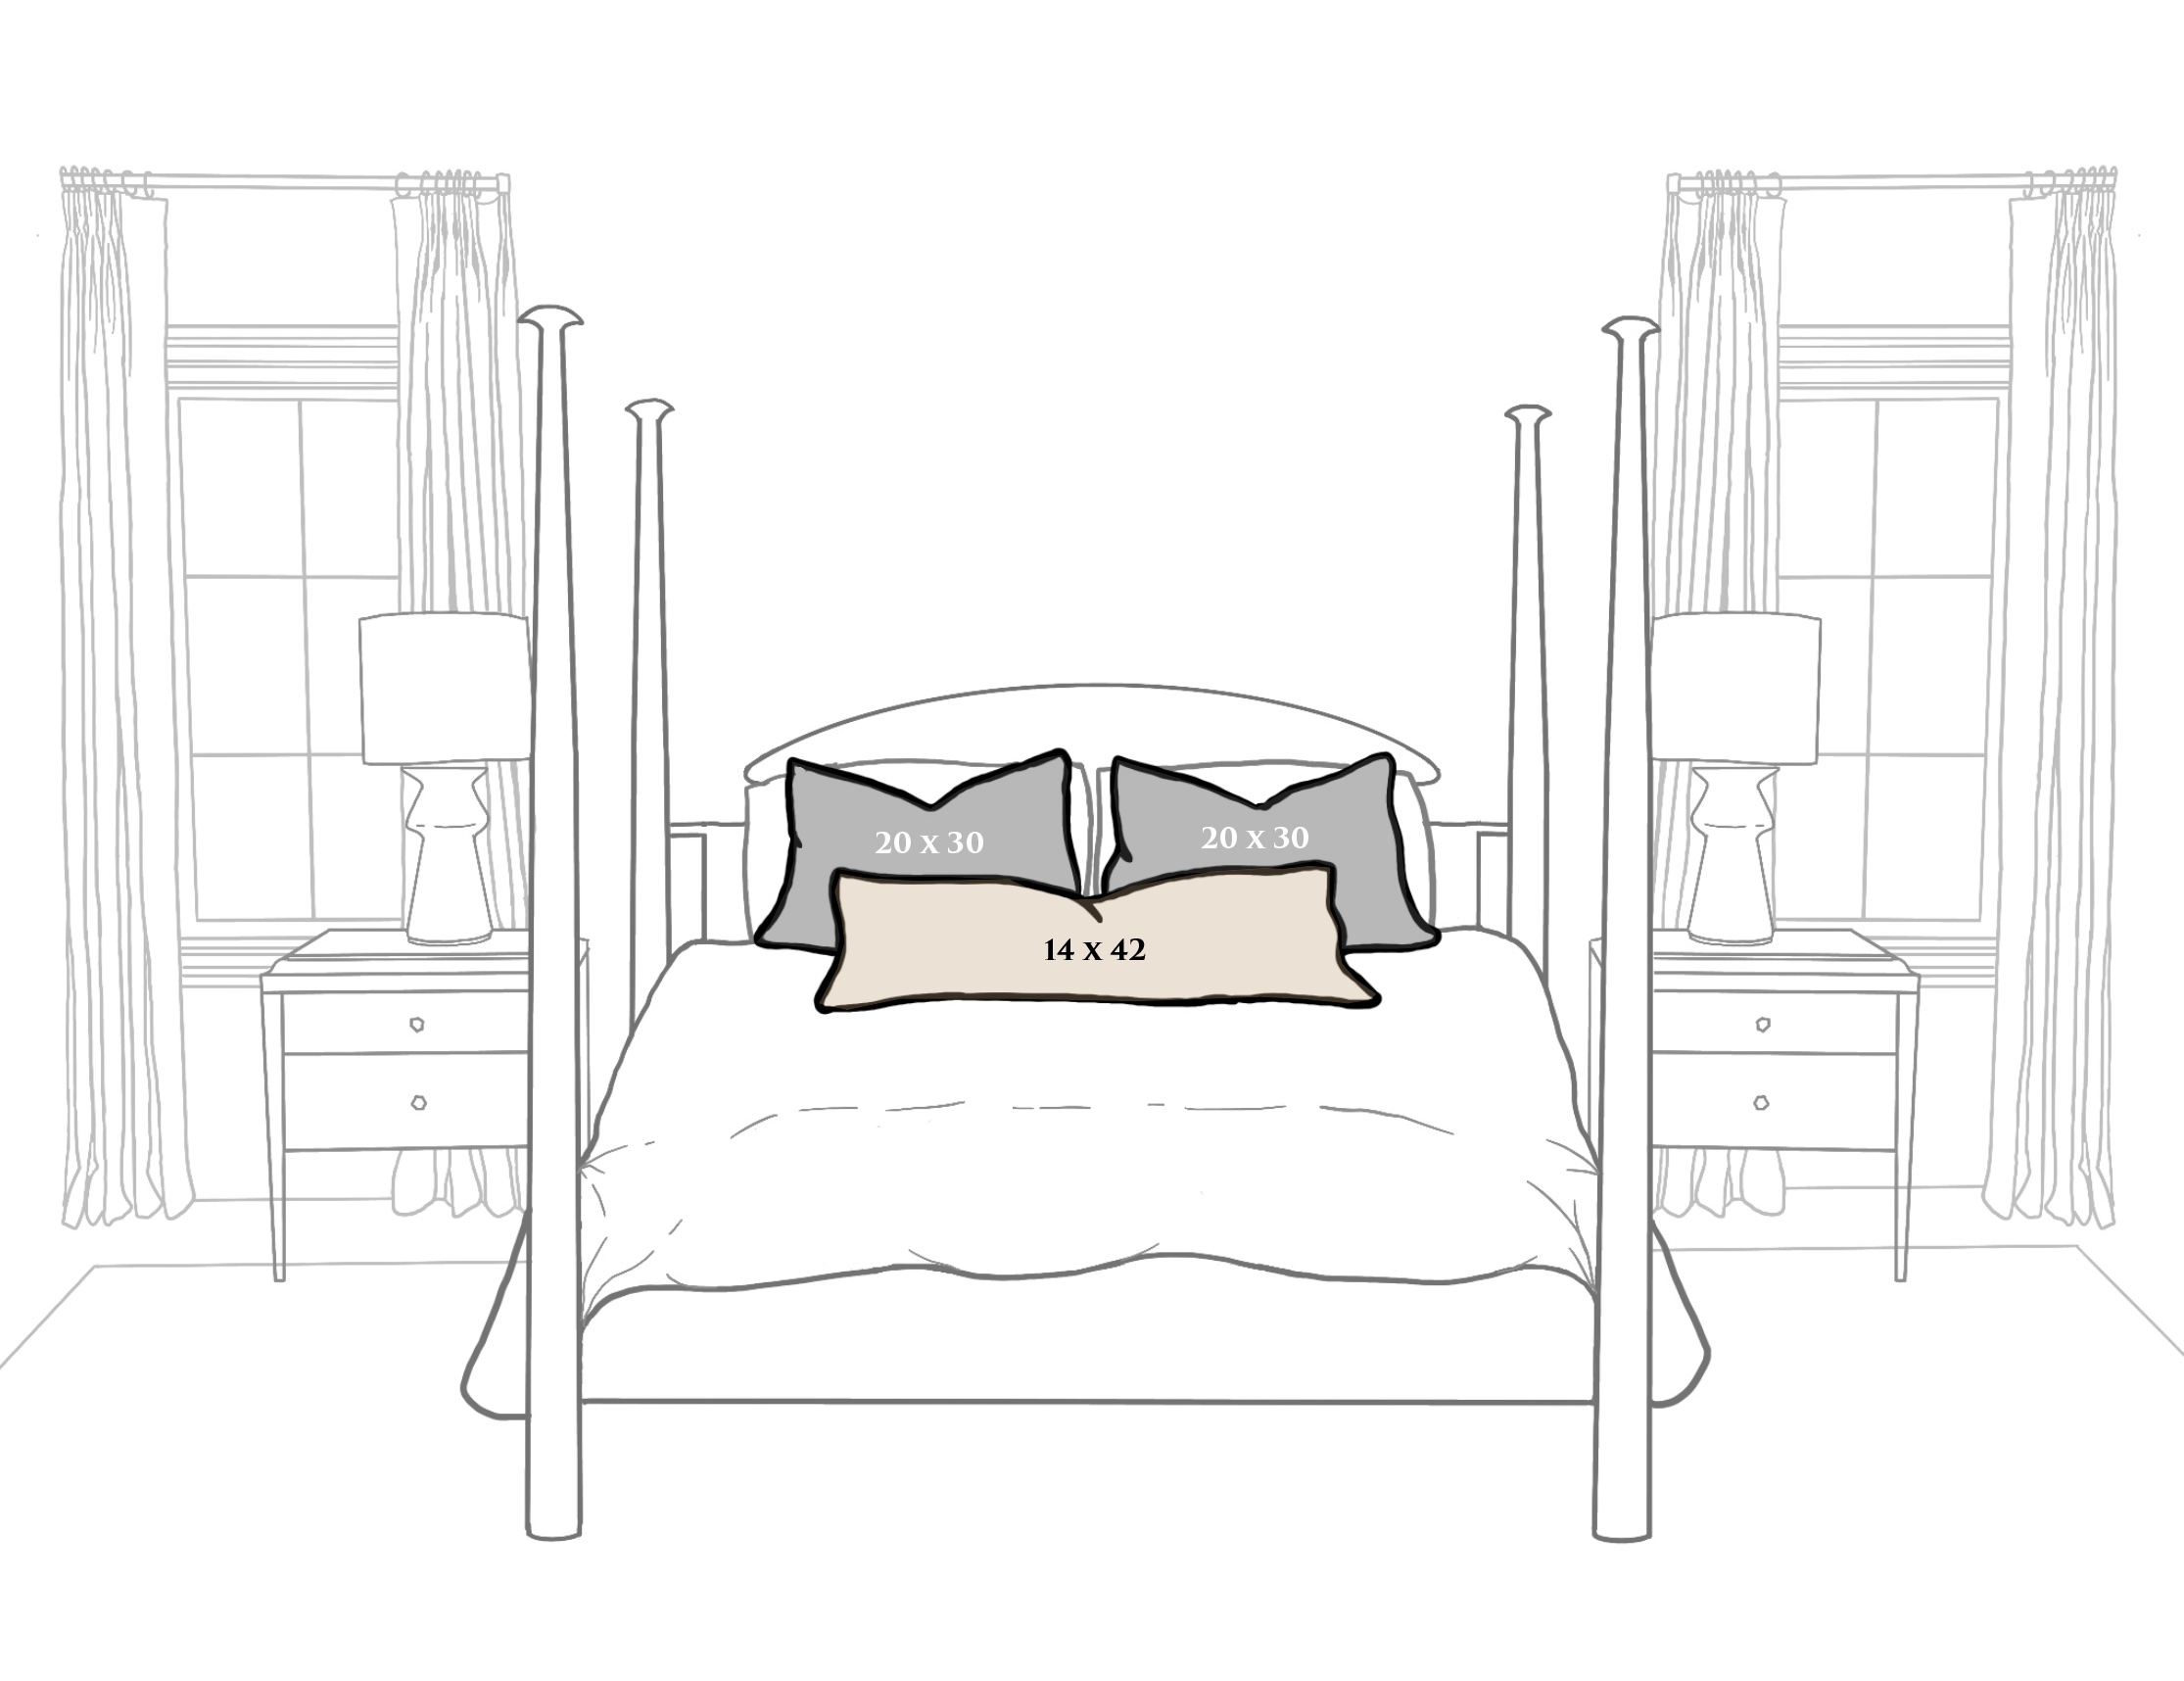
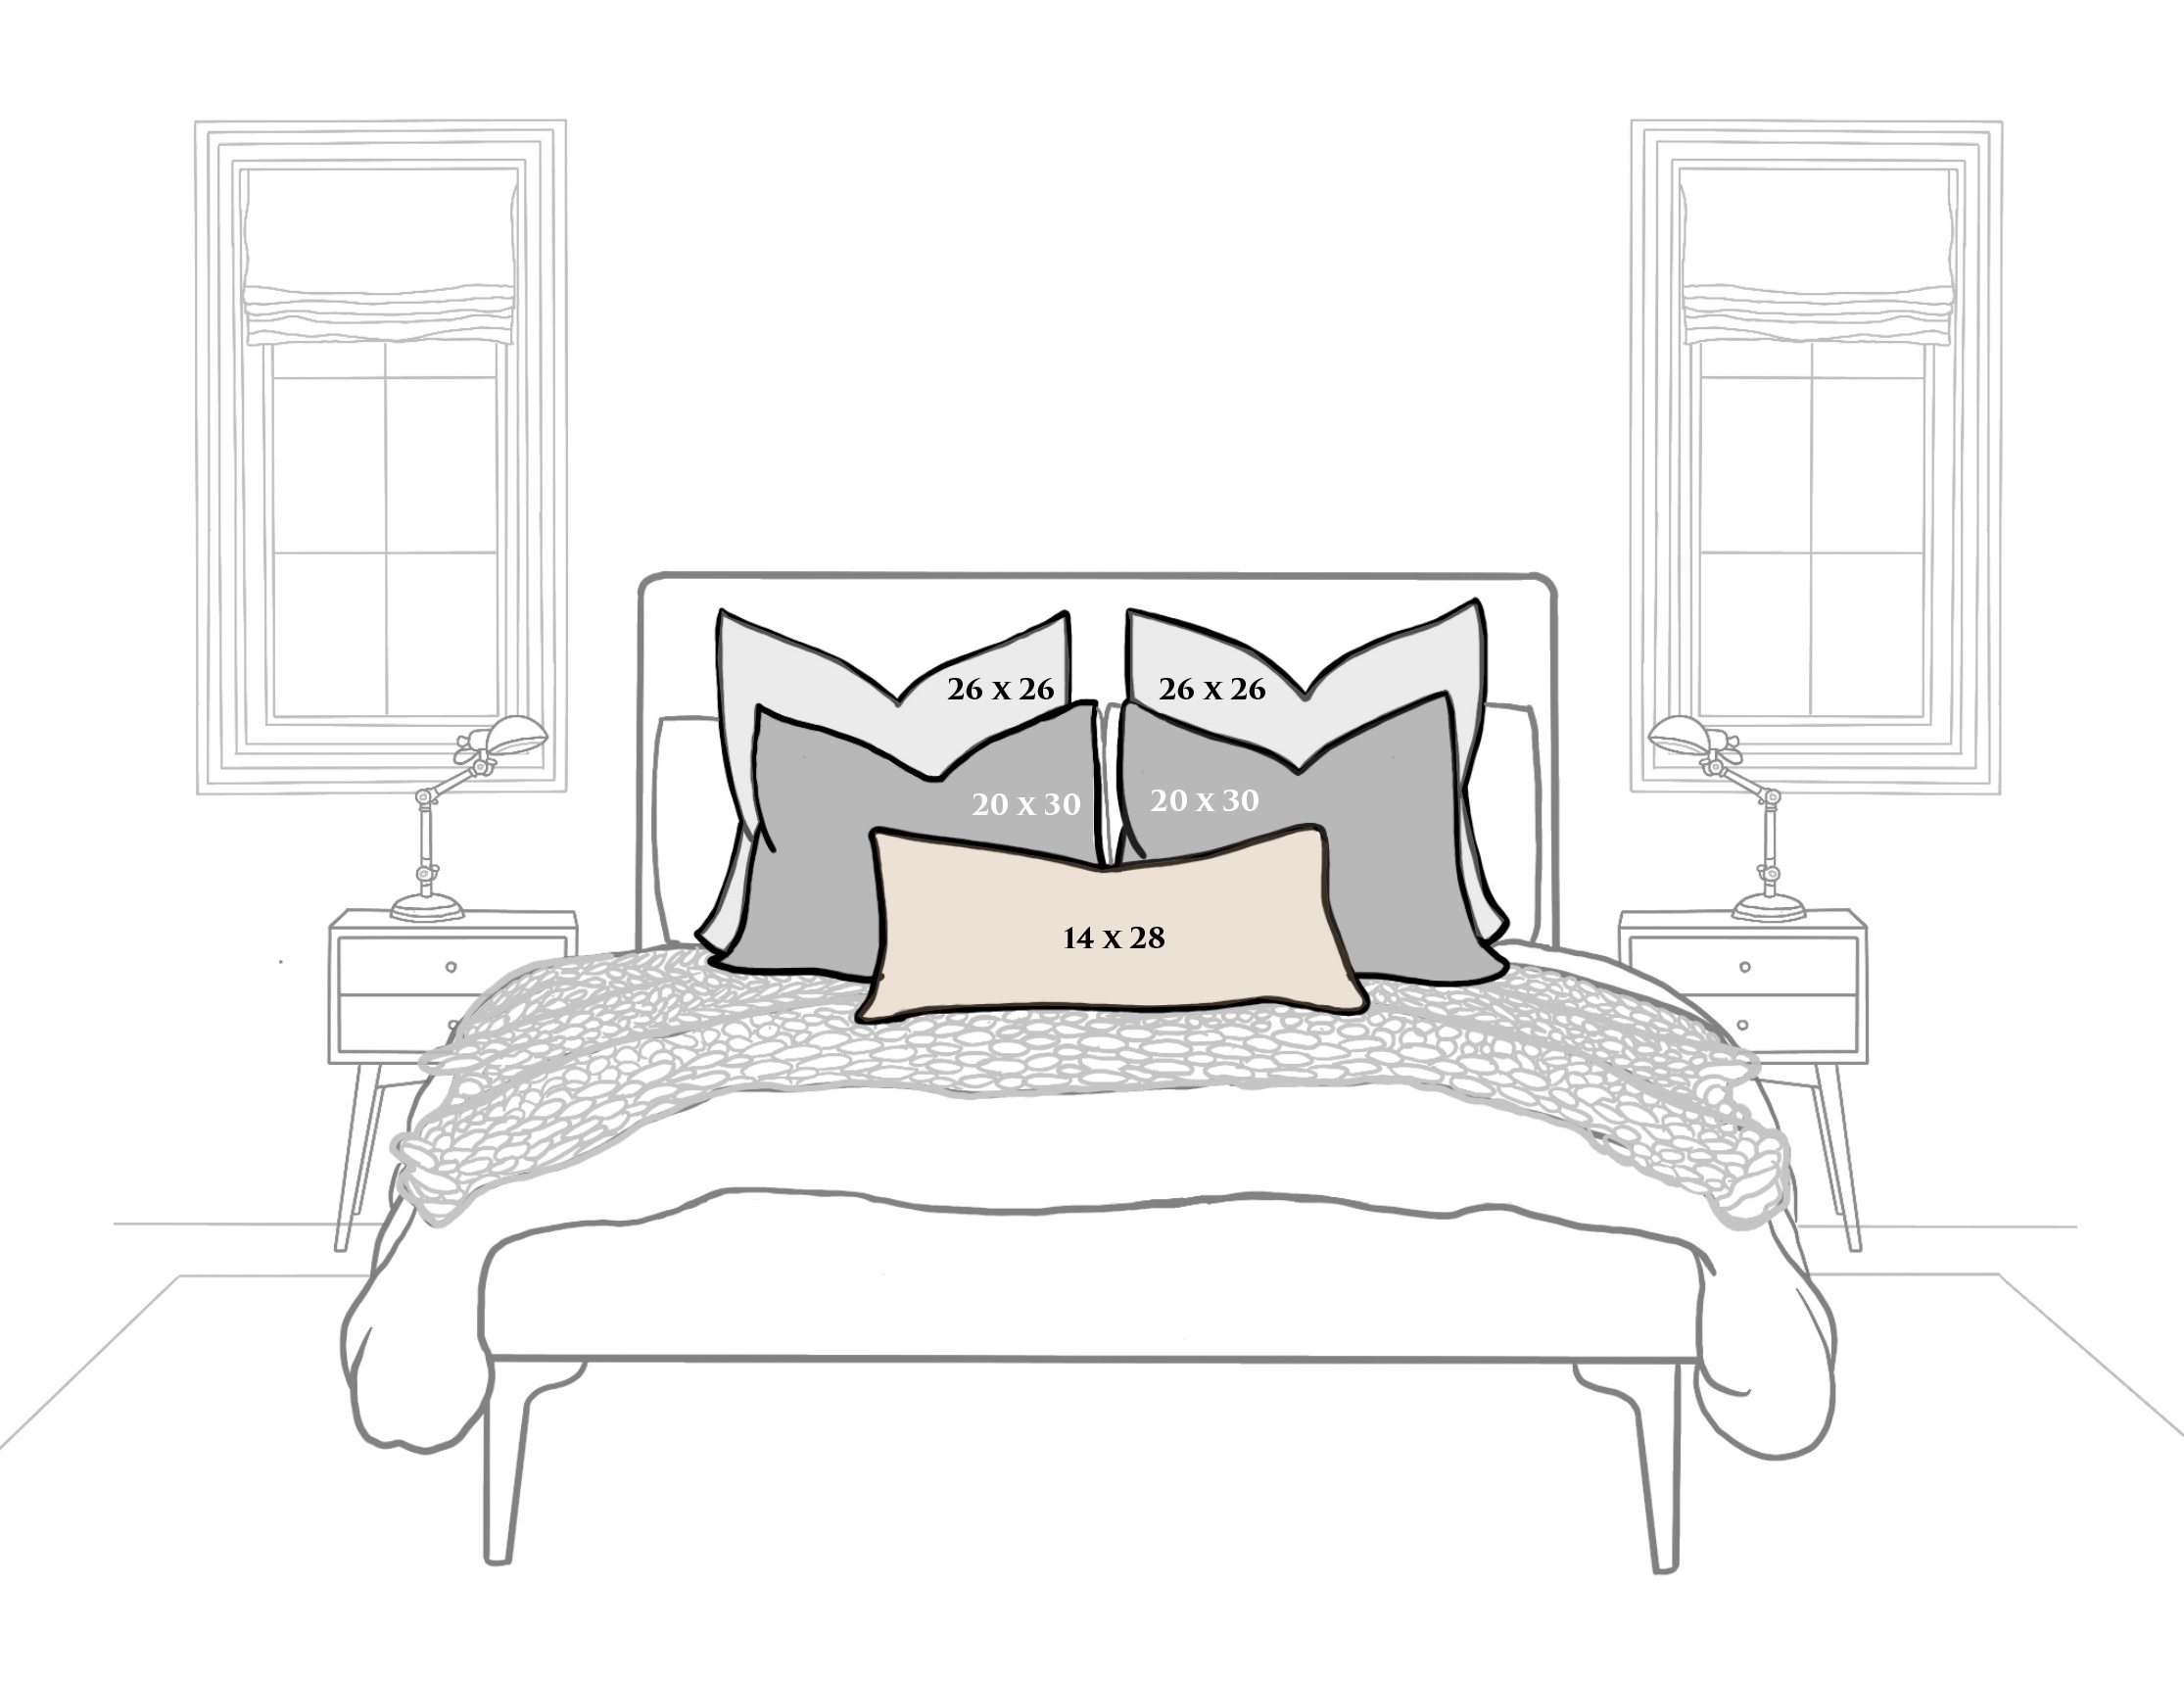
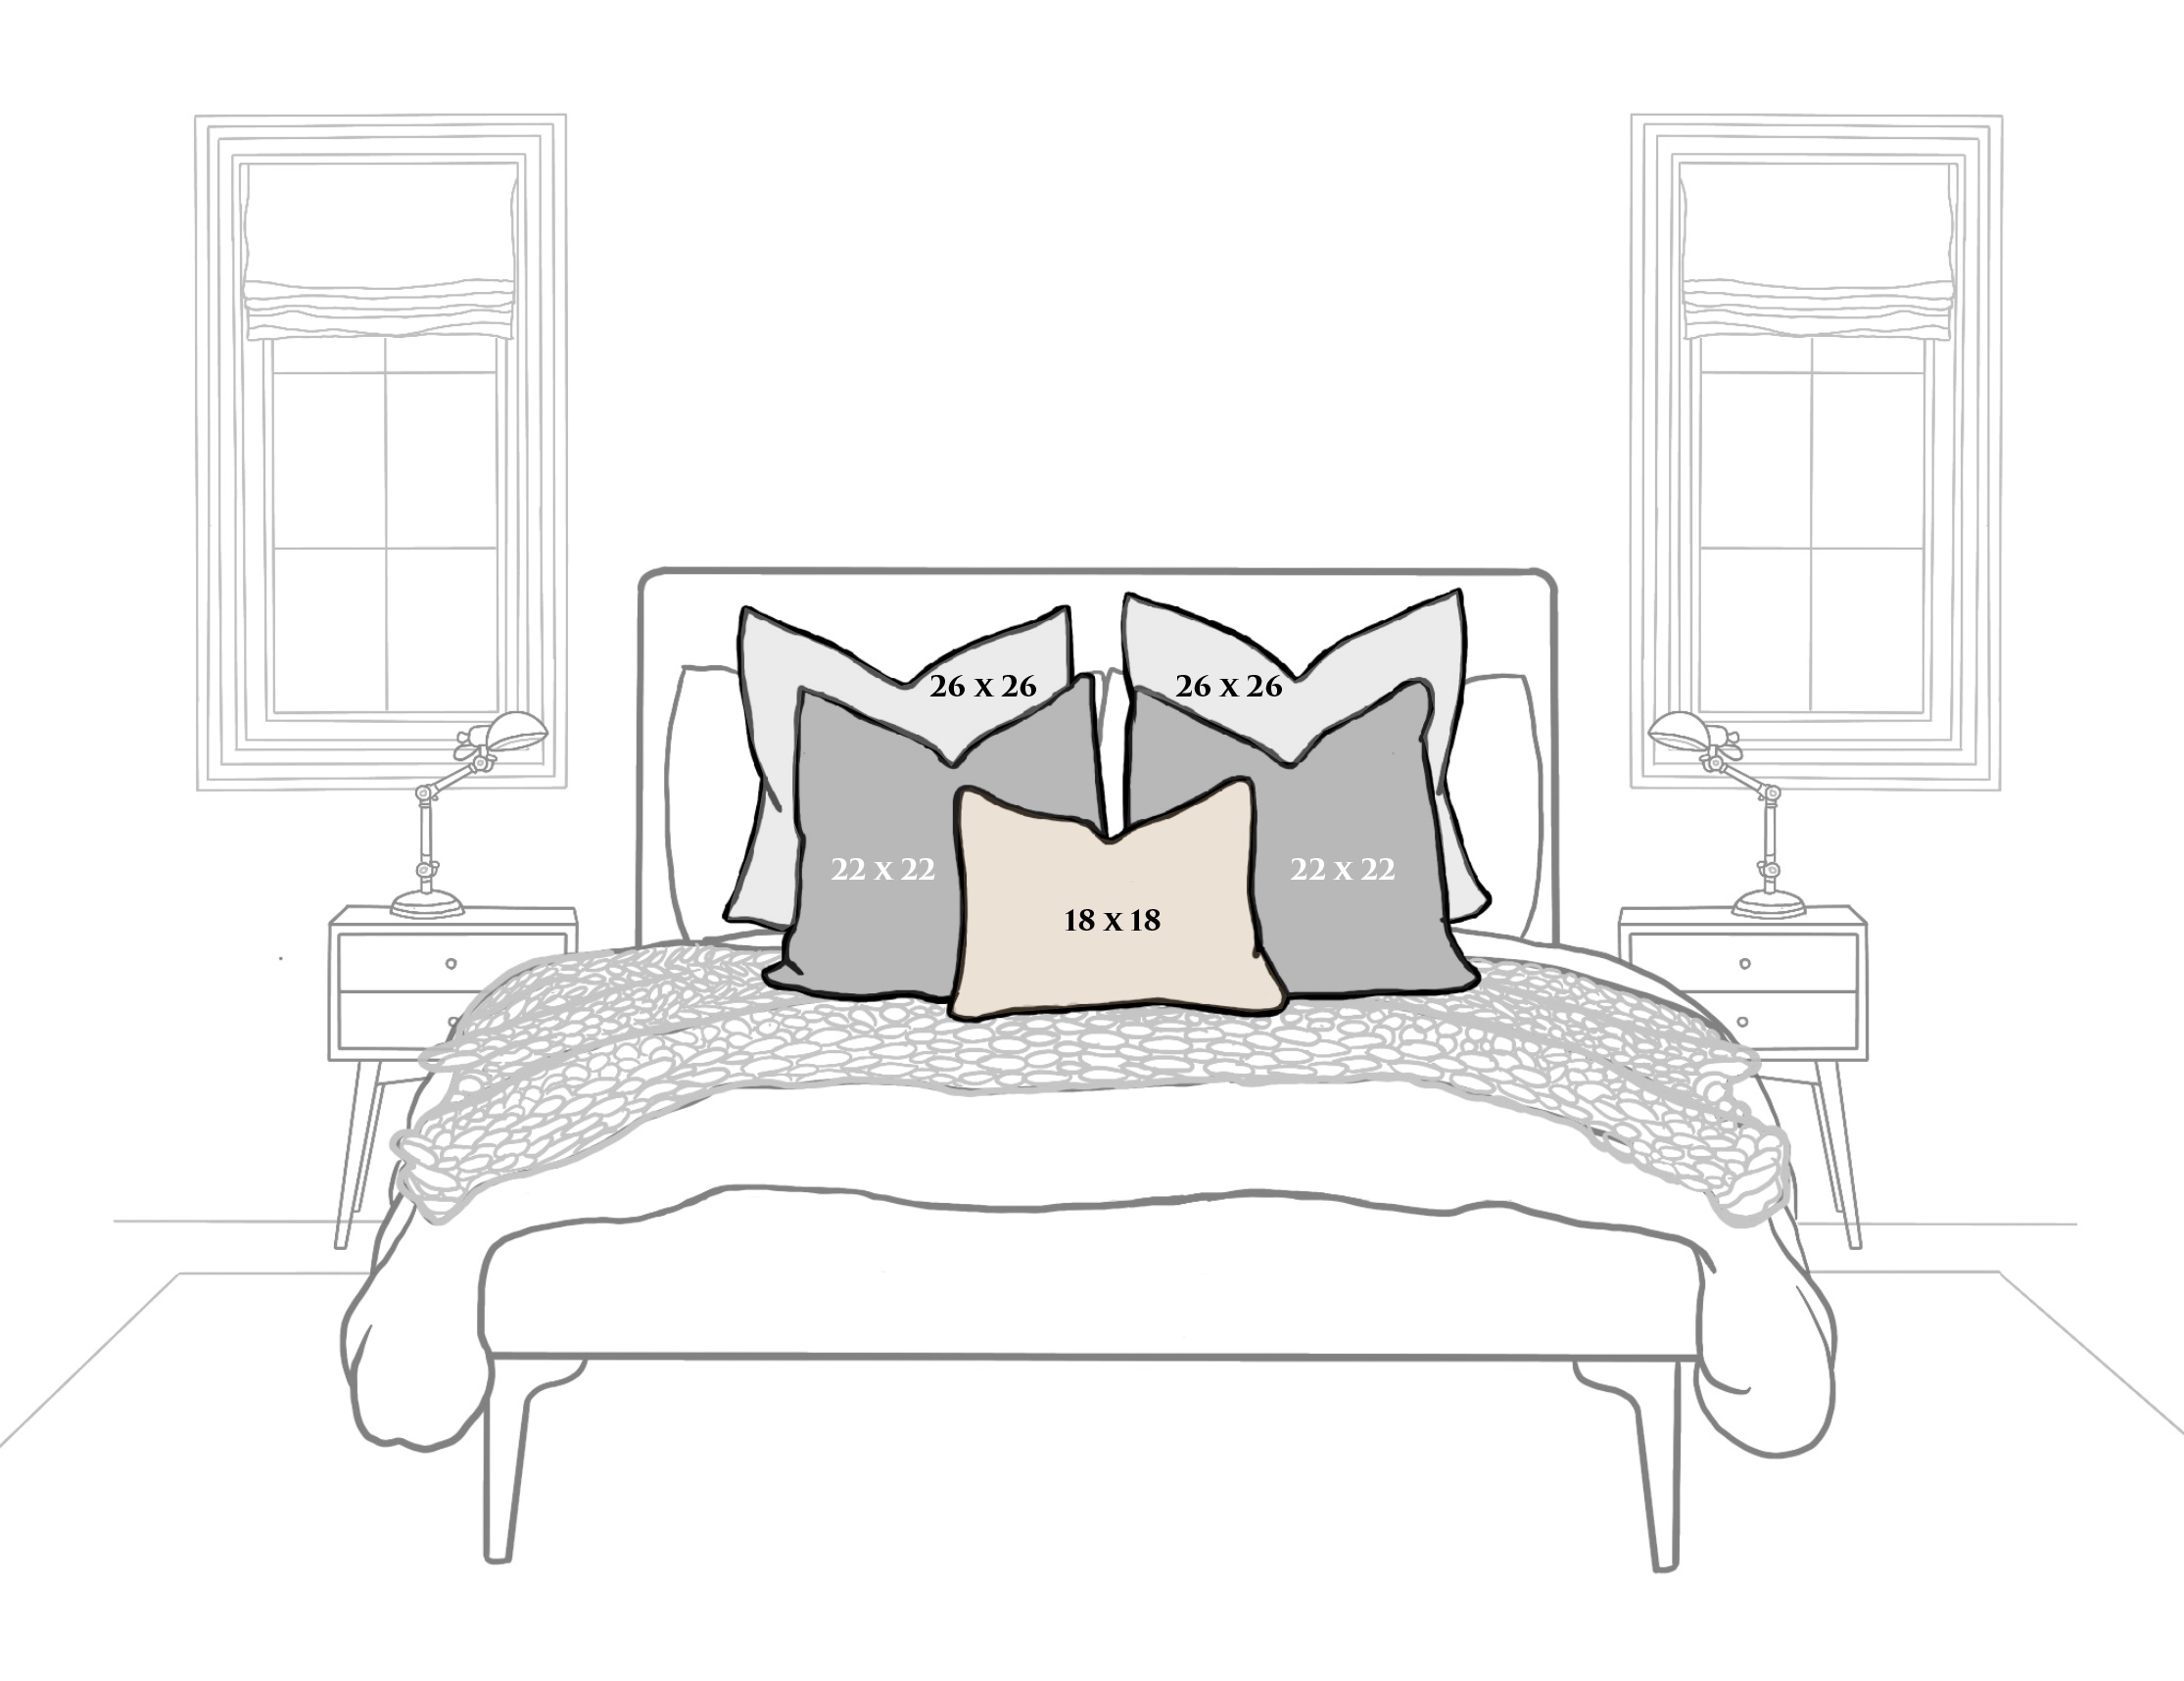
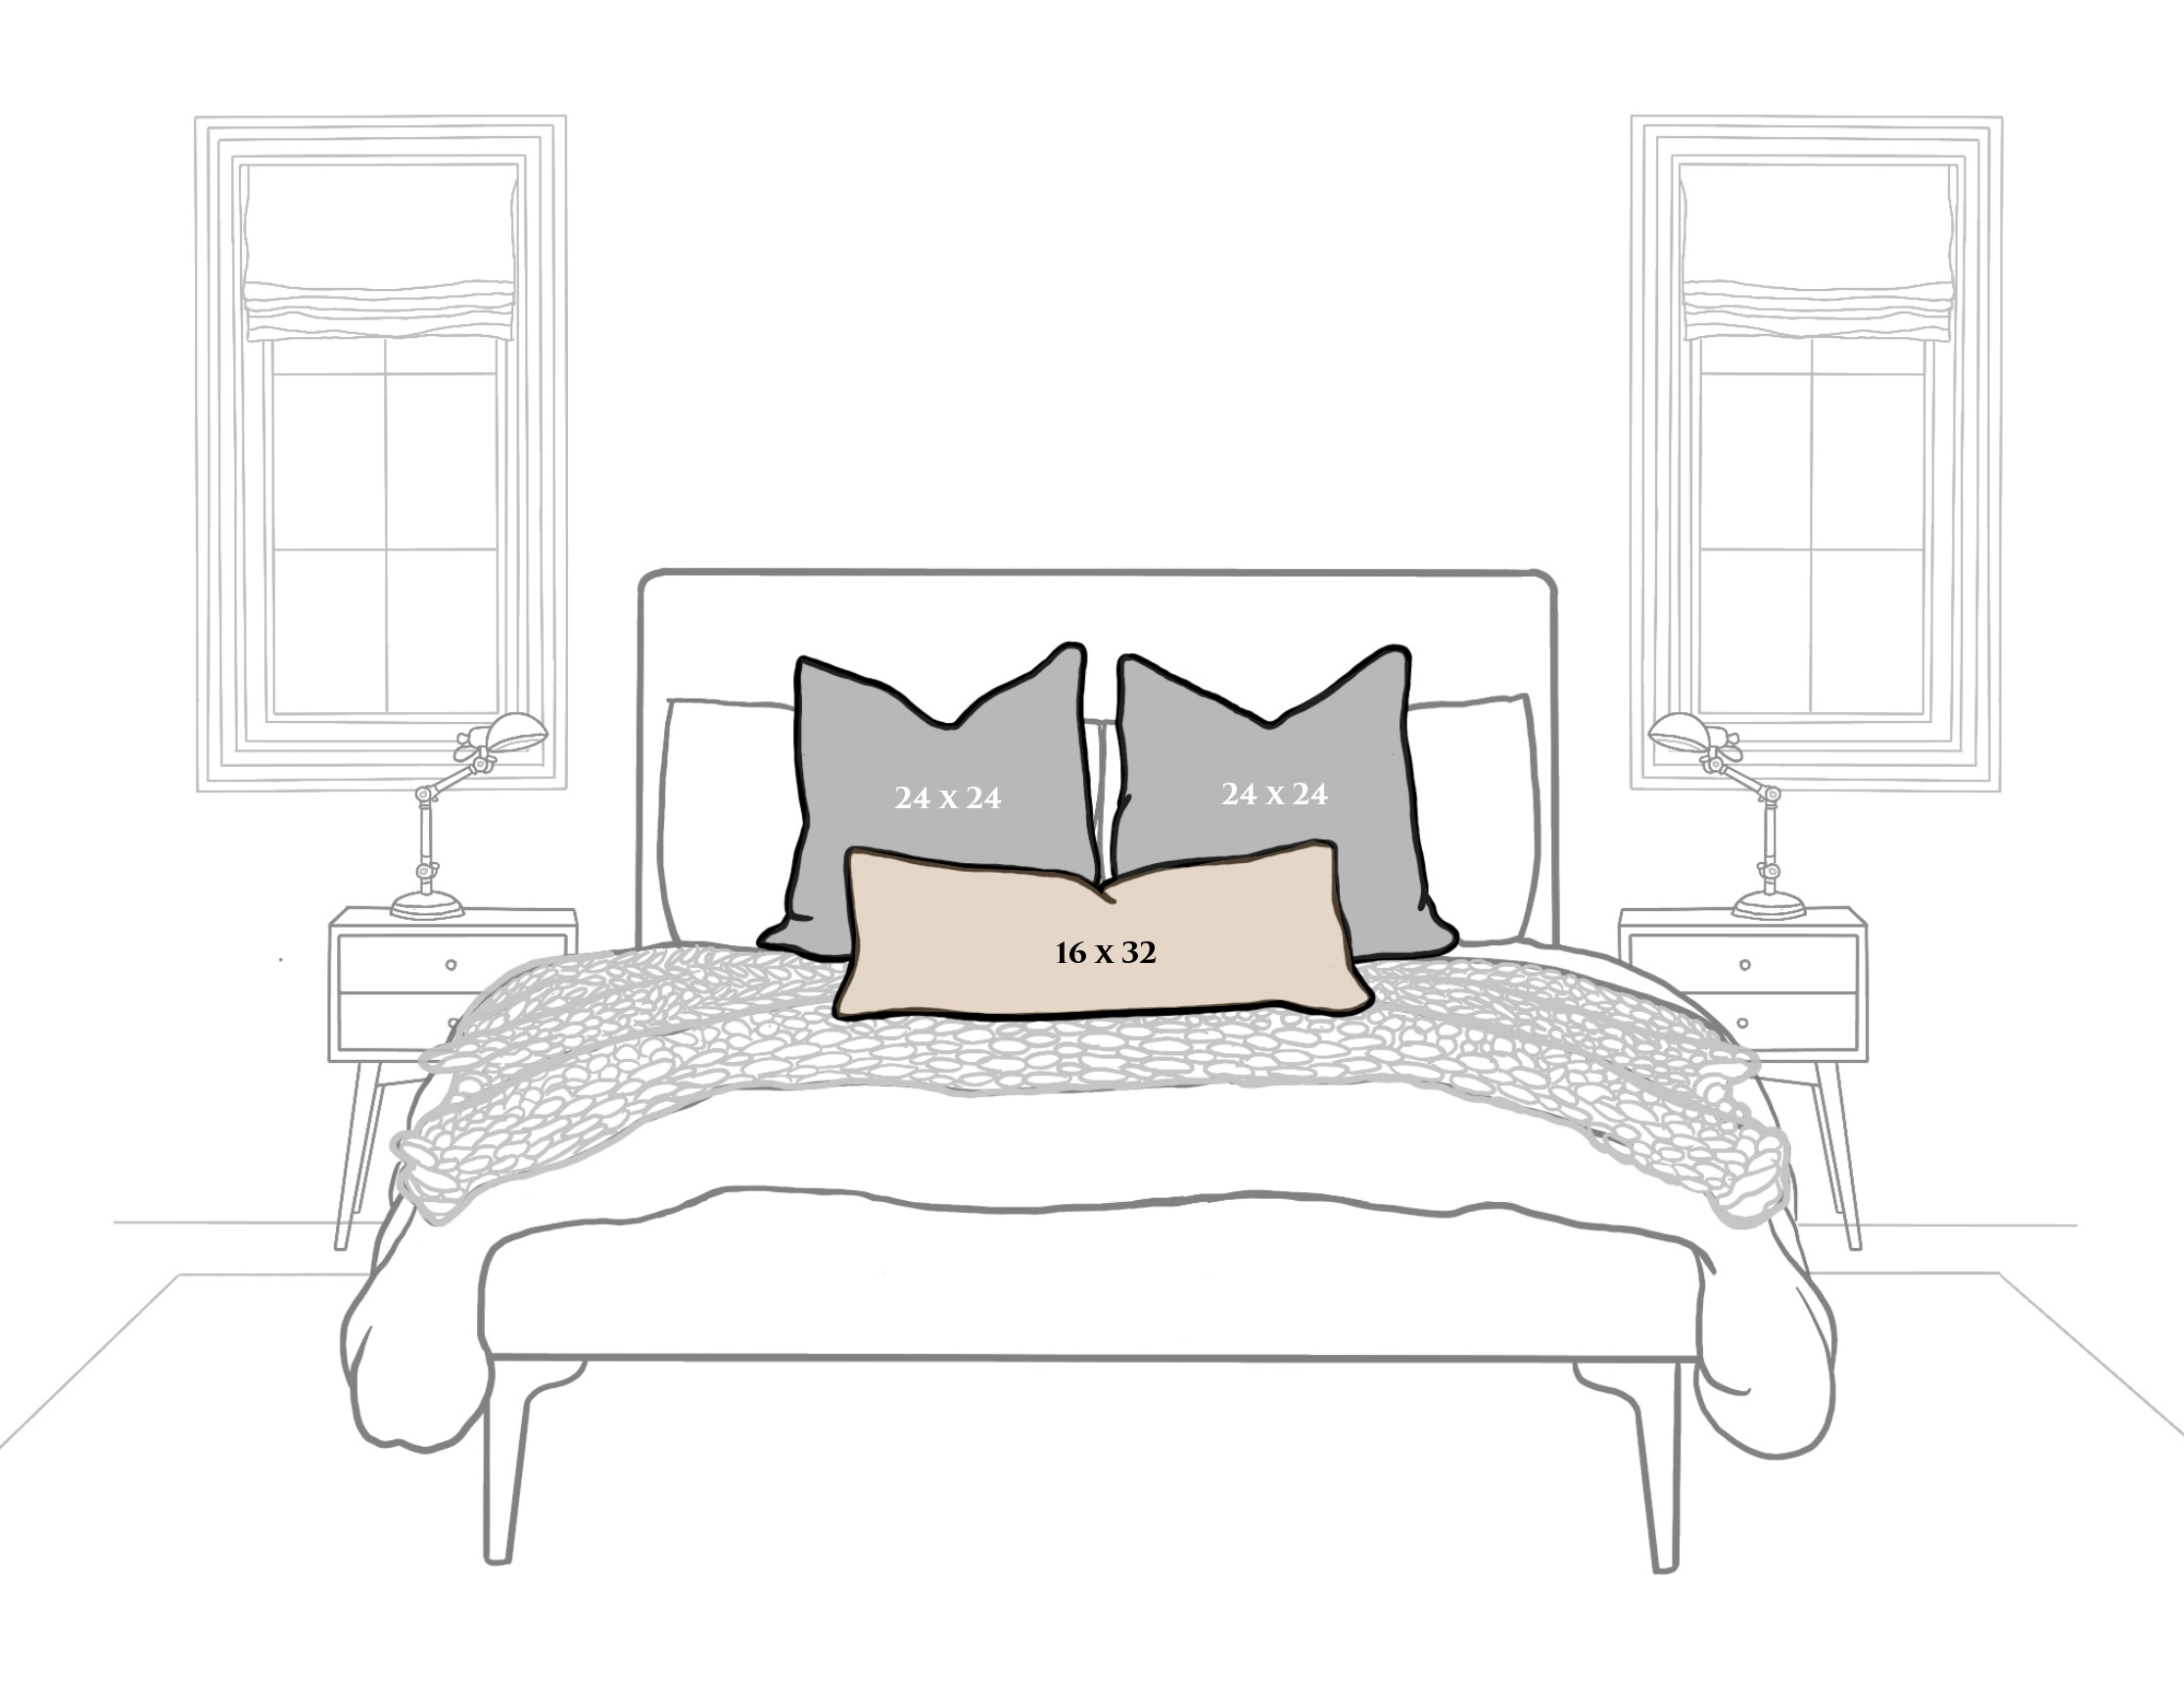
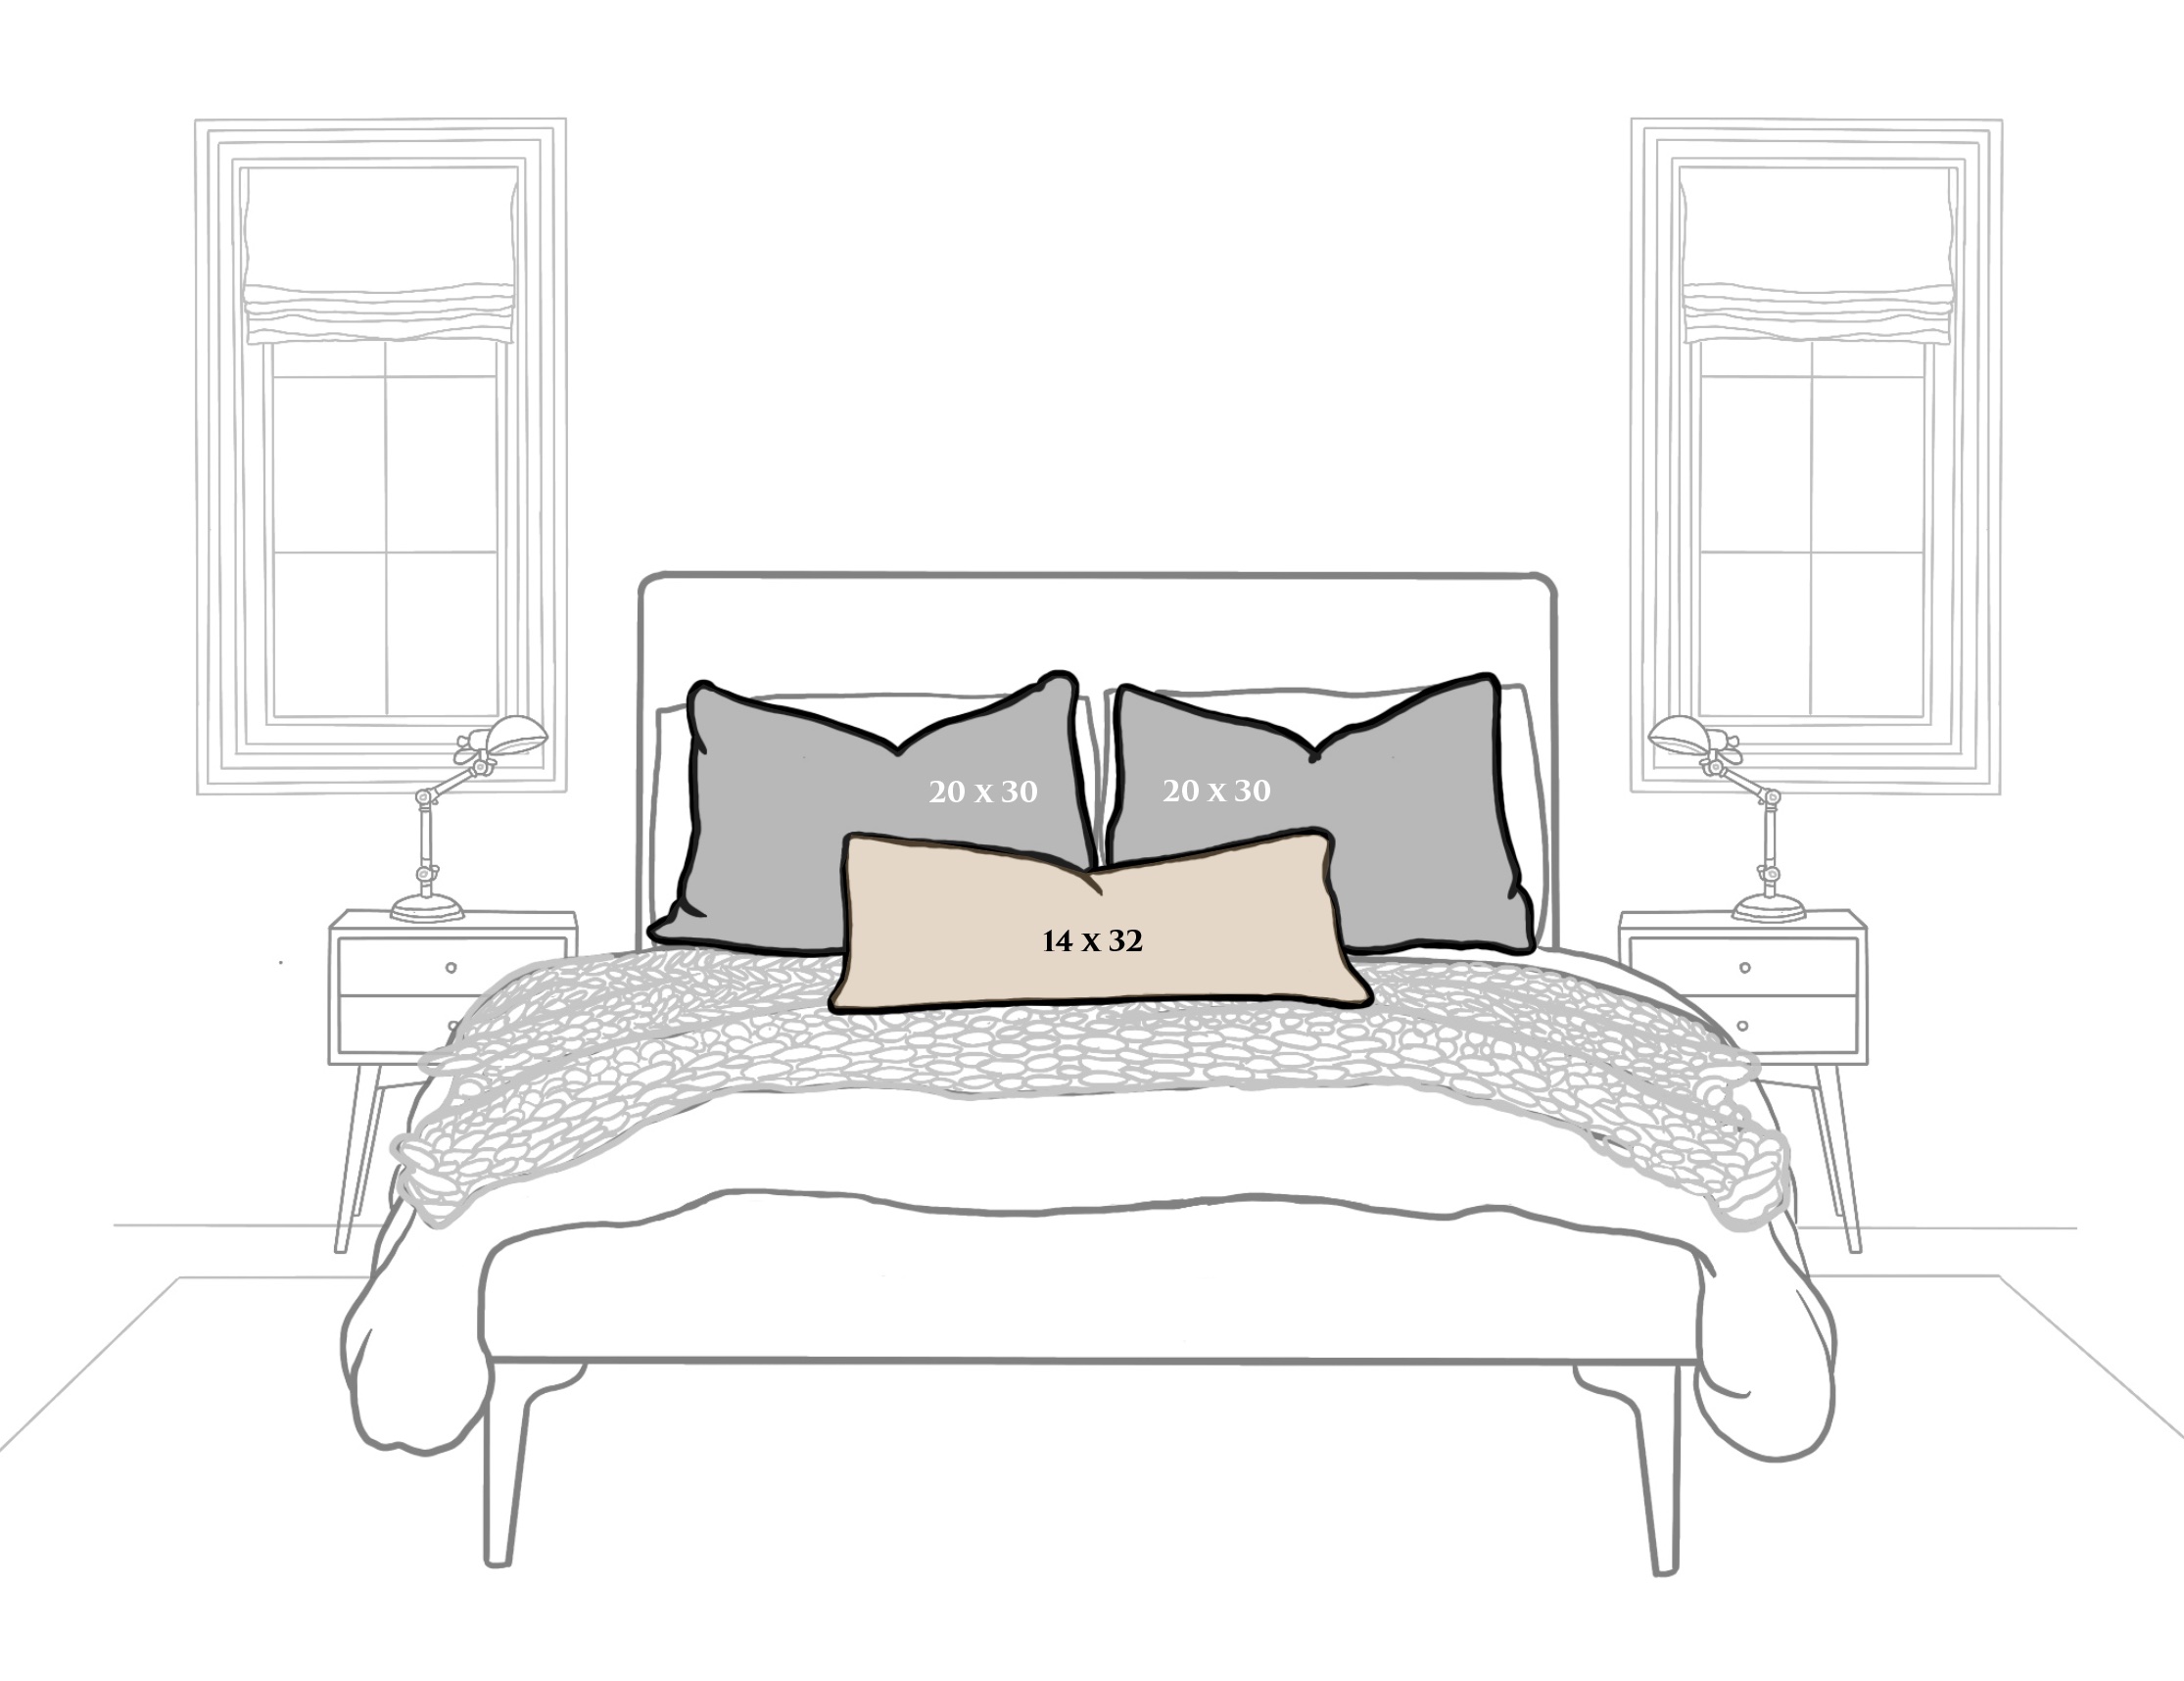
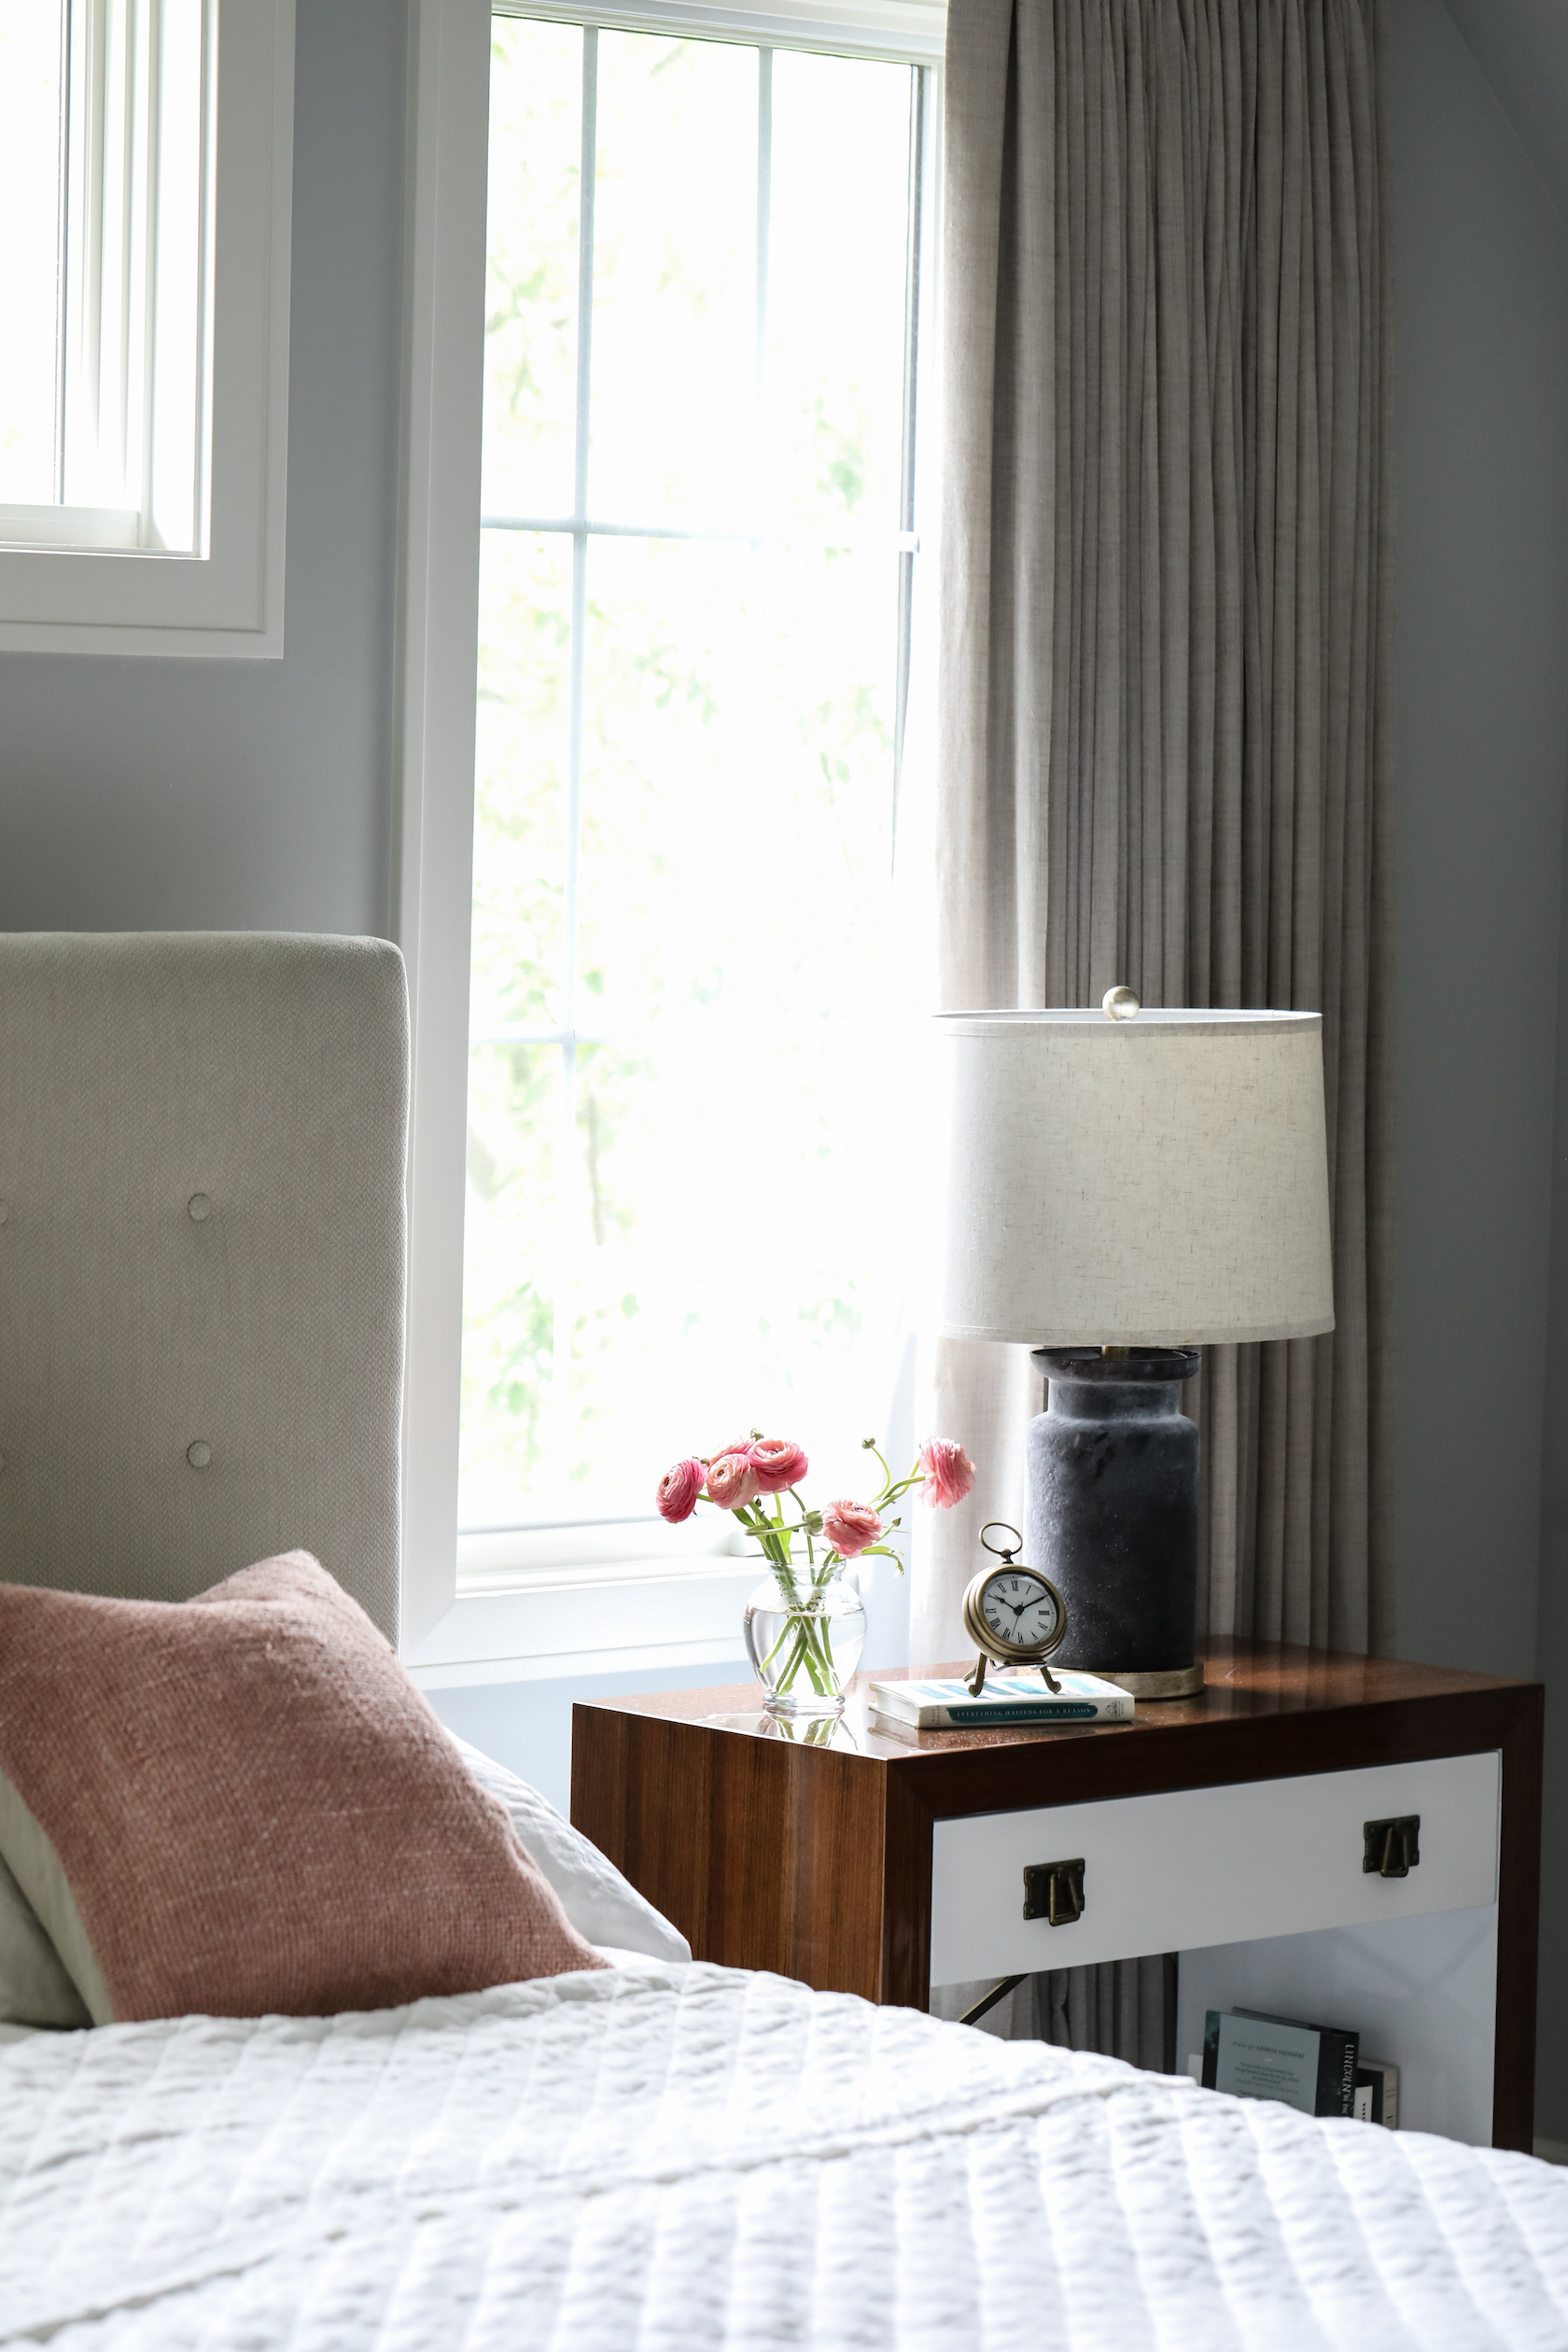
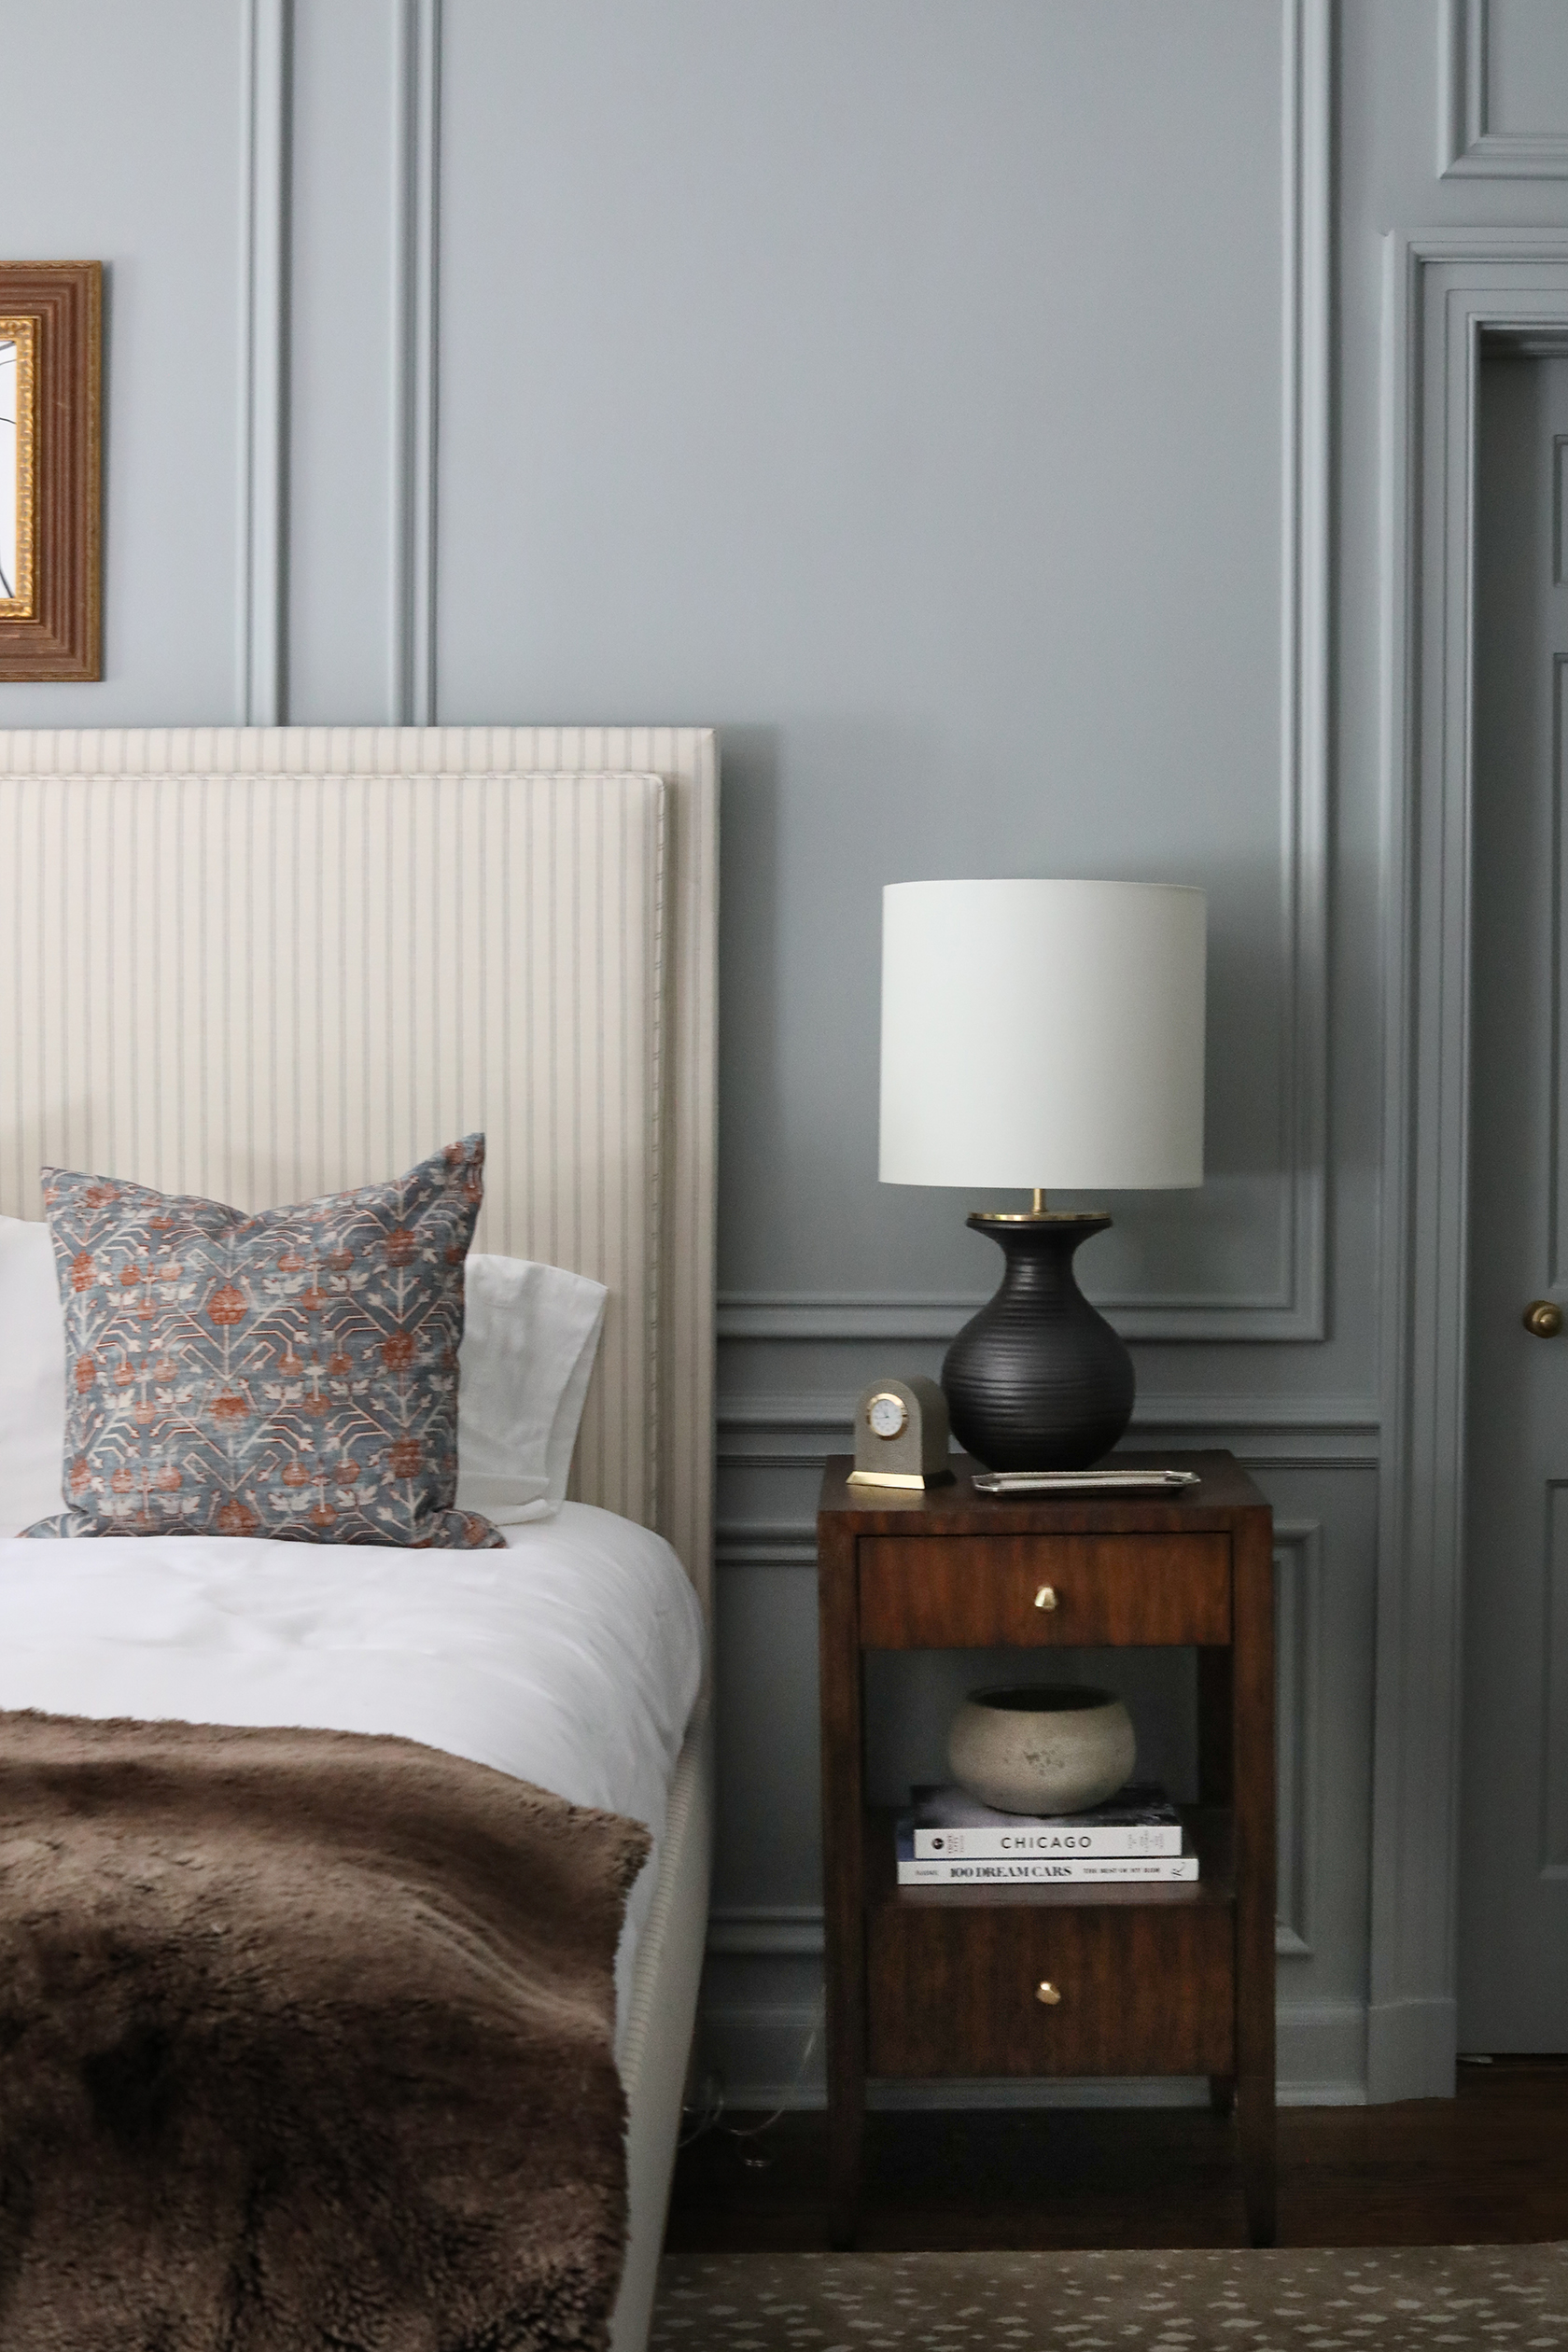
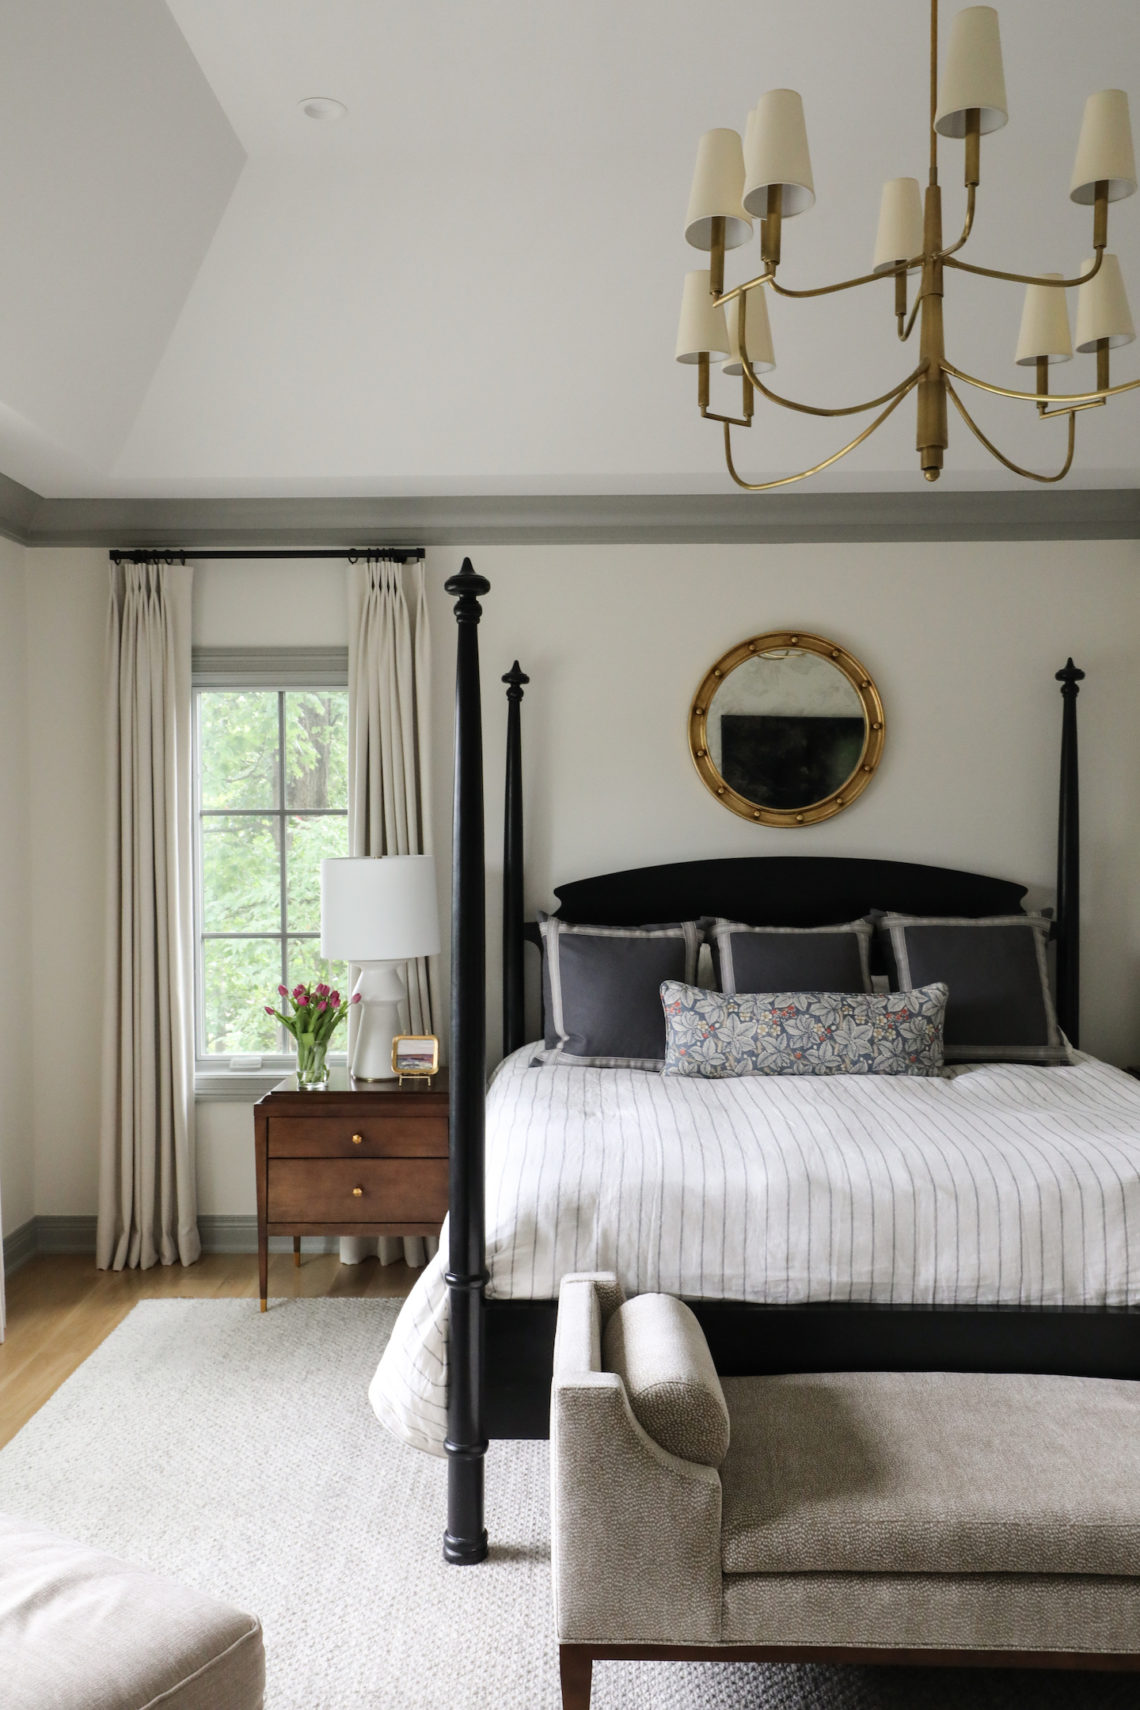
P&O Tips: Bed Pillow Placement

The next installment of an occasional series where we share tips and tricks of the trade to help you navigate sometimes puzzling home design questions.

Today’s Question: How should I arrange the pillows on my bed?

Ah, yes, the age old question. How do I wrangle all these pillows into something that is pleasing to the eye? We can help.

First, know that our recommendations vary depending on the size of your bed. Here, we’ll give tips on king and queen size beds, but you’ll be able to apply these concepts to smaller beds also.

Here are your goals:

1. Comfort and ease

Dislike taking mounds of pillows on and off the bed each day? Don’t! Choose a smaller number of pillows, or the configuration you are most likely to want to repeat each day. Because our number one tip is…make your bed EVERY day! A made bed means not just a finished space, but a clear head and a soothing place to enter at the end of a long day.

2. Create symmetry on the bed.

The goal in all our configurations is to give the bed — and the pillows — a cohesive, connected look. The best way to achieve this is to break up the visual voids between each pillow, creating a cascading effect. This is especially important when you are using a lot of pillows!

3. Tie in other design elements in the room.

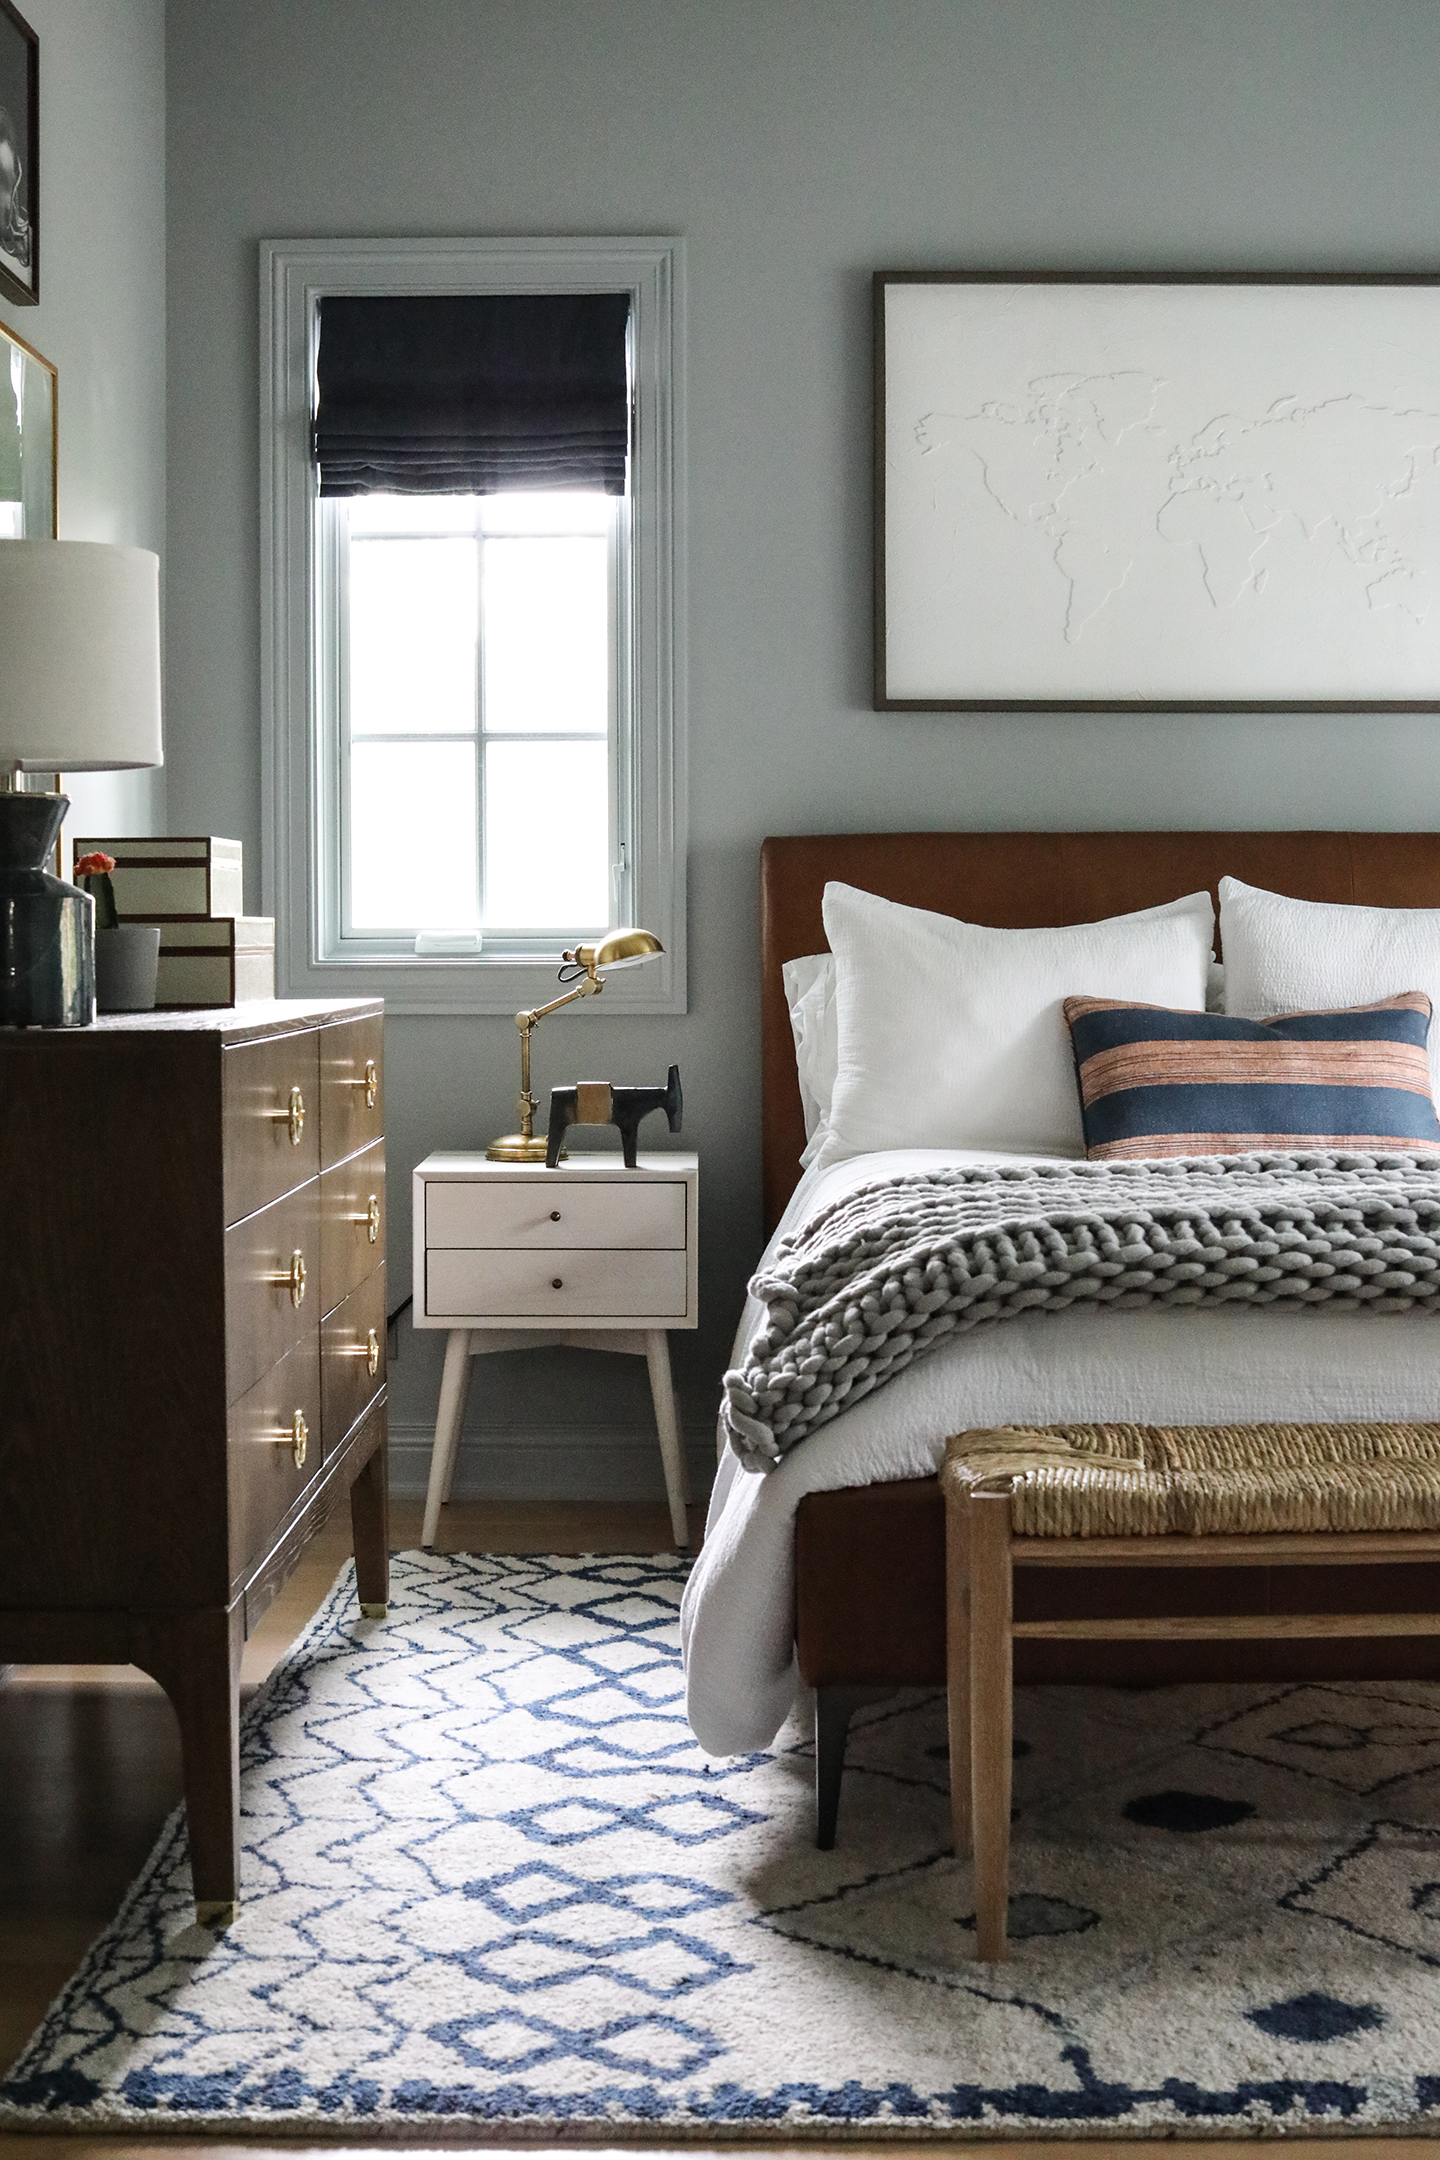
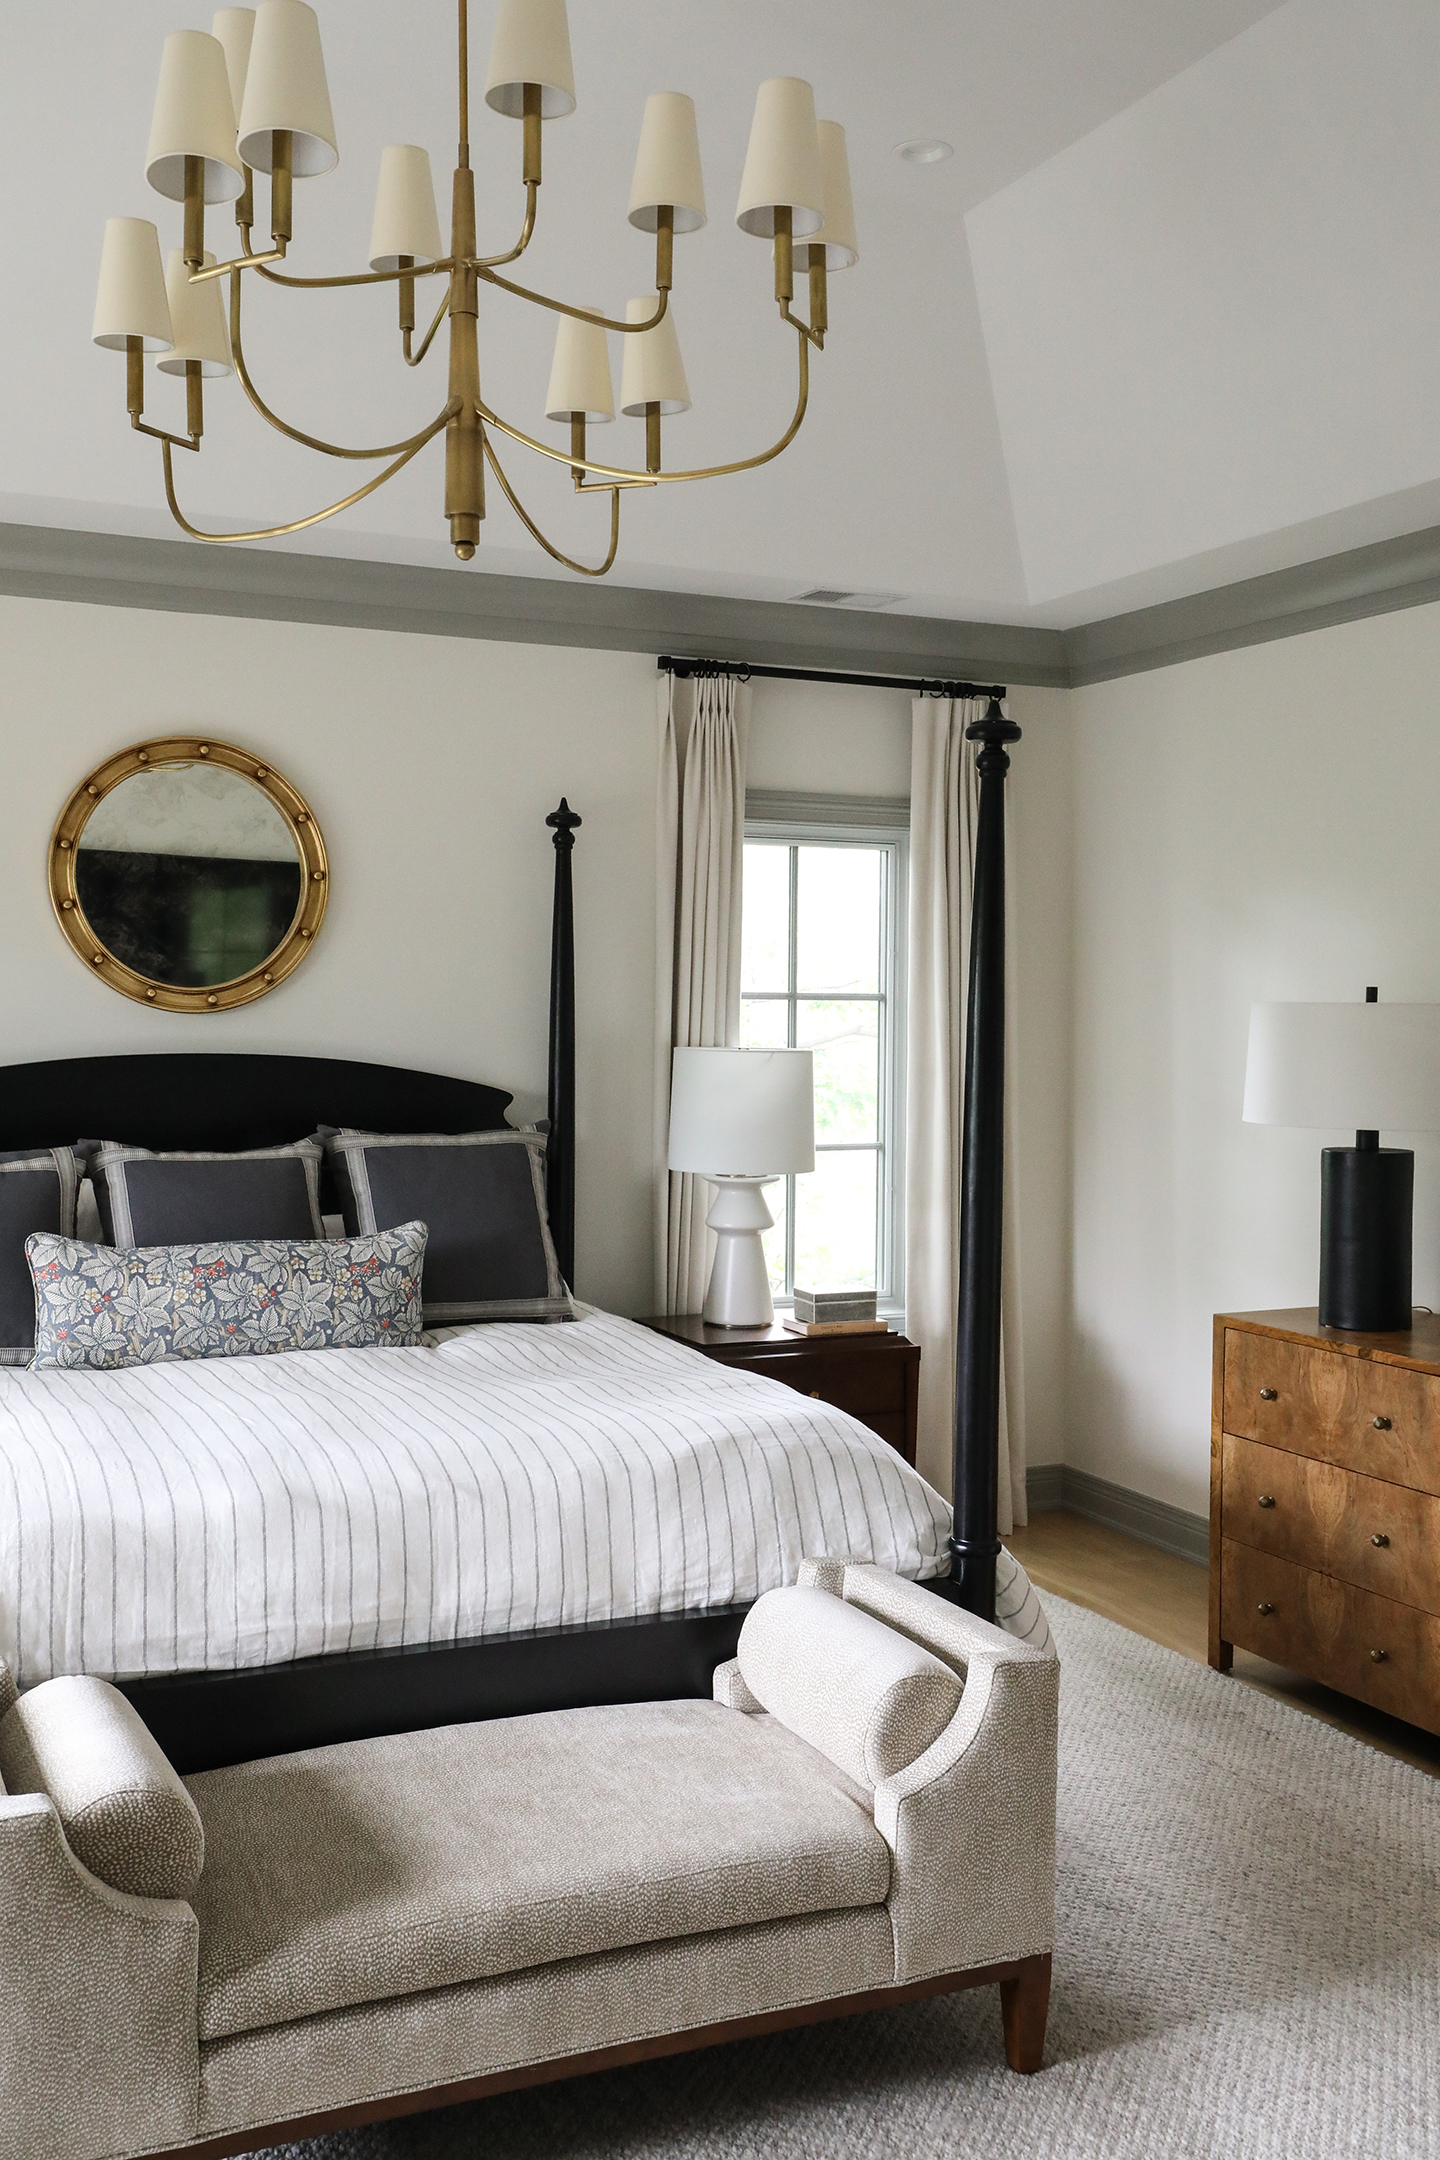
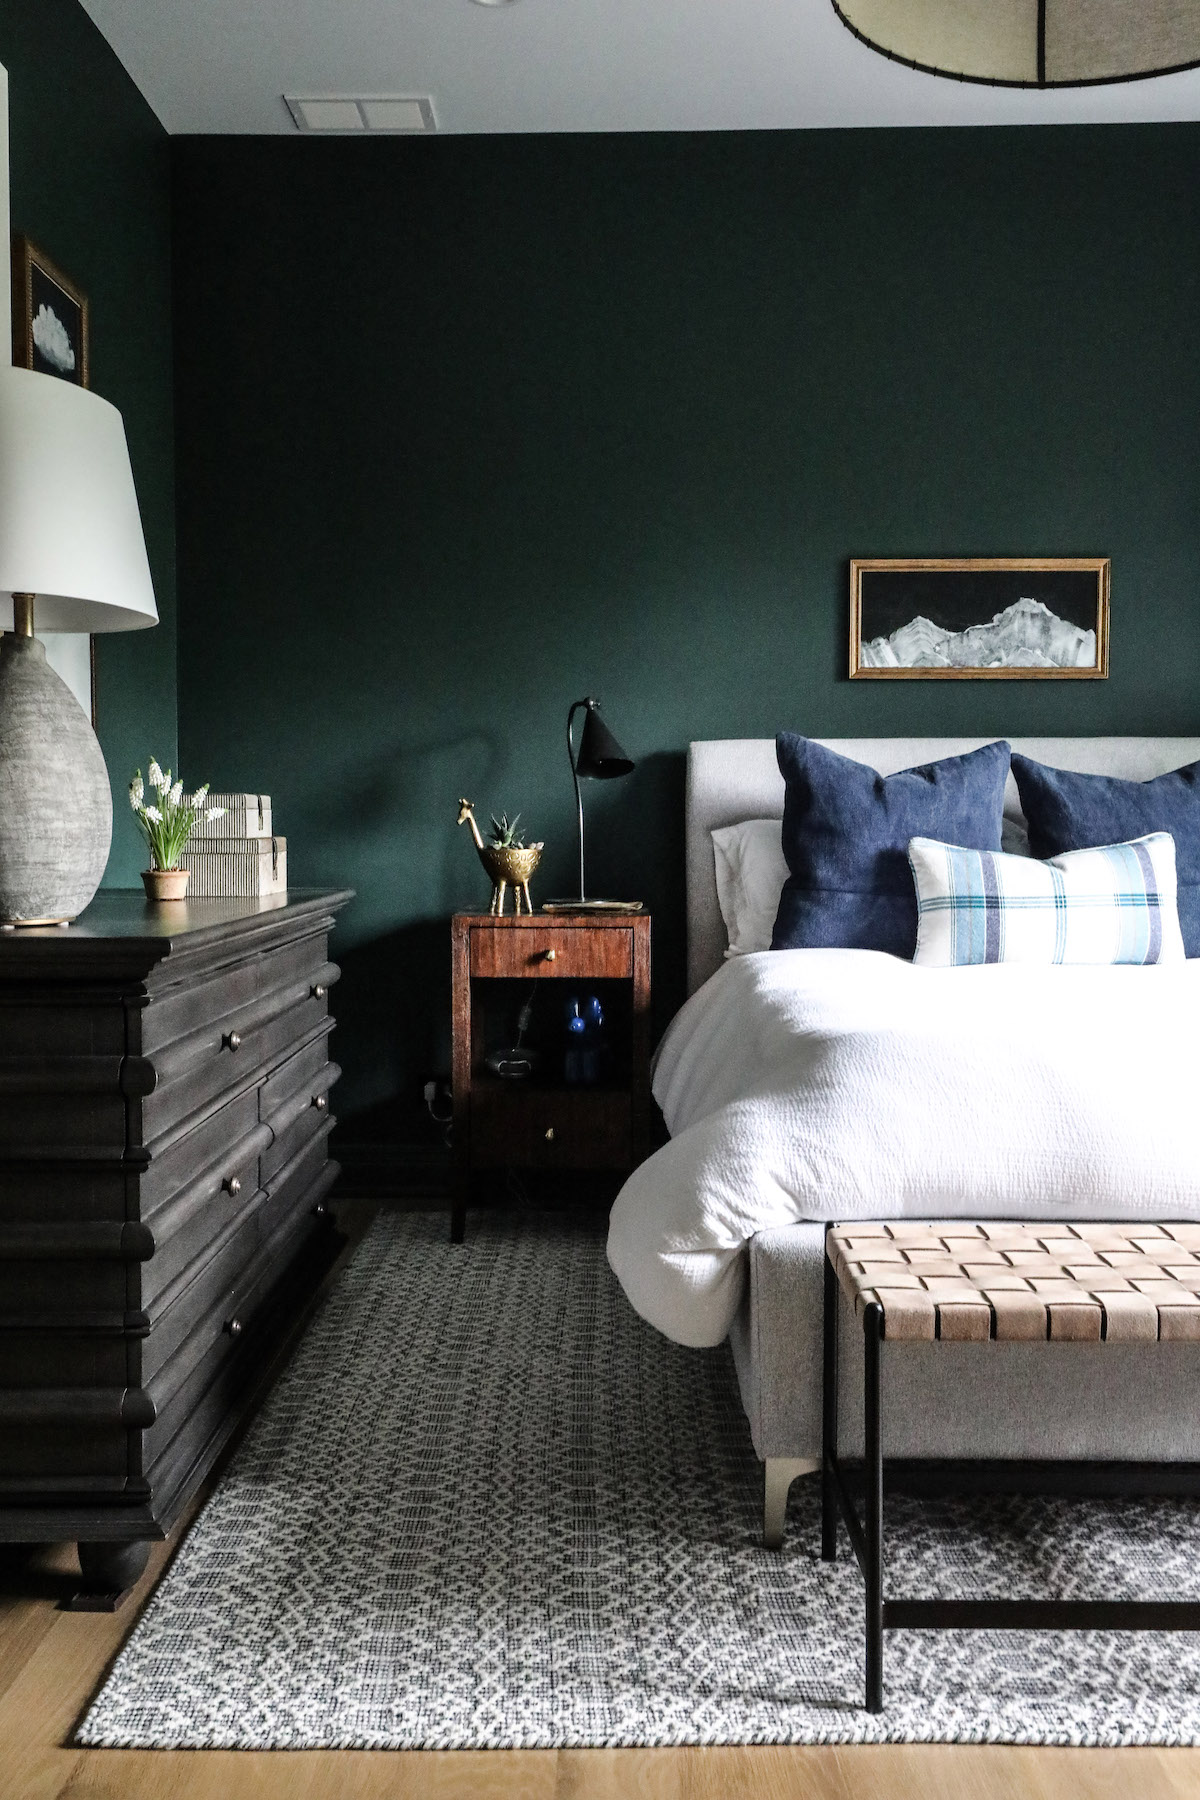
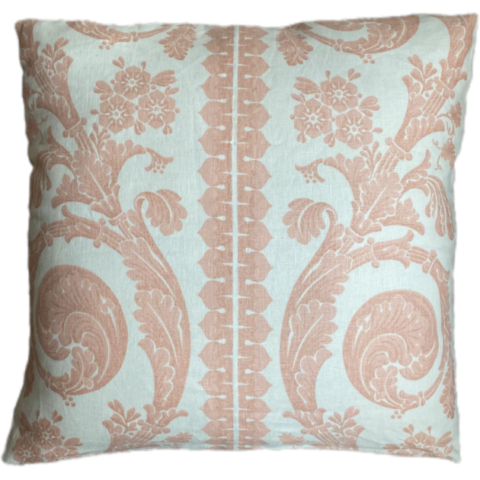
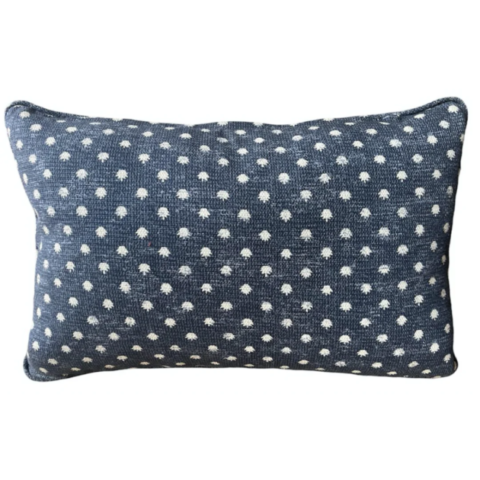
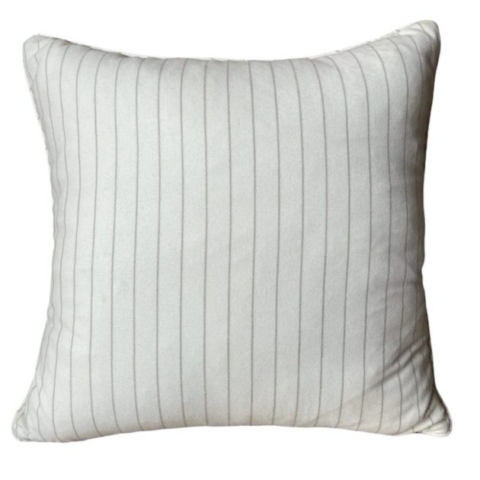
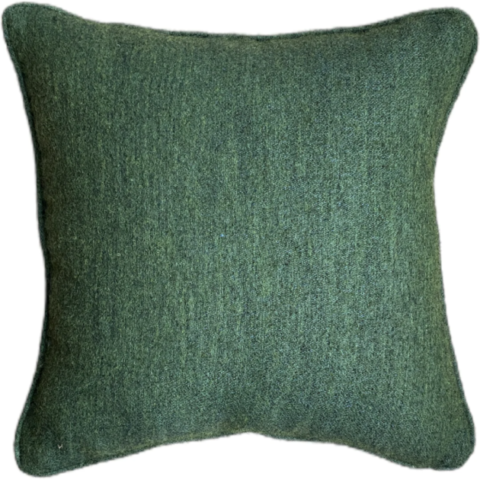
Floral wallpaper might call for pinstripe pillows. A mostly neutral room may benefit from pattern or color in your bed pillows. Pillows can be a a great place to introduce texture, especially in a bedroom where soft and smooth often rule.

You can use pillows to get a little dramatic, but simple works, too. Whichever direction you choose, you can elevate your space significantly with pillows.


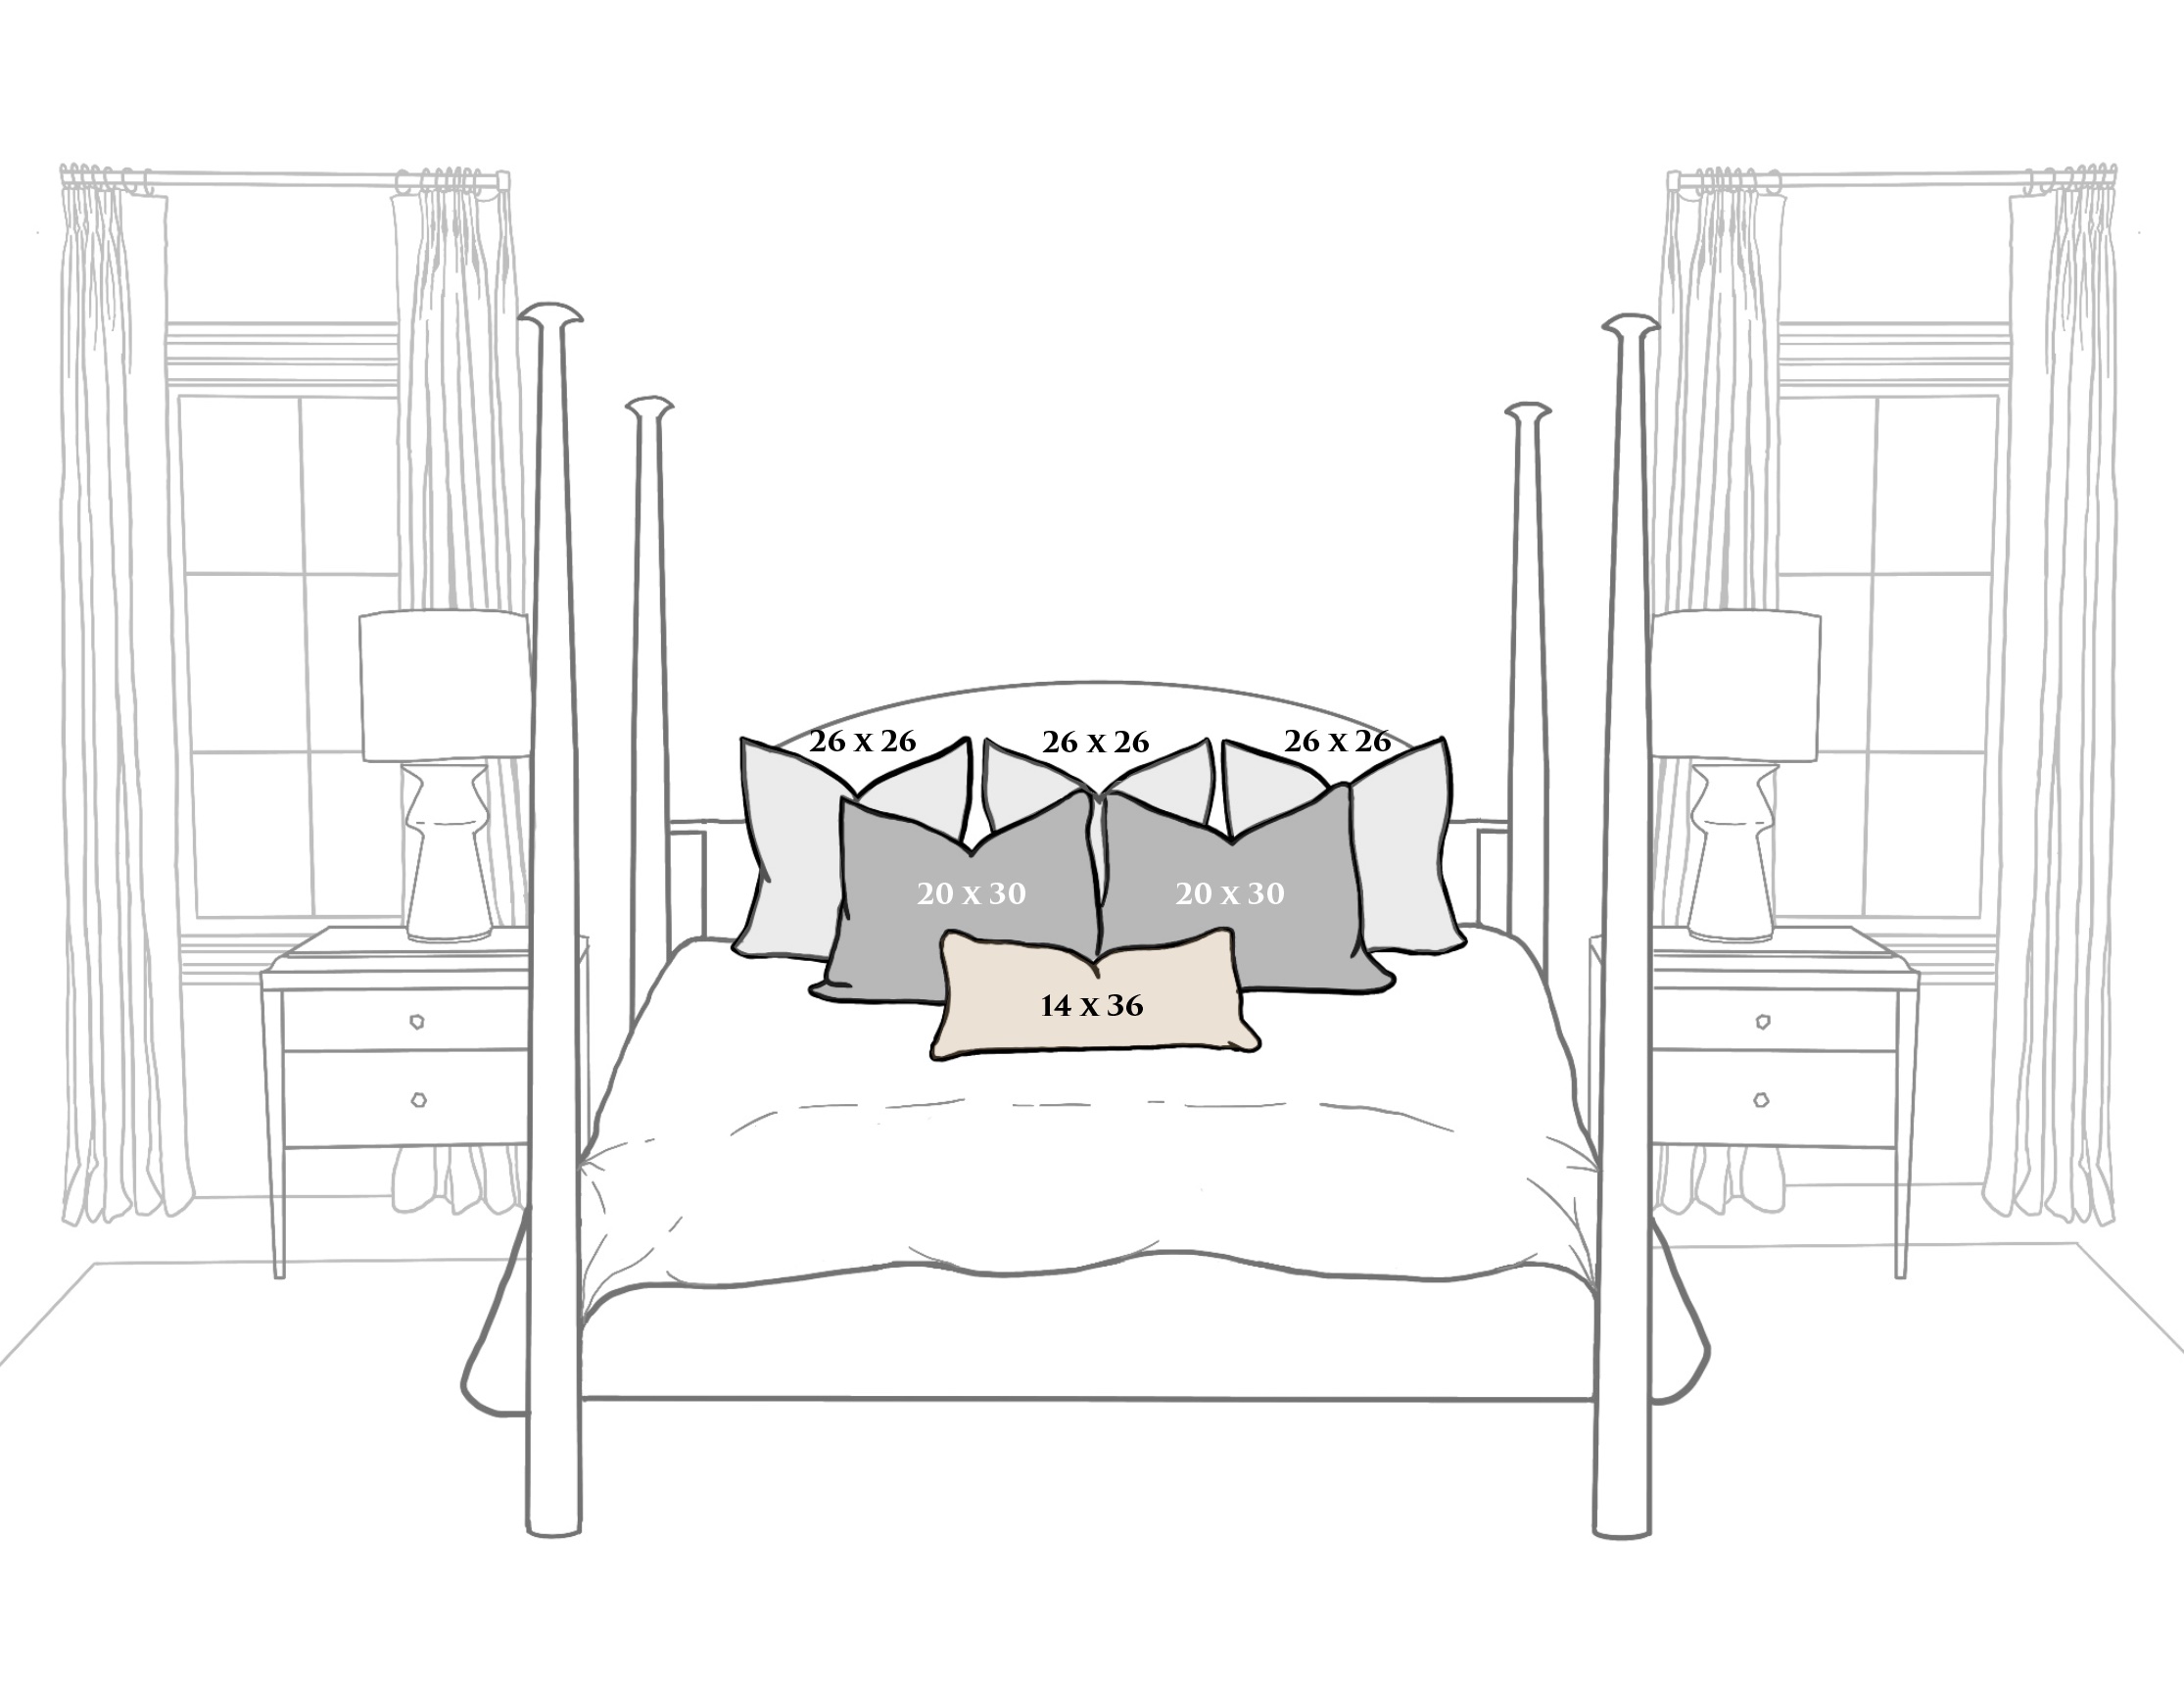
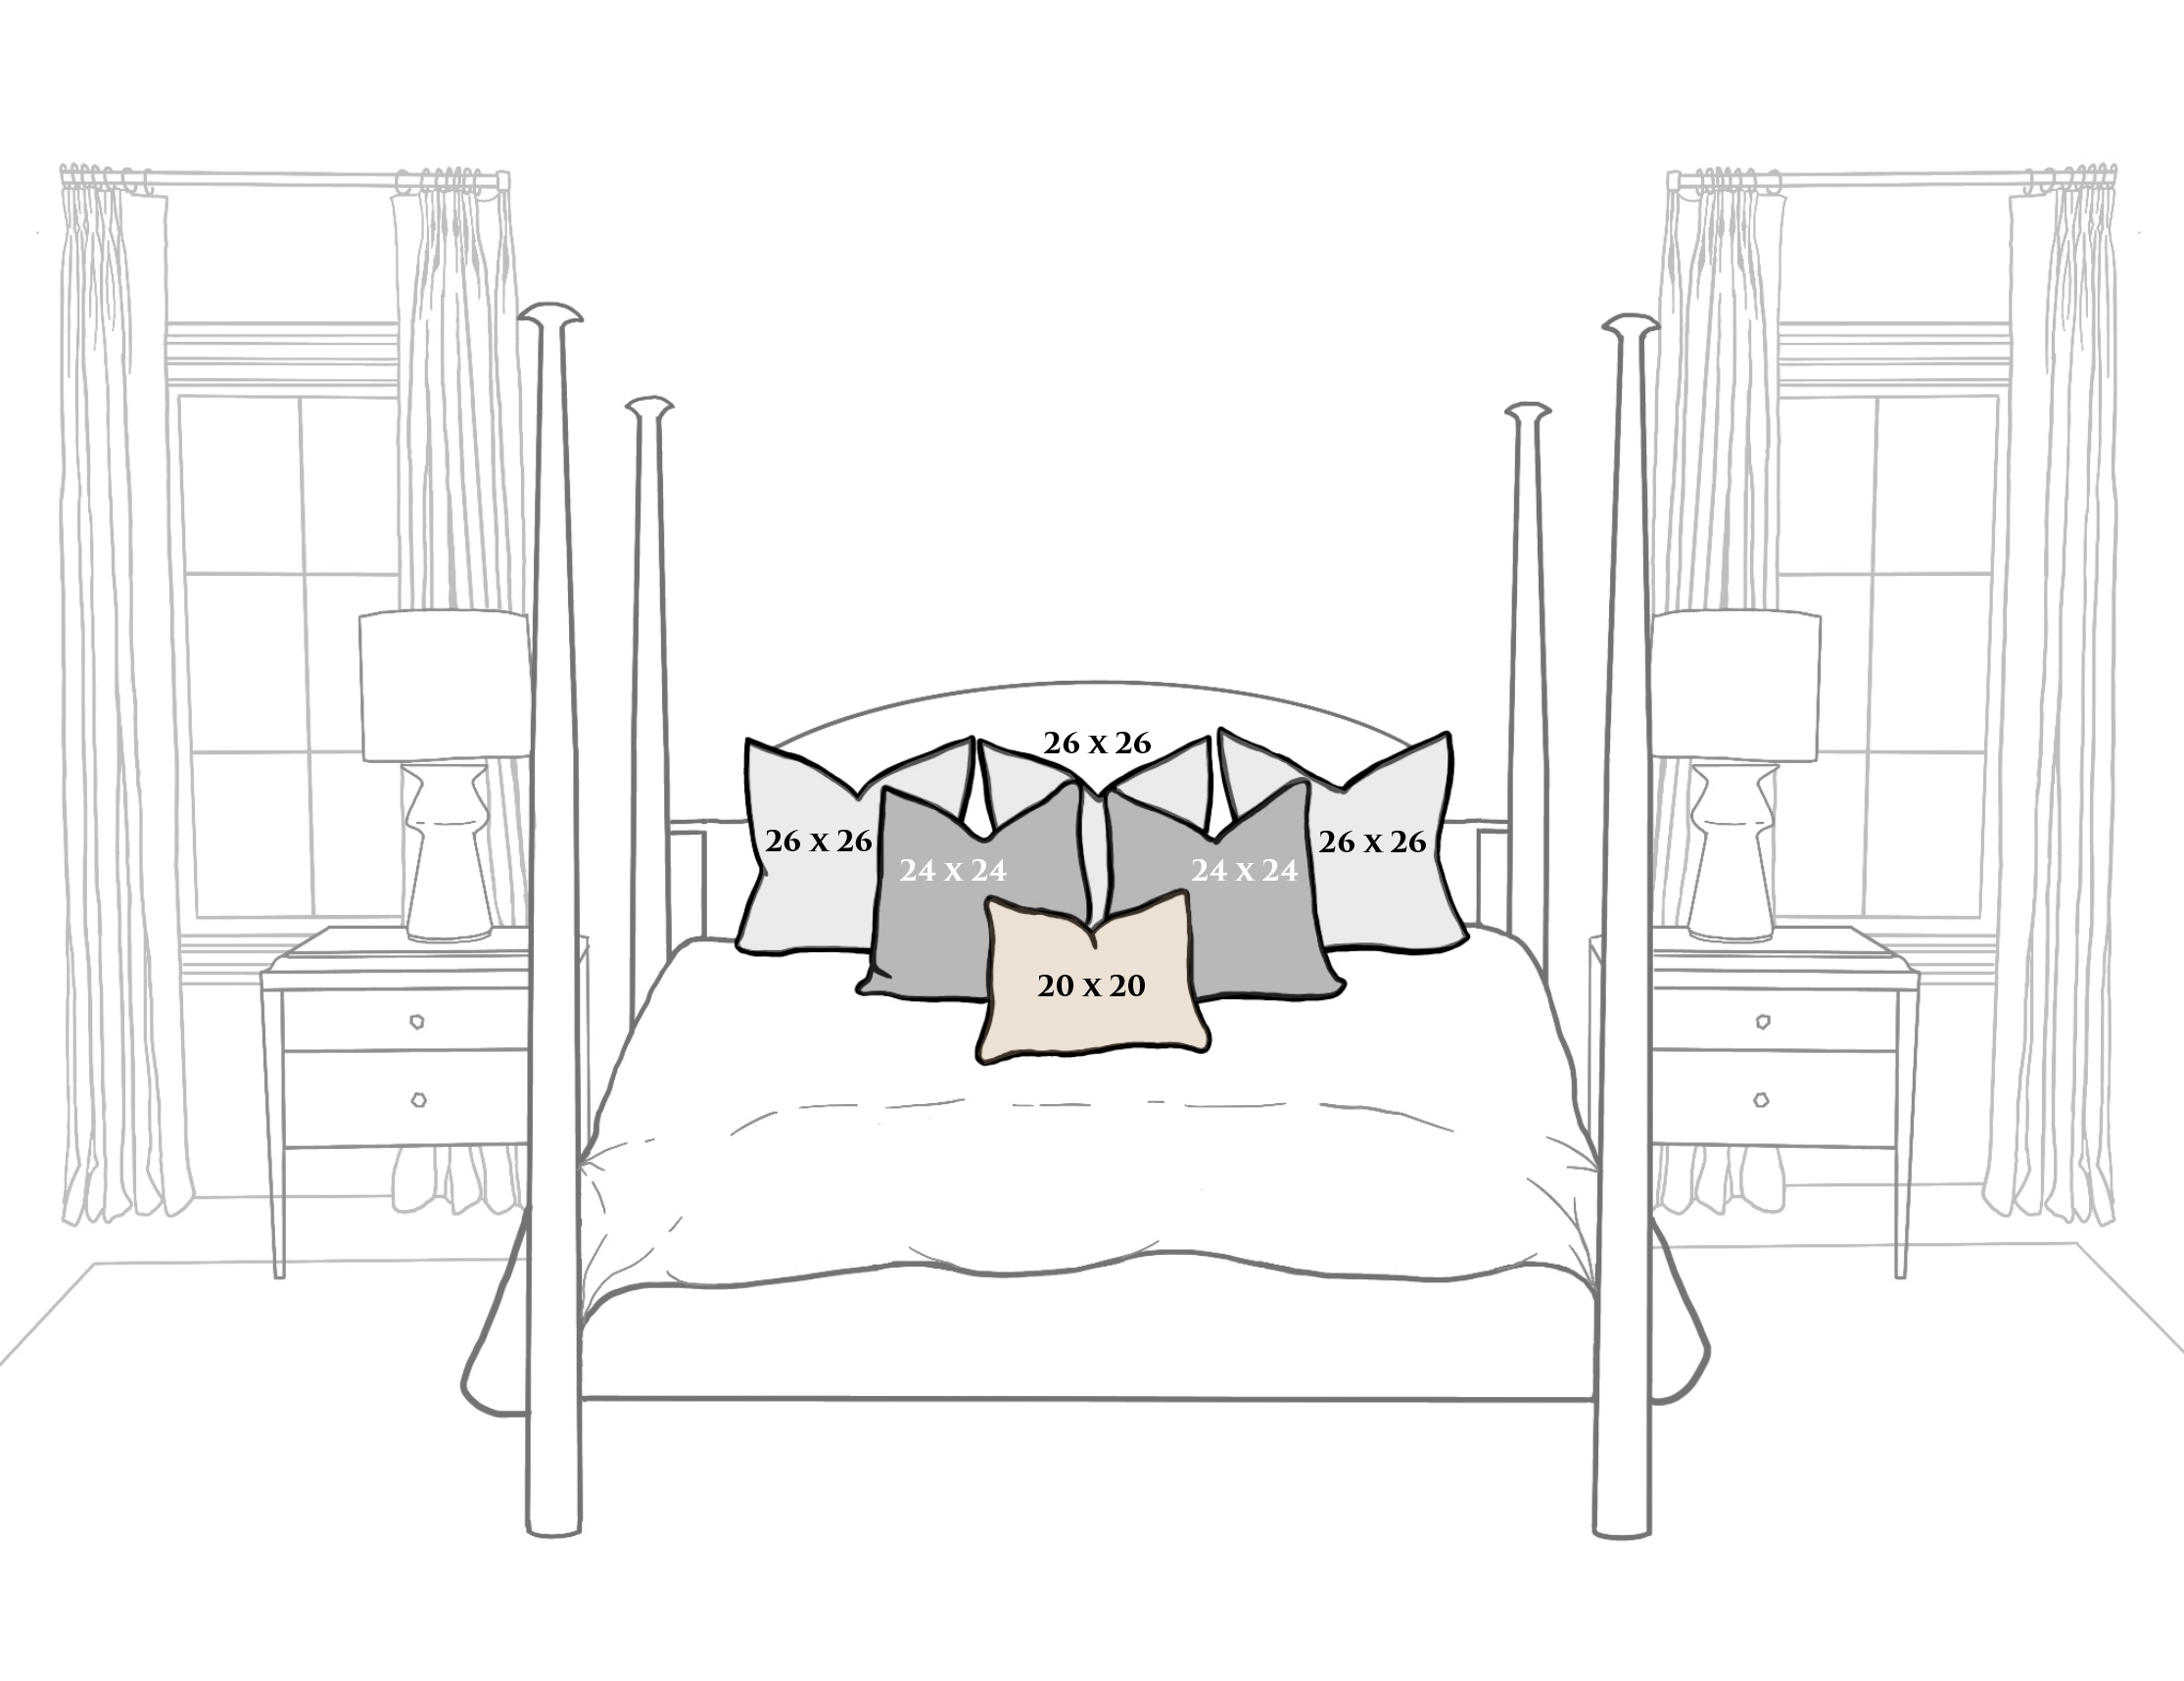
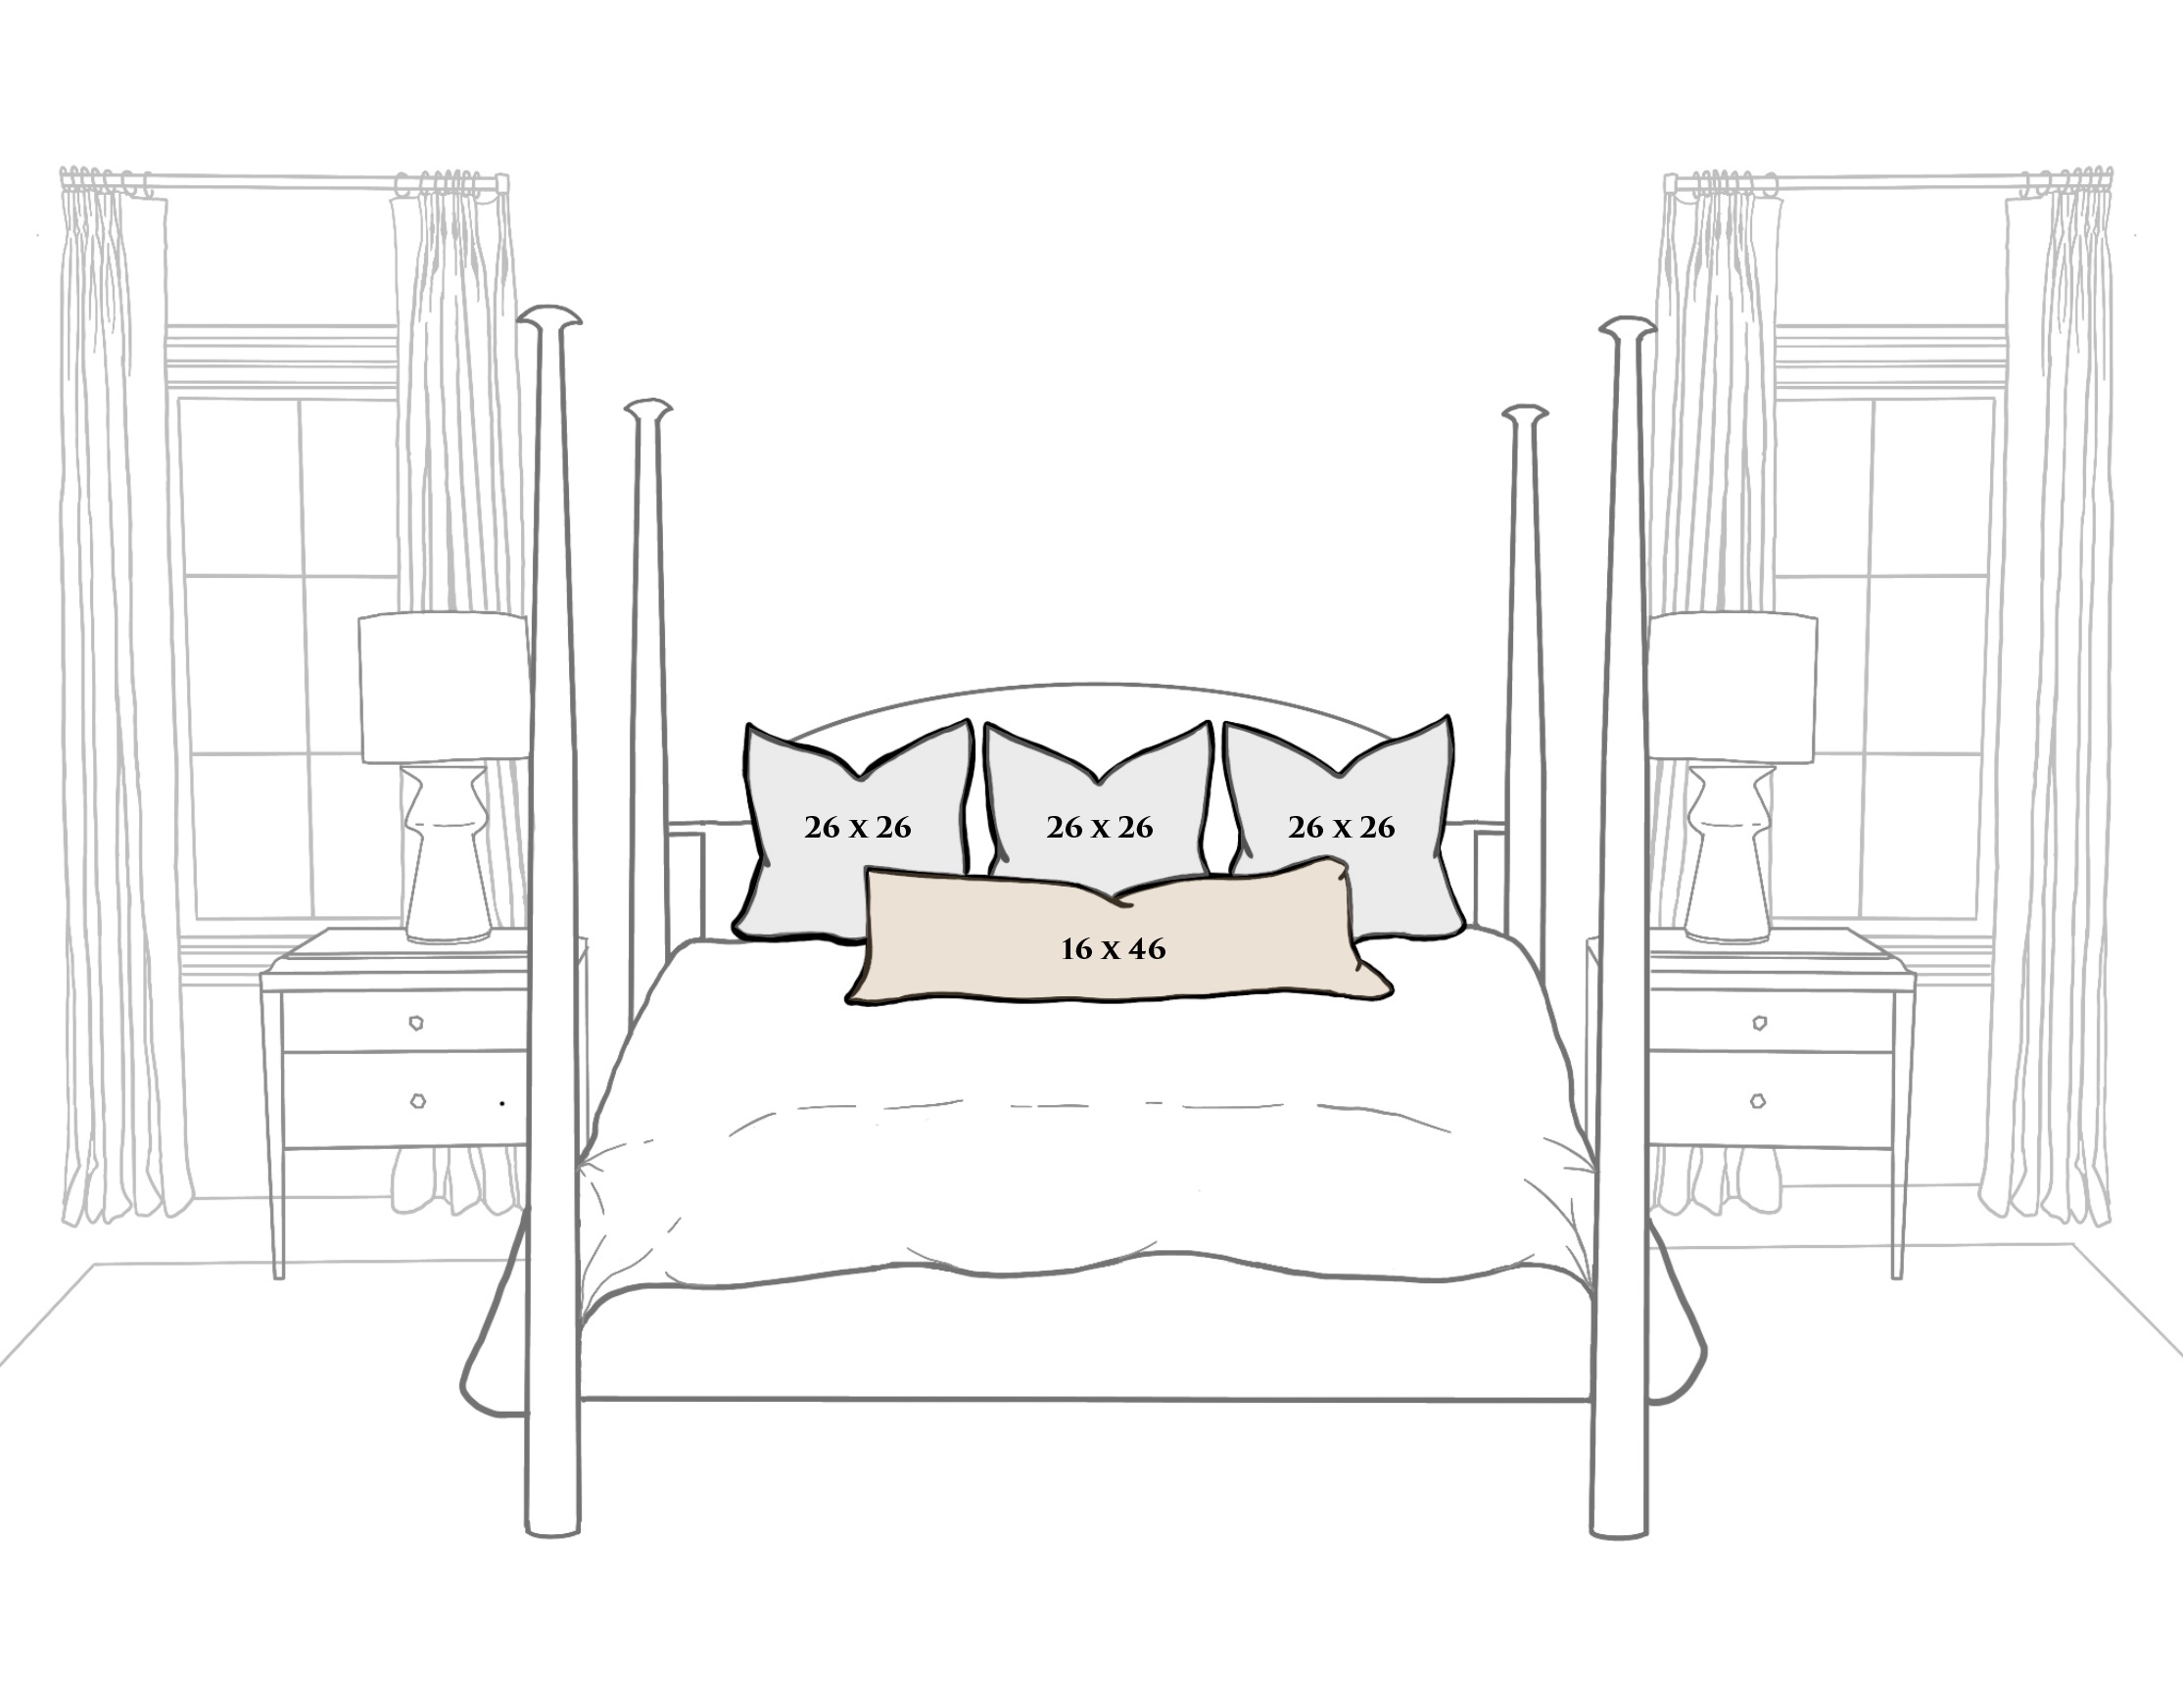
Without further ado, here are some sketches with our recommendations for arranging pillows on your bed in a way that is practical, and also pleasing to the eye.

King Configurations


Queen Configurations


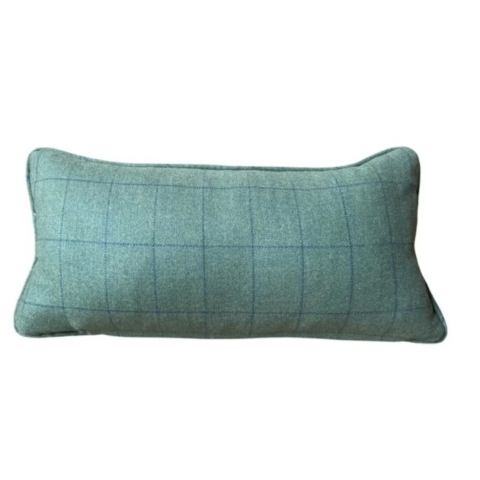
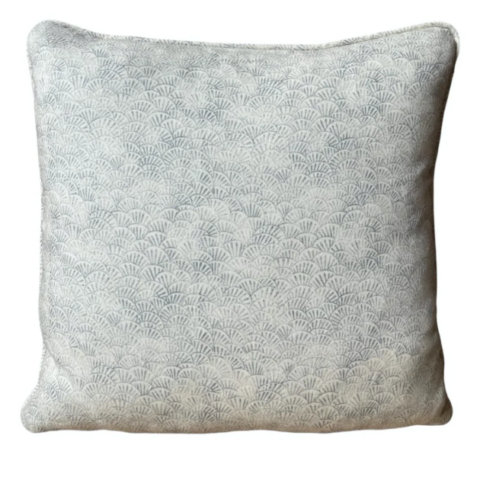
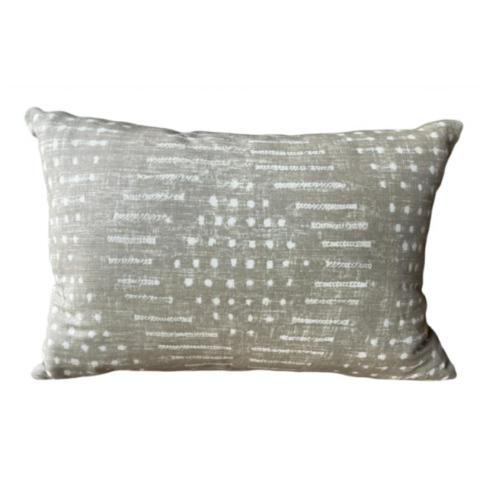
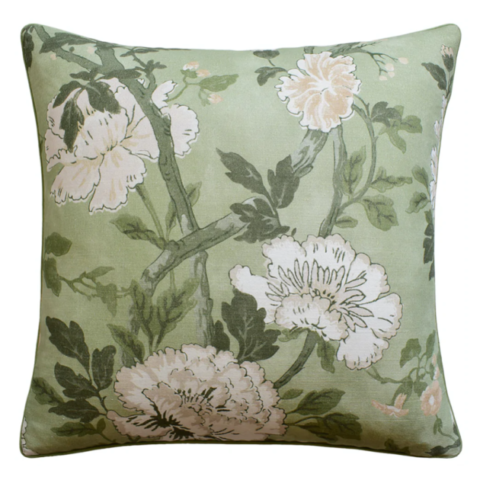
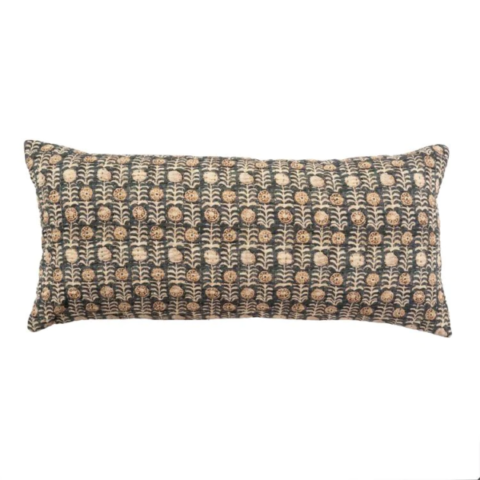
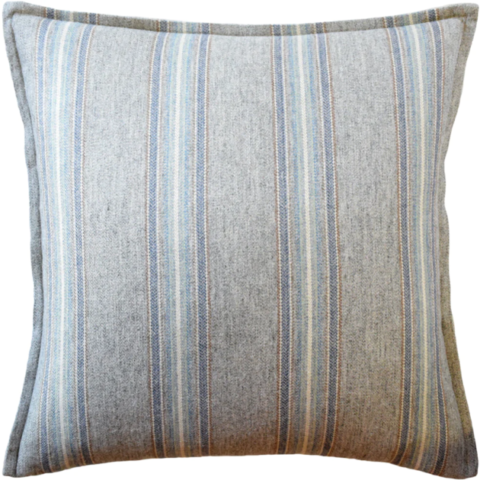
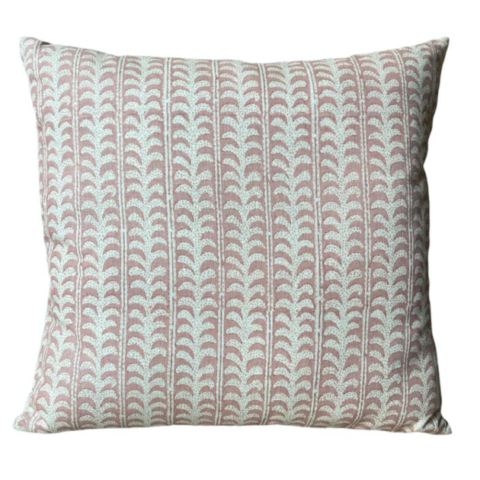
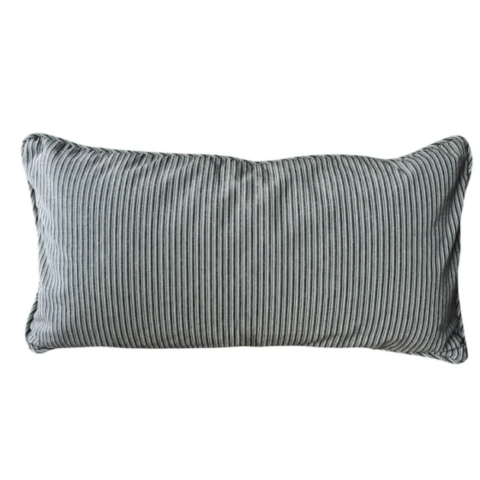
Shop Bed Pillows


Inspiration

0 In Research

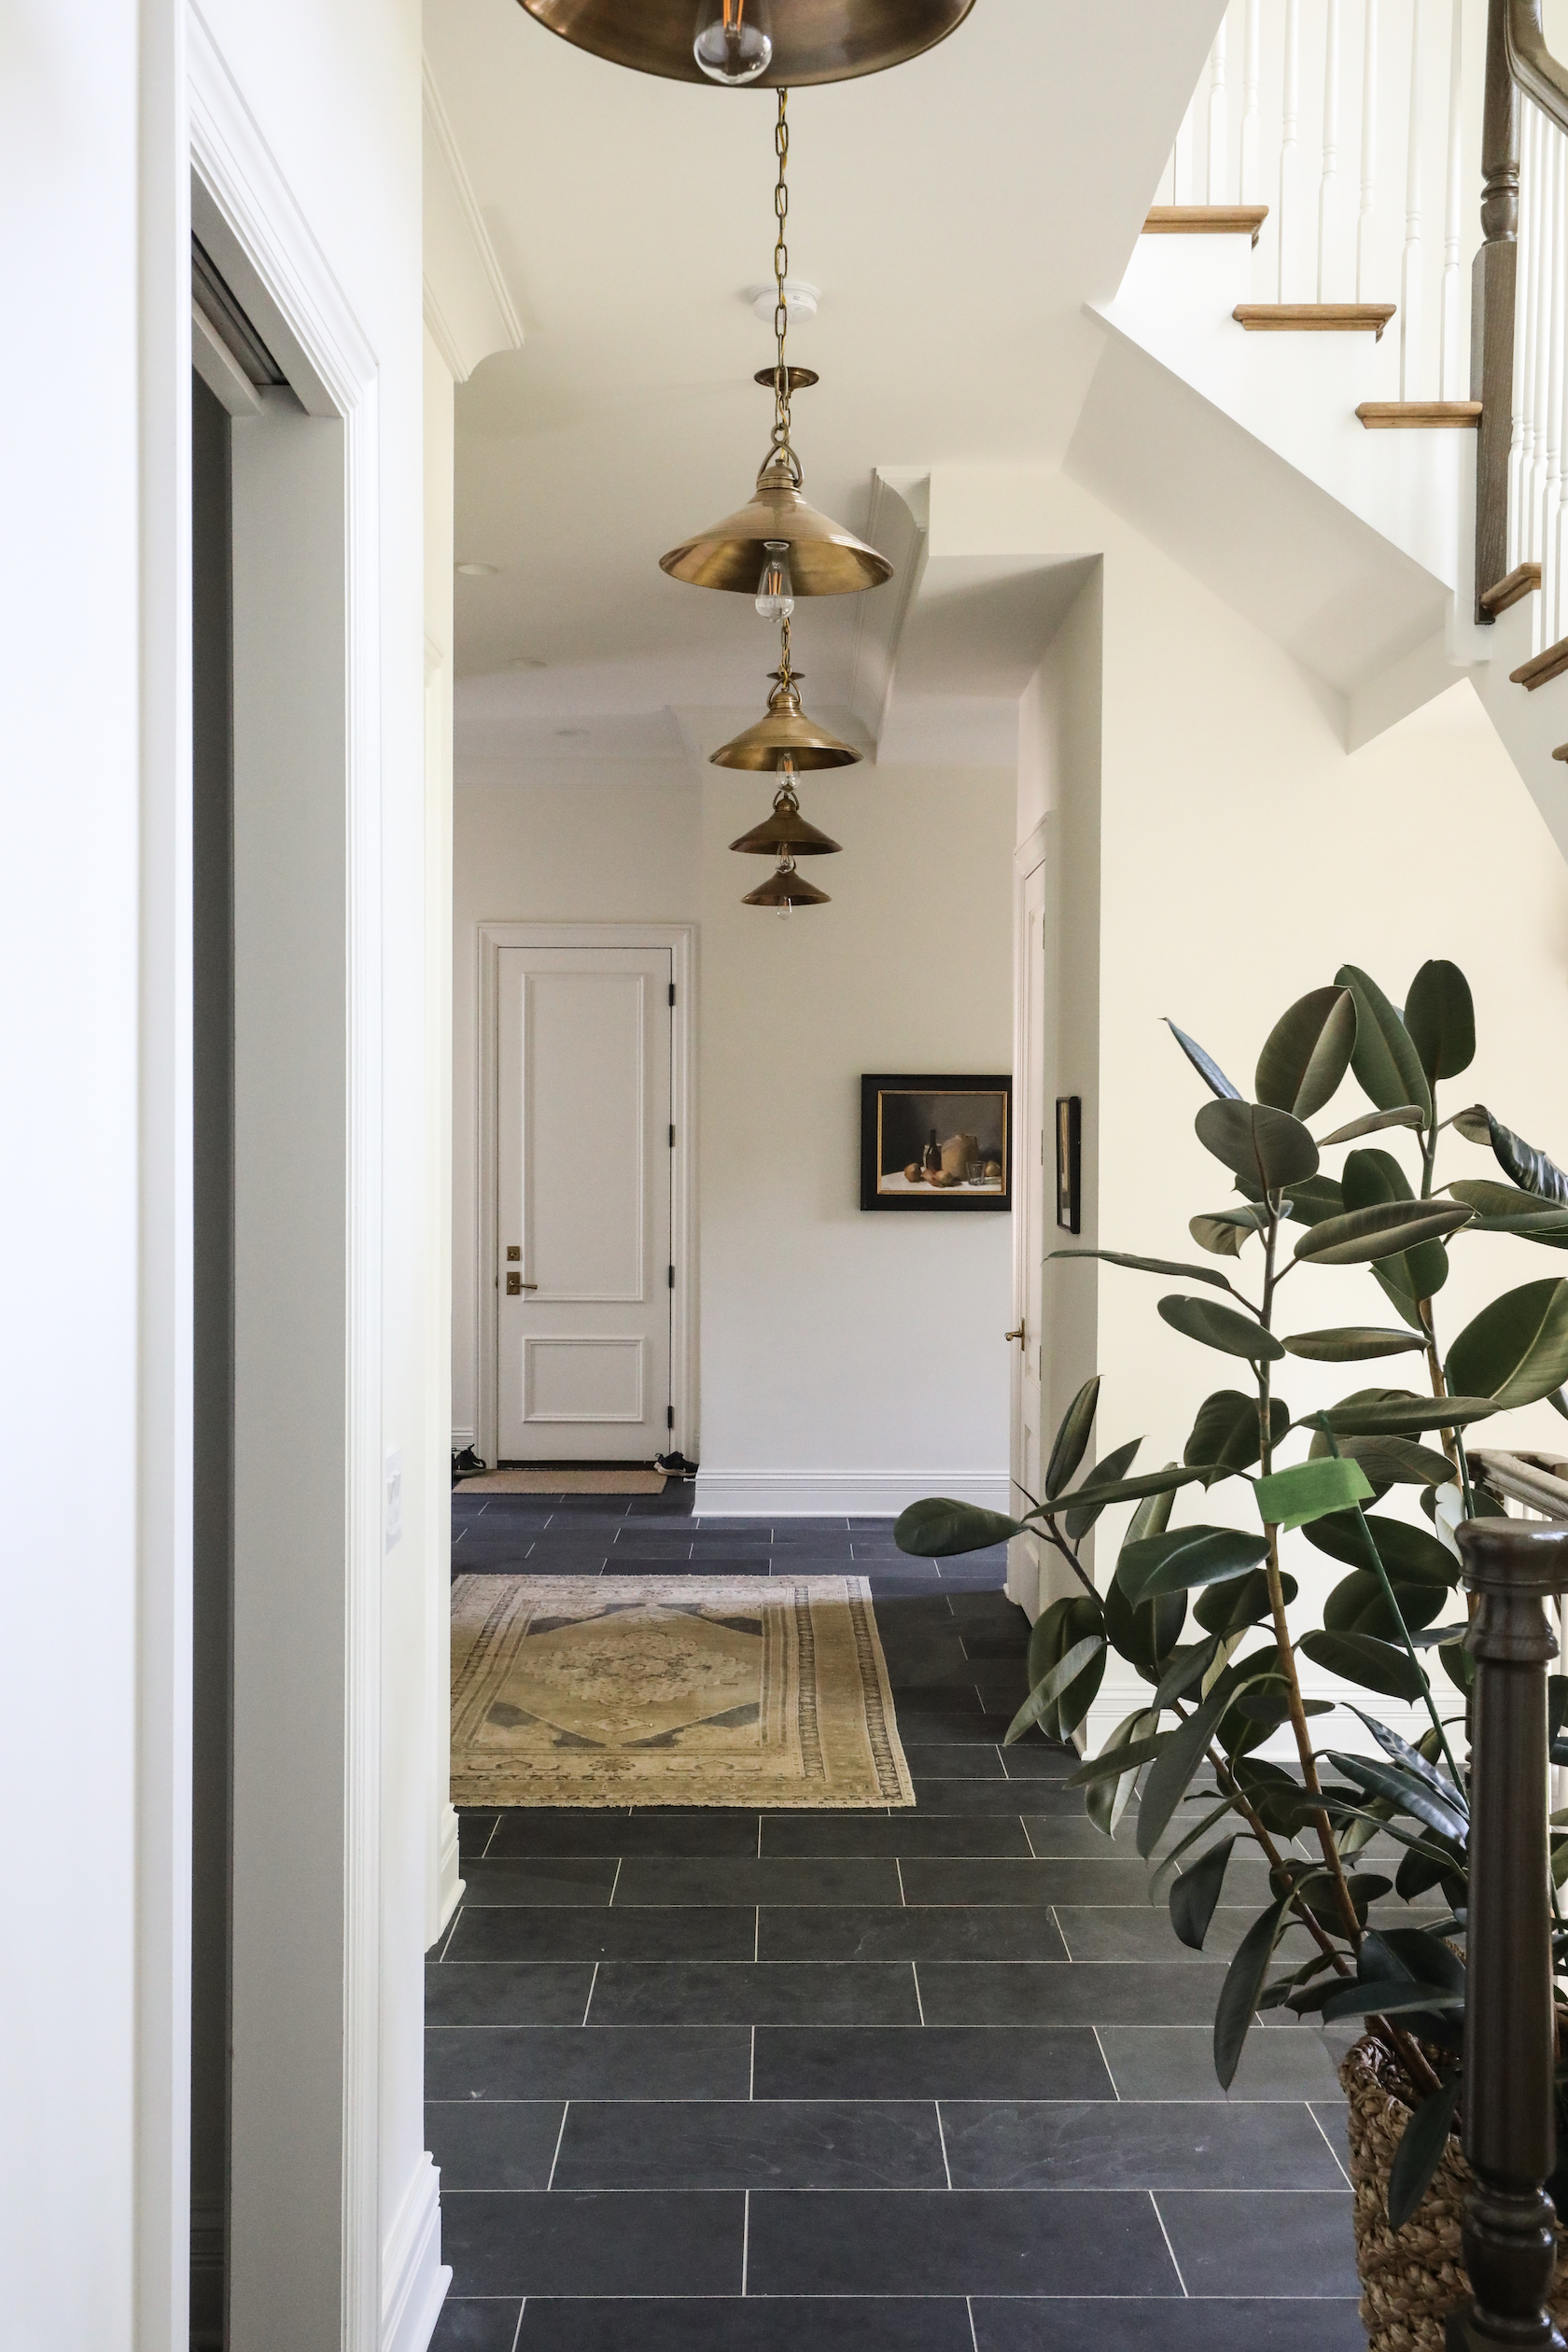
P&O Tips: Hall Lighting

The next installment of an occasional series where we share tips and tricks of the trade to help you navigate sometimes puzzling home design questions.

Today’s Question: How high should I hang lighting in my hallway?

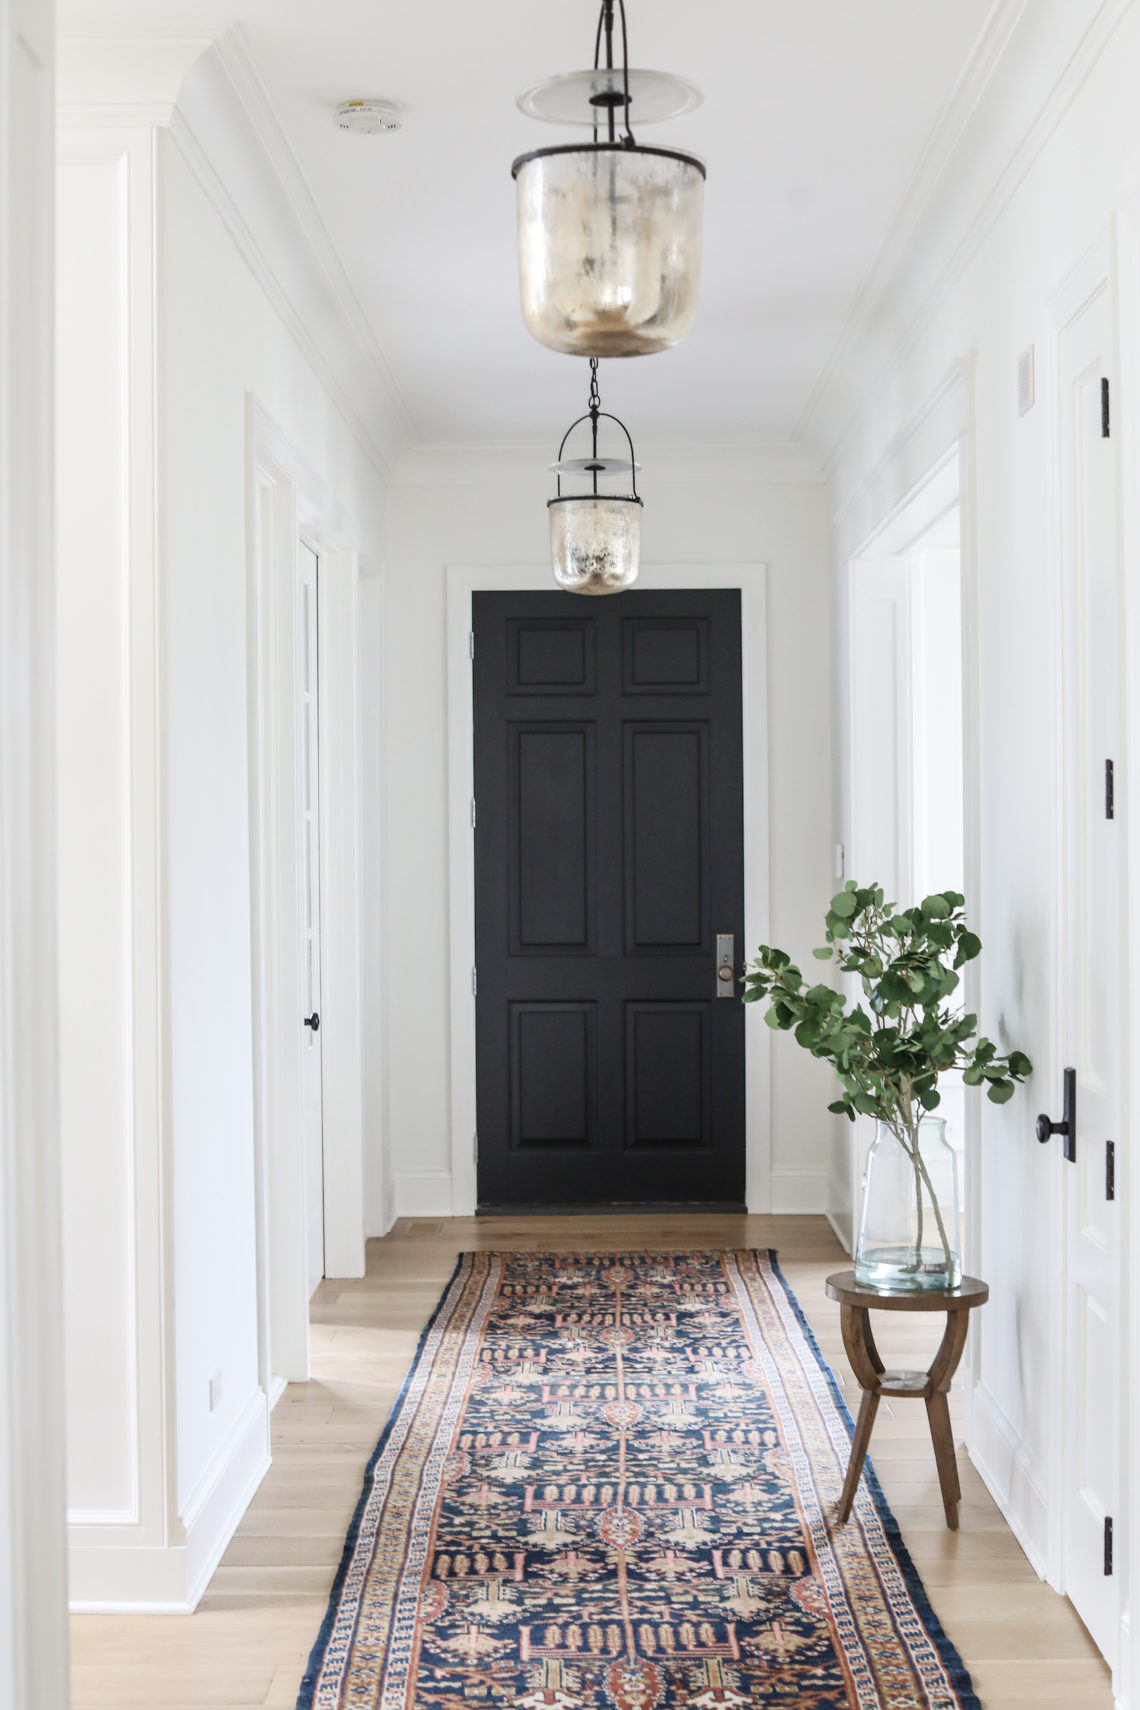
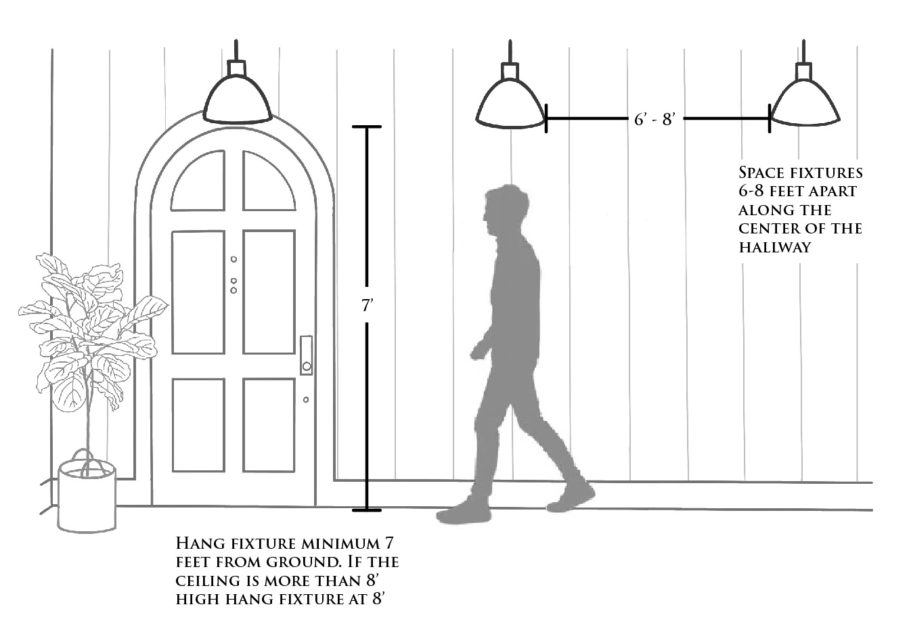
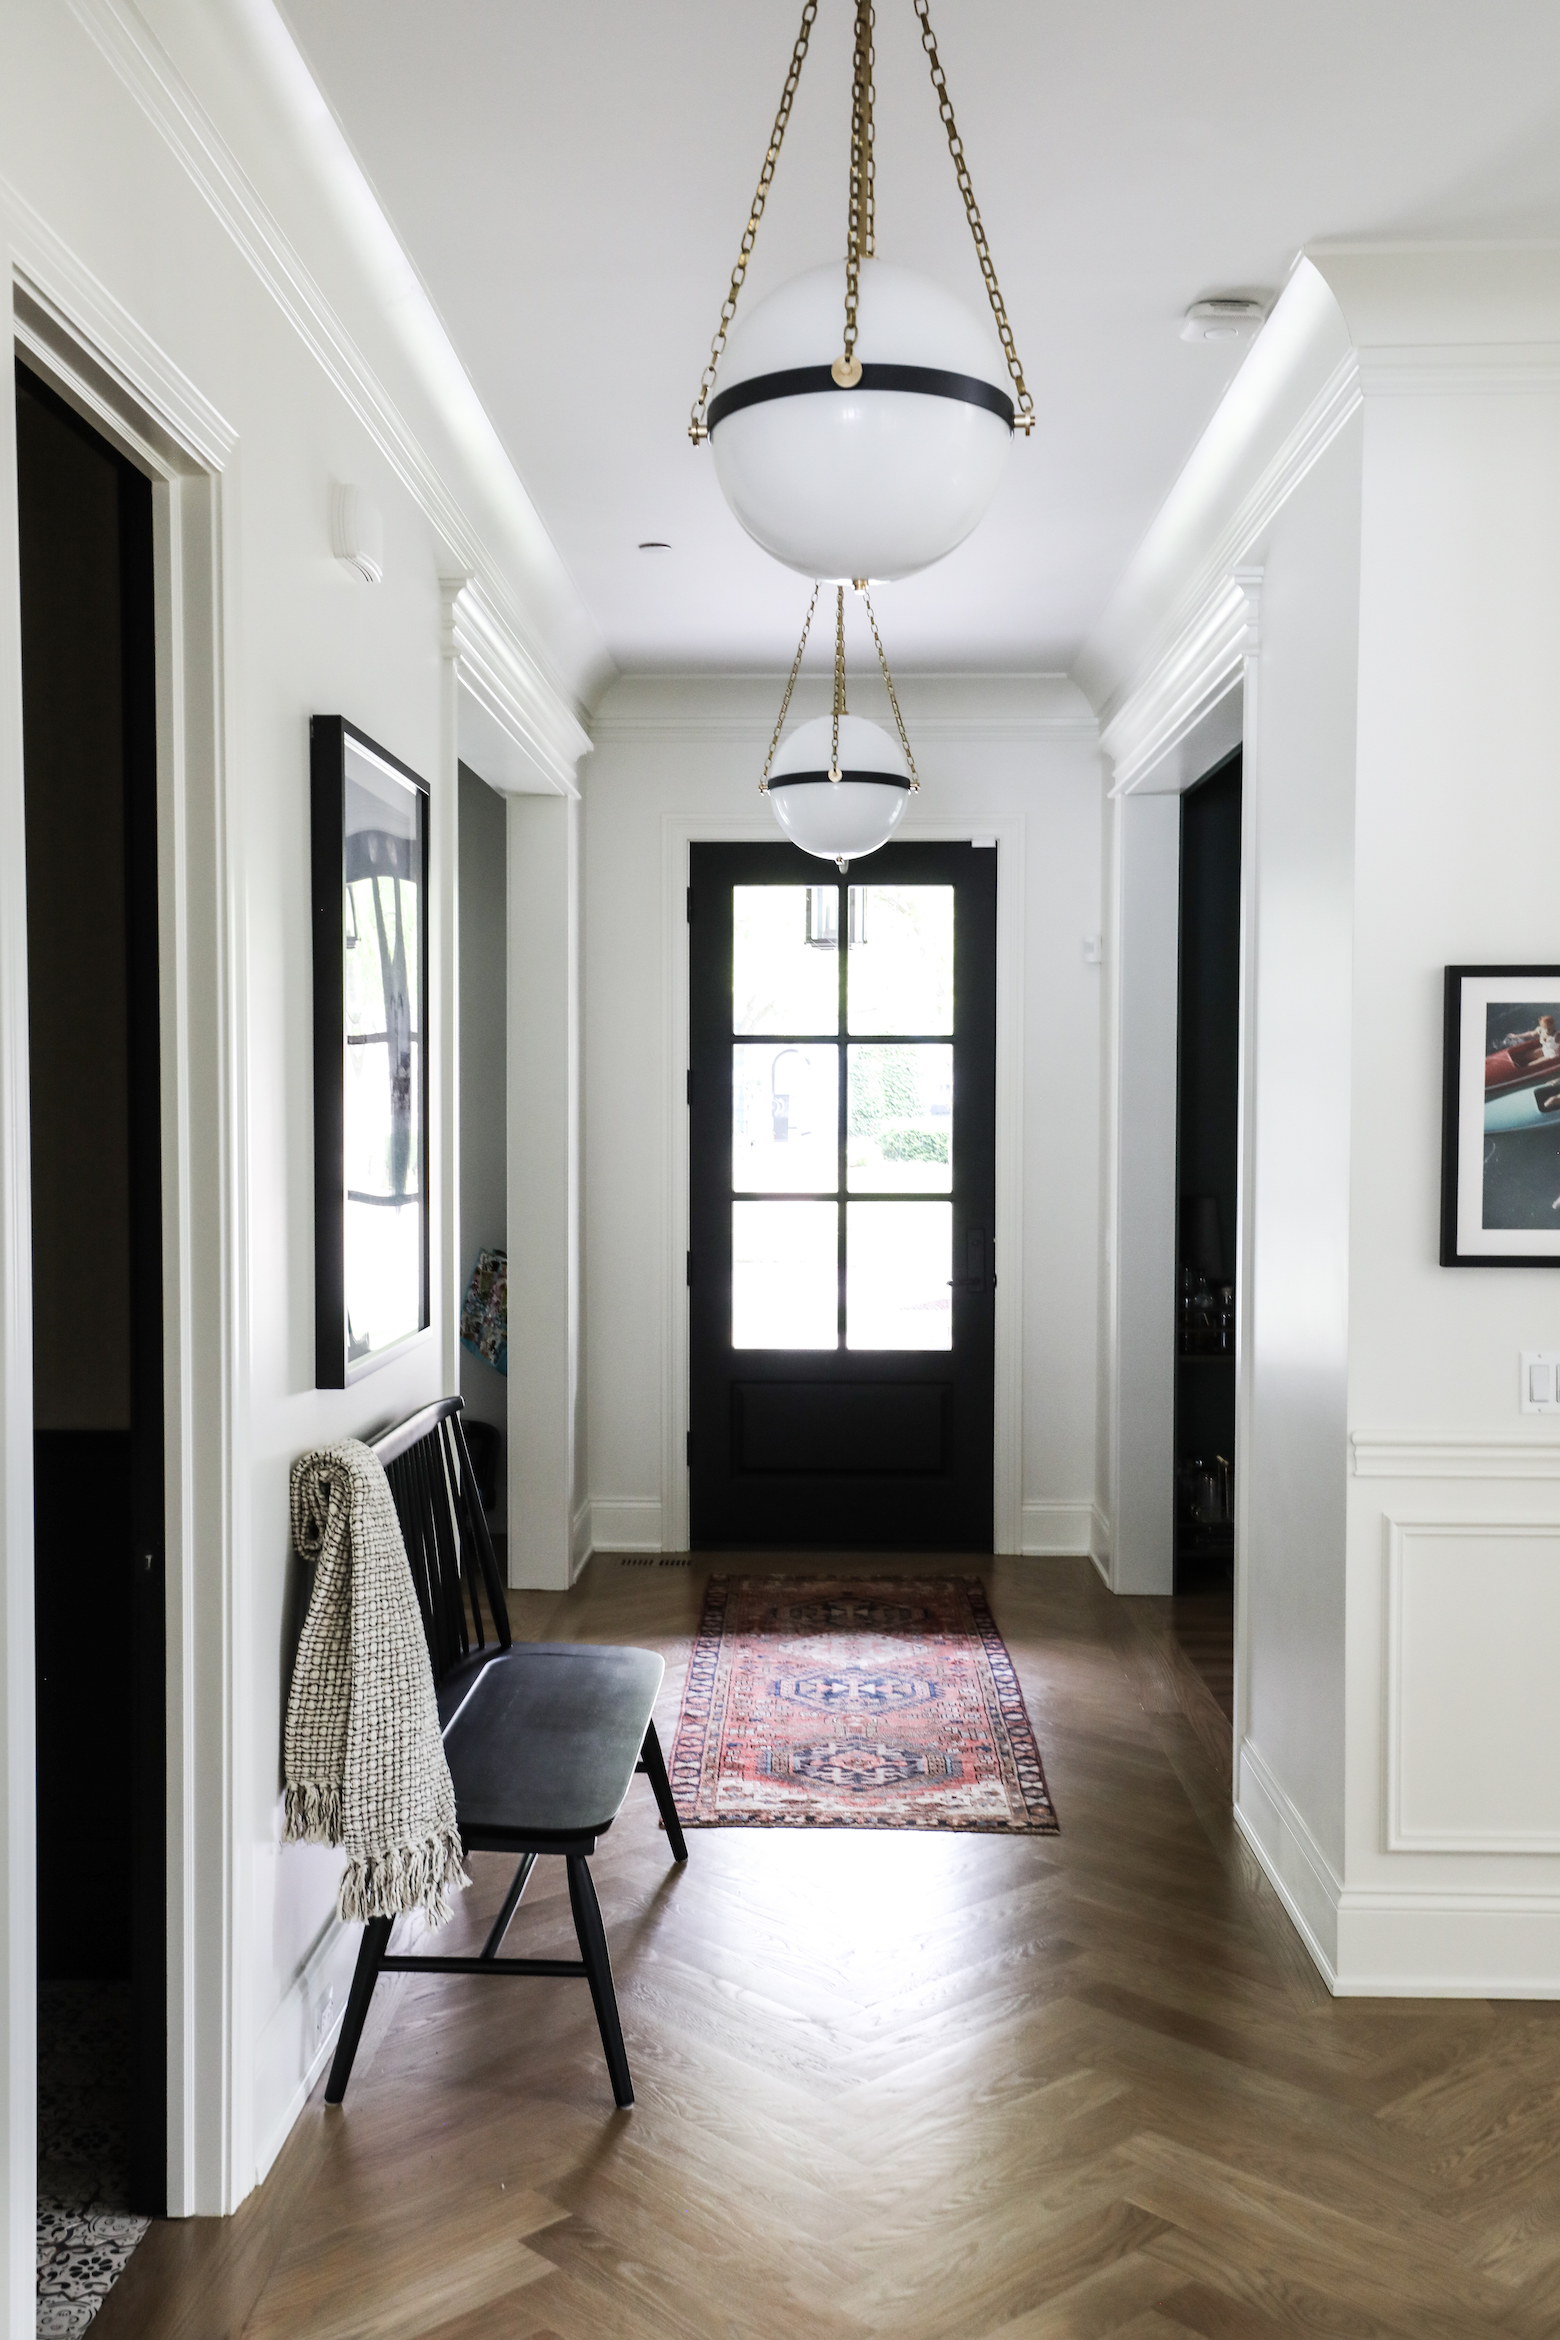
Hallway lighting can feel tricky since no two hallways are created equal. Different heights, lengths and shapes of a hall may make the options feel dizzying, but if you follow two main rules, all will be well:

  1. Fixtures should be 6-8 feet apart along the hallway.
  2. Fixtures should be hung a minimum of 7 feet from the ground. For taller ceilings, hang at 8 feet above the ground.

By following these two basic rules, you can ensure that light will be plentiful, balanced and, most importantly, not in danger of bonking any heads!

Inspiration

0 In Research

Wall Molding

Park & Oak is fortunate to work on projects ranging from new build to century-old historical homes, and everything in between. One of the features we love most about the older homes we renovate is the existing millwork, whether in the form of molding, paneling, trim or casings. We often bring these elements into new build homes to echo the character and elegance of a historic or older home.

We could fill pages on the various styles of millwork, so this time around we’ll focus on five common types of wall molding and show some ways we have used it.

Applied Molding

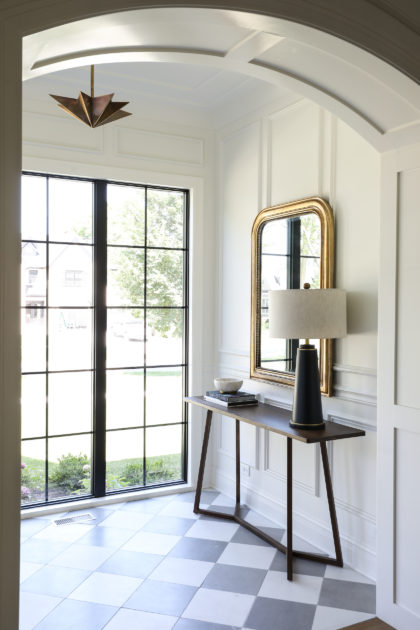
Wall molding and paneling was common in home construction long ago in part because it helped protect plaster walls from moisture build-up when easy temperature control was not available. So, in addition to providing visual interest, wall moldings served a functional purpose. Often today, millwork is used for primarily aesthetic reasons, and because of this, applied molding has become very popular. Applied molding, like that featured in the two photos below, allows us to give a home the visual effect of molding, without the necessity of full panel millwork to protect walls. When used in a new build home, these applied moldings offer a subtle way to make a big impact, and bring a layer of tradition to a new space.

Beadboard

A type of vertical panel molding, original beadboard were narrow wood tongue-and-groove pieces with a beaded detail milled into the space where the pieces joined together. Historically, beadboard was used to provide additional insulation, and appeared often in kitchens, on porch ceilings and in hallways. Changes in the weather meant the boards would expand and contract with the seasons–the beads bridged the gaps with a pretty detail when the boards were expanded. Beadboard’s frequent appearance in New England cottages eventually made it ubiquitous in cottage-style designs, but we believe with the right treatment it can be at home in any fresh, classic interior. Beadboard is often used in wainscoting, which is a general term for panels or moldings covering the lower part of a wall.

Board and Batten

This is a clean, slightly more modern take on wall moldings. It consists of a regular pattern of wide molding (“battens”) used to cover the seams of the panels (“boards”) beneath. In an interesting juxtaposition, board and batten was historically most common as an exterior siding style for country homes and churches. However, when designers began adapting it for interiors, it took on a new life, and is now a welcome way to bringing freshness to interior millwork.

Raised Panel Molding

With panel molding, we create layers using a series of panels, stiles and rails in different sizes and configurations. Used commonly in formal, historic homes for wainscoting, panel molding provides true protection to a wall, so we like it in spaces that see a lot of traffic, like a powder room, or in areas of the home where furniture may frequently bump up against the wall, like a dining room, or cocktail room. Raised panel molding is also a striking way to accentuate architectural details like a fireplace, doors, or windows.

V-Groove Molding

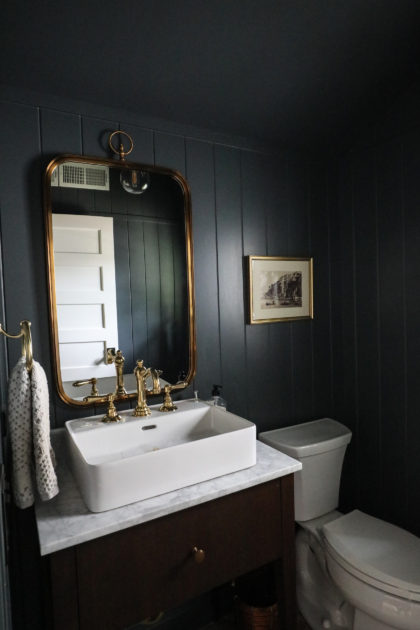
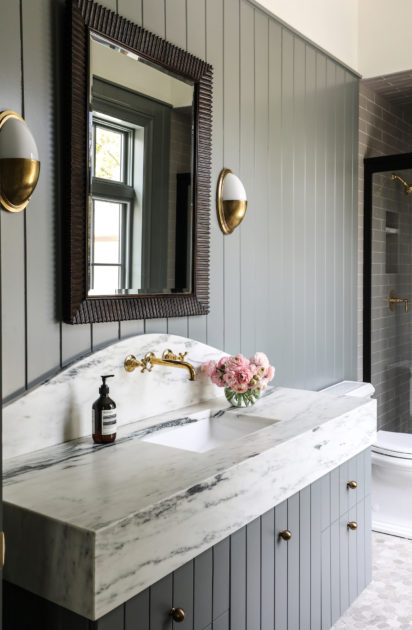
V-Groove molding is a style of tongue-and-groove molding, generally seen used with wider planks. As with any molding, other choices throughout the space can dial up or down the drama, so while V-Groove molding is sometimes associated with more informal interiors, it can still be elegant or striking. We like it in full wall applications for smaller spaces like a bedroom, or bath.

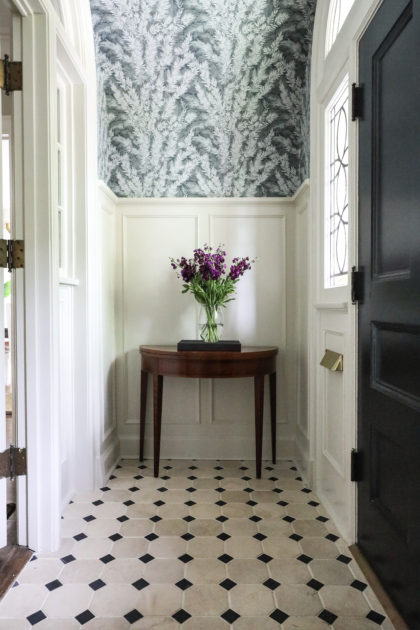
Below, see some additional ways we’ve used wall moldings to elevate new spaces, or highlighted the molding in an older home to resurrect its wow factor. It’s a minimal effort, maximum effect method to make a big impact in a home.


Wall Molding at P&O

0 In Research

P&O Tips: Lighting above an Island

The next installment of an occasional series where we share tips and tricks of the trade to help you navigate sometimes puzzling home design questions.

Today’s Question: How high should I hang lighting above my island?

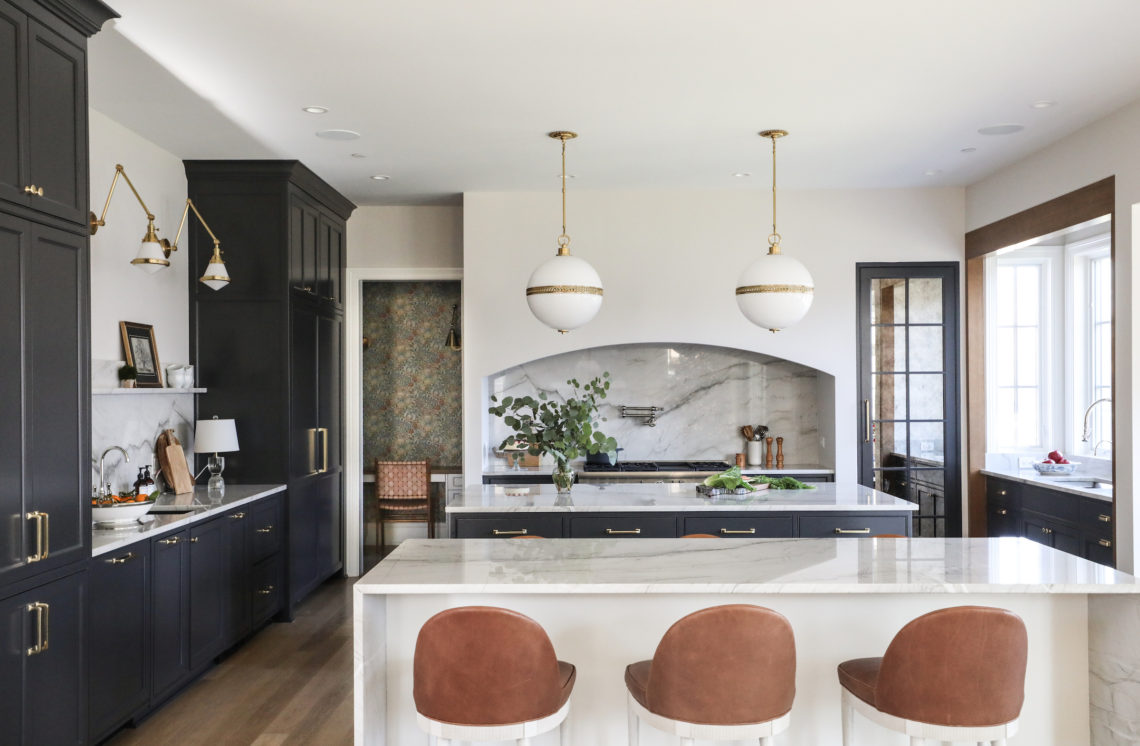
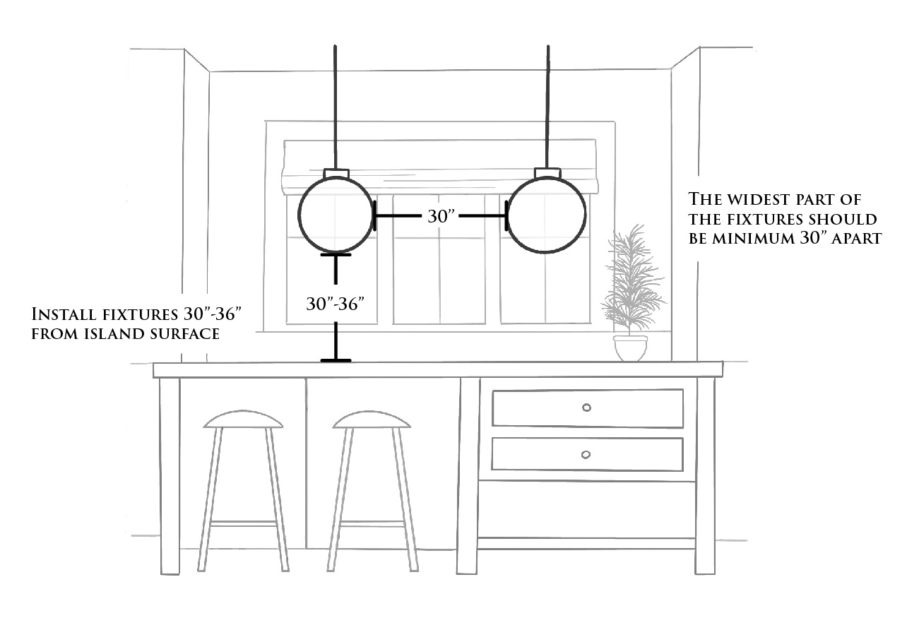
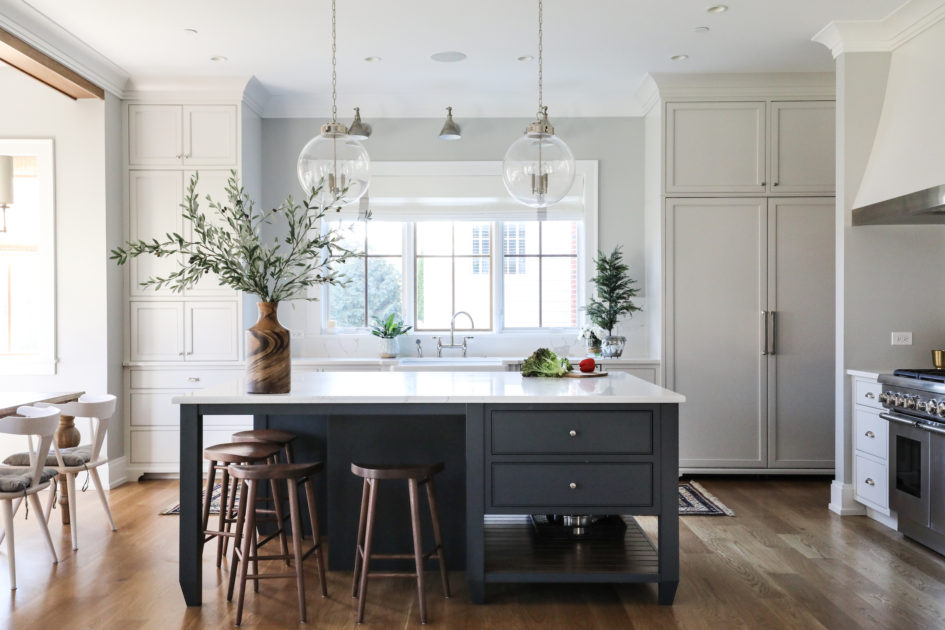
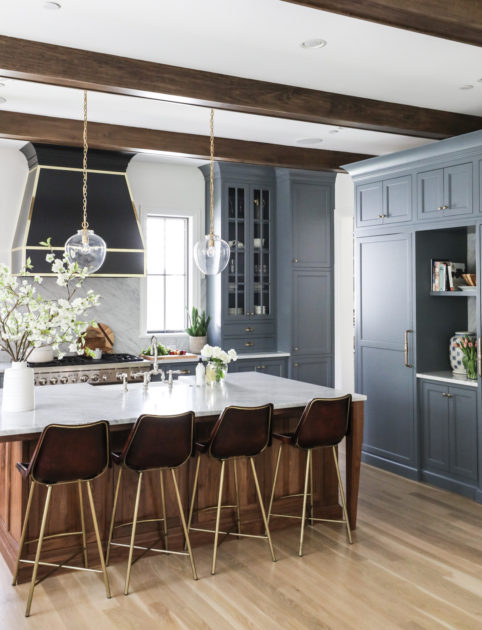
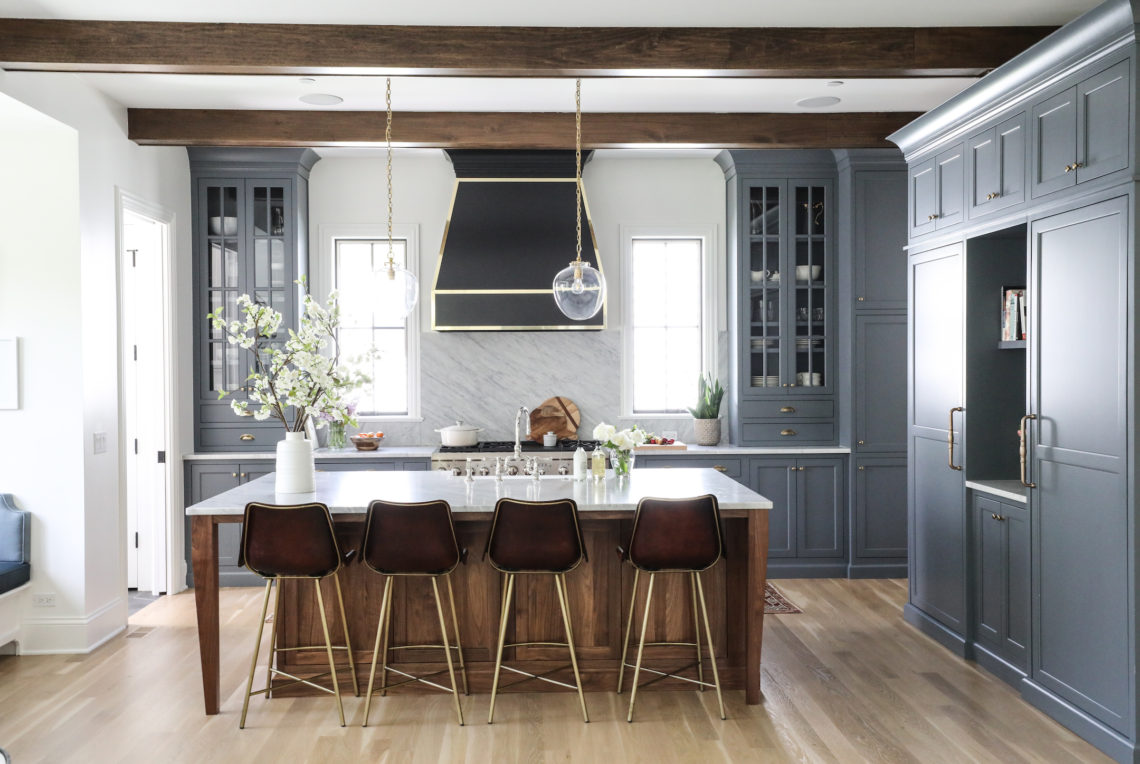
Similar to installing lighting above a table, the lighting above your island should be hung with a 30-36″ clearance between the bottom of the fixture and the island. This amount of space ensures that the quality of light will be bright enough to work by, but also not too focused on the island alone. Additionally, leaving 30-36″ puts the fixture high enough to leave open sight lines throughout the kitchen.

Often, fixtures above an island come in pairs. When that is the case, be sure the widest part of the fixtures are at least 30″ apart. Longer islands can accommodate larger fixtures, but the width between the two should still be at least 30″ apart.

via Park & Oak

Inspiration

0 In Research

Houseplants

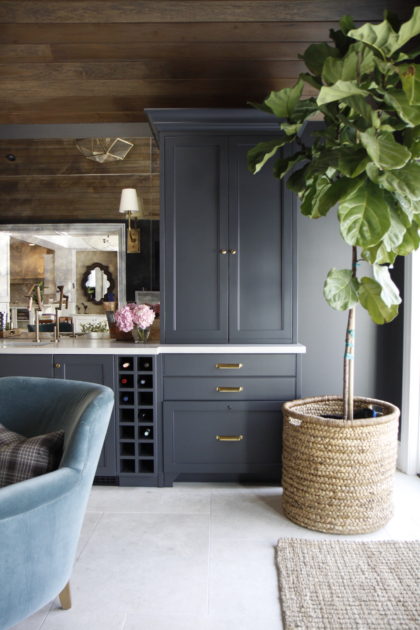
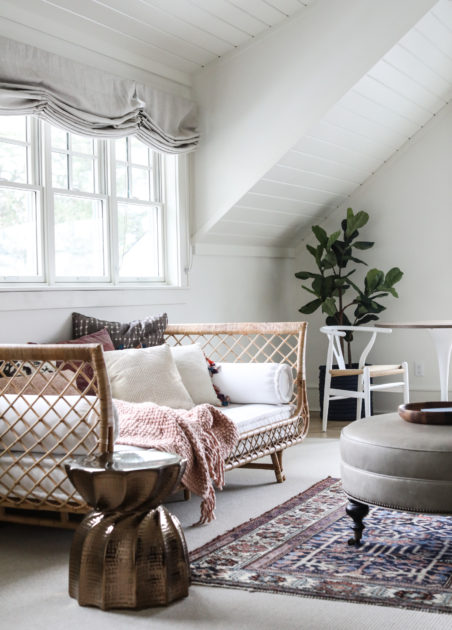
Our homes come alive in the details. A beautifully furnished room can be lovely to look at, but until someone lives in it and adds a special touch here and there, it will lack character, warmth. One of our favorite ways to add that life to a room (literally!) is with plants.

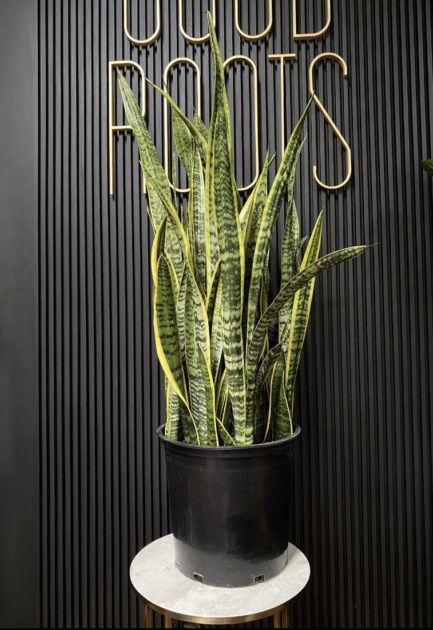
We are so lucky that our main studio is around the corner from plant purveyor wonder-women Ashley and Lindsay at the top-notch plant shop, Good Roots. Their shop is gorgeous, filled from floor to ceiling with the very best houseplants, in a cozy, welcoming space. If you are local, you really should pay them a visit. Dare you to walk out without at least two plants. We can’t.

If you are not an experienced plant owner, buying a plant can be overwhelming. A huge part of the benefit of buying a plant from an expert at a small shop like Good Roots versus a big box store is the advice that comes with it. Here are a few nuggets we collected from Ashley and Lindsay:

  • First and foremost, do not put a square peg in a round hole.

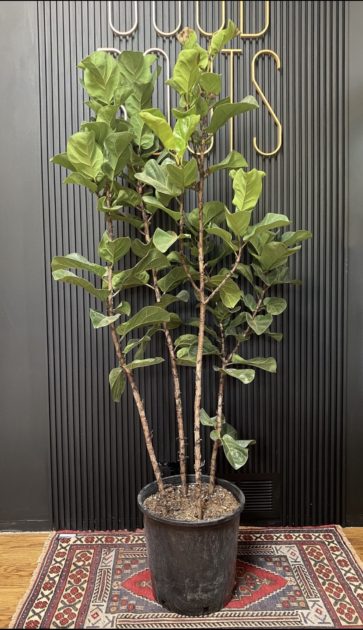
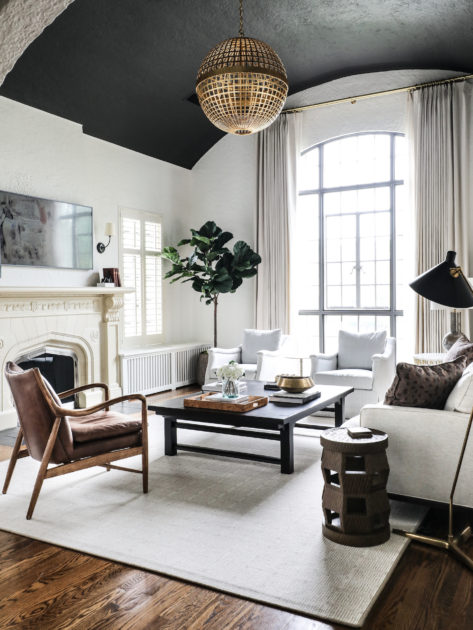
If you have a specific spot in your house that needs a plant, get the right plant for the spot. For example, fiddle leaf figs are all the rage right now, but they are extremely fussy, needing very specific light and watering conditions. They don’t like to moved. Or ignored. Or looked at the wrong way. This is not a plant for the faint of heart. Or for sprucing up your newly remodeled basement.

  • Shop for your light.

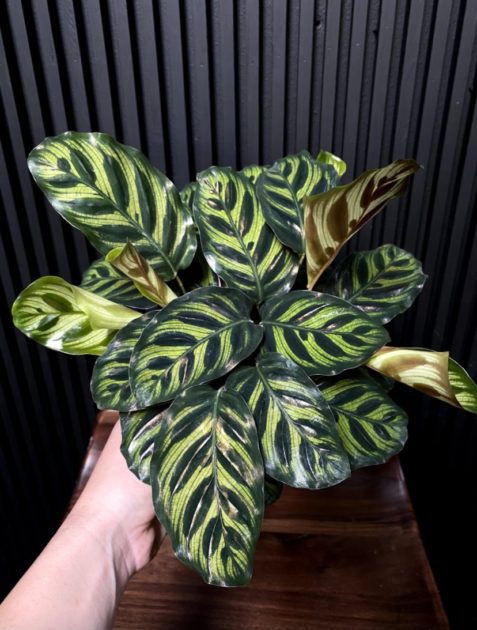
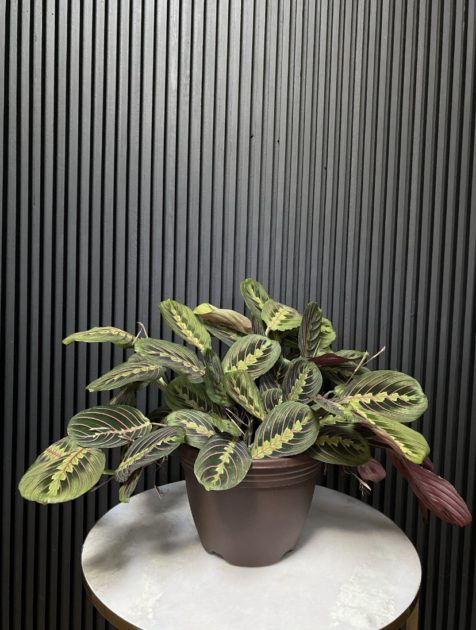
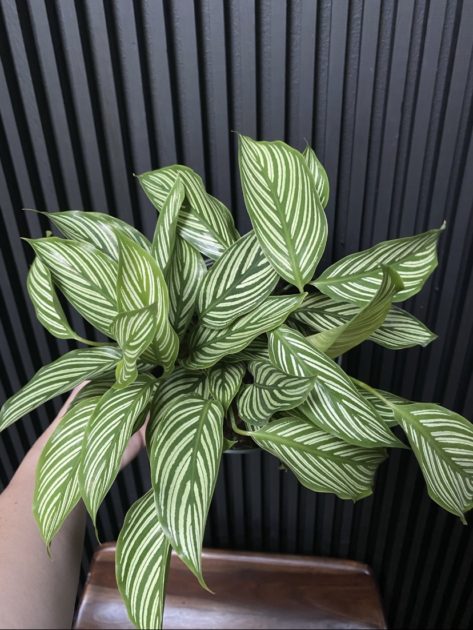
Building on the first tip, know where the plant you are shopping for will live in your home. More than any other care need, different plants can require radically different light. One of our team members has a giant sansiveria fernwood (a type of snake plant) that lives in one of the darkest rooms of the house, yet it flourishes. The same would not be true of a calathea, which needs an abundance of bright (but not direct!) sunlight to thrive.

  • Leave that plastic pot alone.

Your plant comes in a plastic pot. Don’t remove it! Feel free to buy a gorgeous cover pot, but pop it right in there in its original pot. The built in drainage is very important for the long-term health of your plant.

  • And finally, understand how to water.

Here’s where those all-important drainage holes come into play. Overwatering is watering your plants too frequently, NOT, as many may believe, giving too much water in one session. Each time you water your plant, you should see water flowing out those drainage holes at the bottom of the pot. This may seem like a lot of water. It’s not! Your plant does not want a spritz. It’s thirsty. Once you see water coming from the drainage holes, stop. Re-visit again in a week, or 10 days, or a month, depending upon the watering needs of your specific plant.

The ladies at Good Roots have plenty of other great advice and the plants in their store are all labeled with their care needs to help you along. Ready to shop? Here are some suggestions of plants that may work for you based on your plant-owner comfort level.

I can barely keep myself alive.

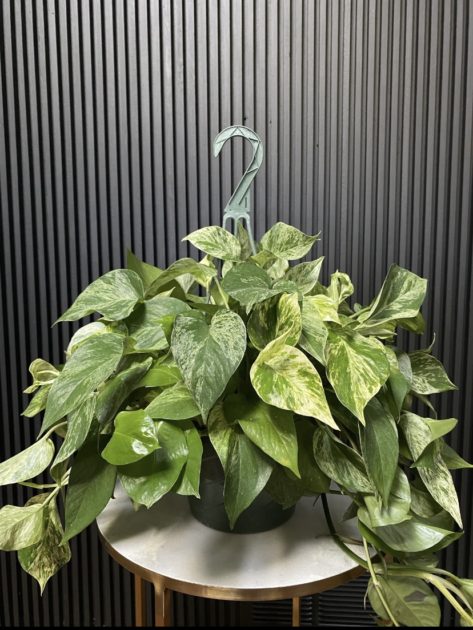
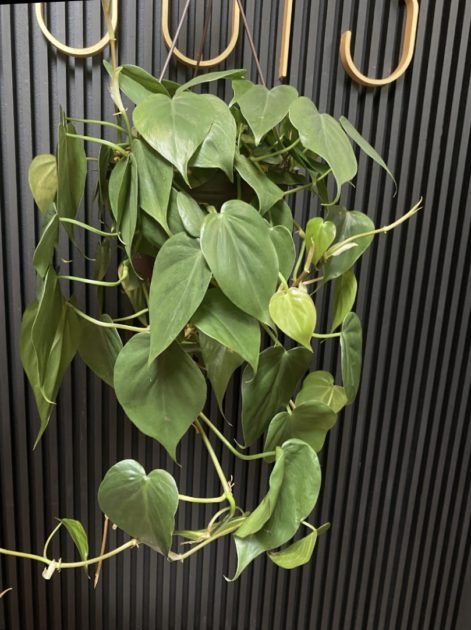
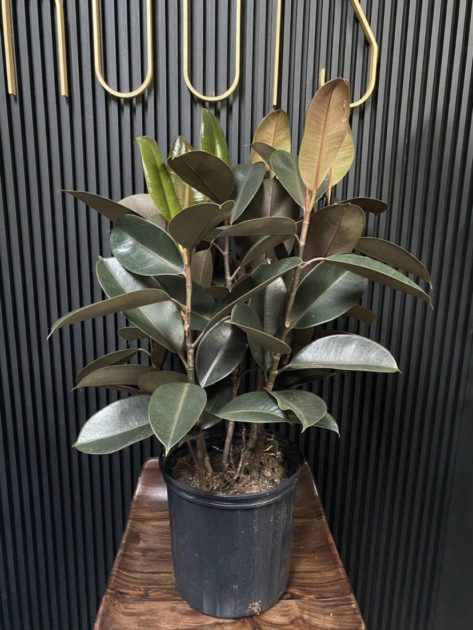
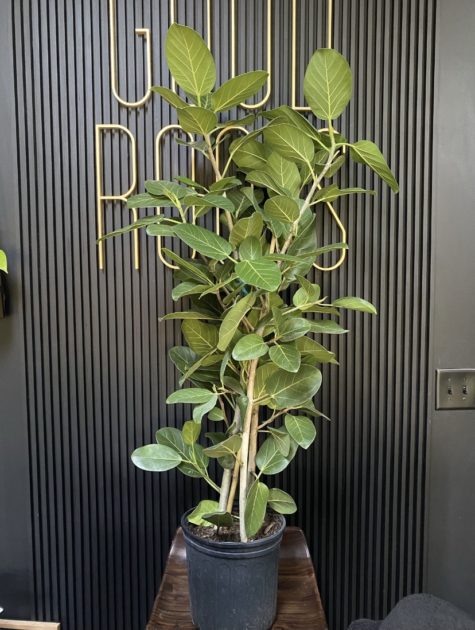
It’s ok. You’re in good company. We’ve all been there. Lucky for you, there are lots of plants that, as Ashley and Lindsay will cheerfully tell you, “want to be ignored.” Any of the plants in this gallery make good starter plants, are forgiving of missed waterings, and will tolerate most light conditions.

I have a plant or two. They are happy.

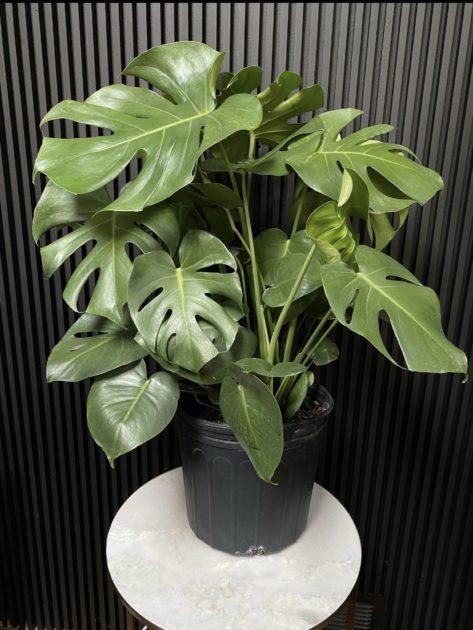
Most of us fall into this category. Ready to take on something a little more challenging? These plants will need more frequent watering than those in the previous category, but are generally still forgiving of human imperfection.

It’s a jungle in here.

Go crazy. The sky’s the limit. Be prepared for the sometimes fickle needs of these beauties. May we suggest a spreadsheet for tracking your watering schedule? Your plant kingdom will thank you.

There are dozens of other varieties that fall into each of these categories. Find a local plant shop and let them help you choose the best plant for your space AND your plant-loving capabilities.

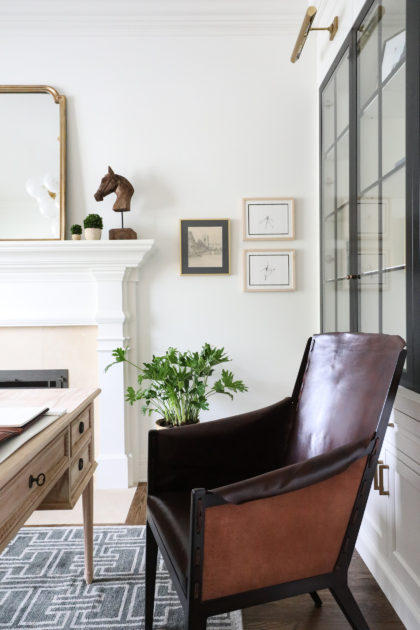
Check out the gallery below for houseplants playing the star (or sometimes just offering color commentary) at Park & Oak.

Houseplants at P&O

0 In Research

P&O Tips: Lighting above a Table

Welcome to the first in an occasional series where we share tips and tricks of the trade to help you navigate sometimes puzzling home design questions.

Today’s Question: How high should I hang my chandelier above my dining table?

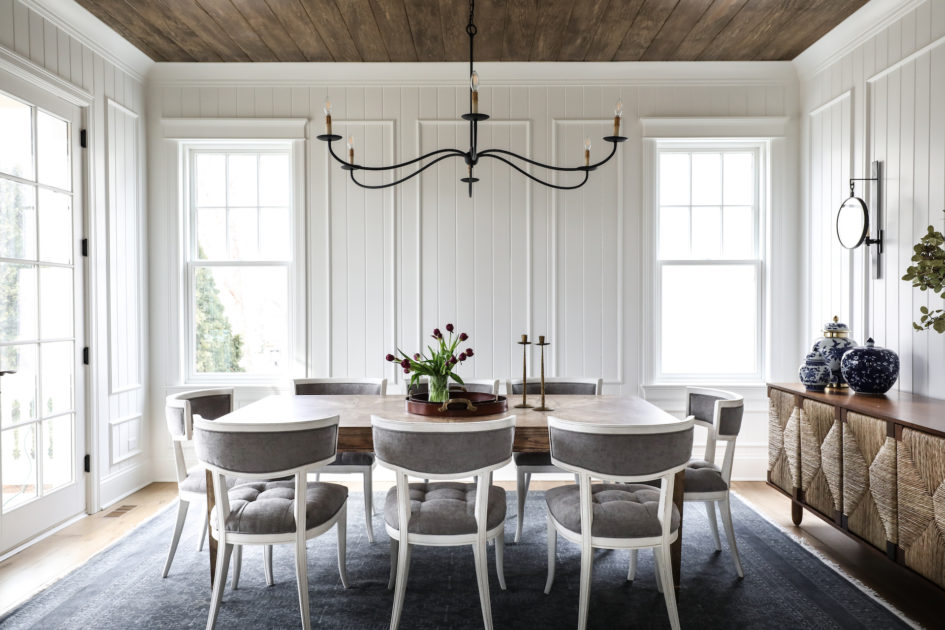
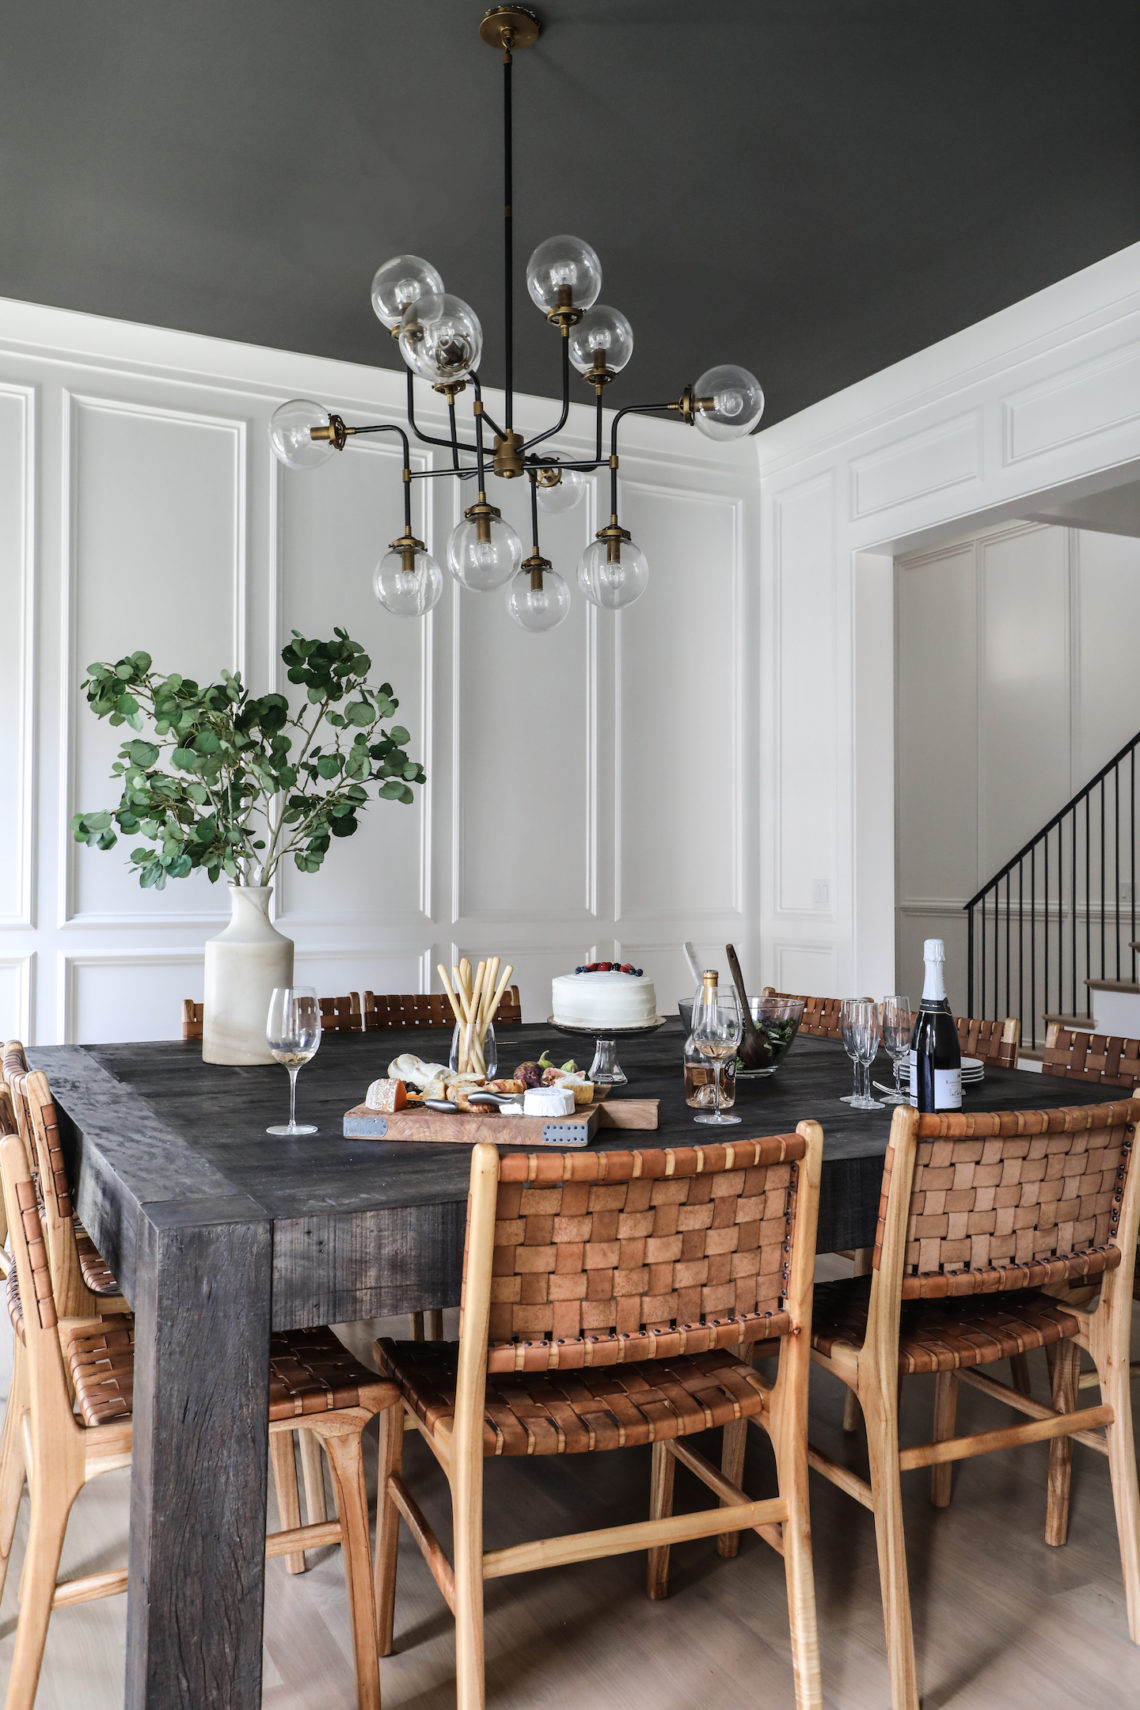
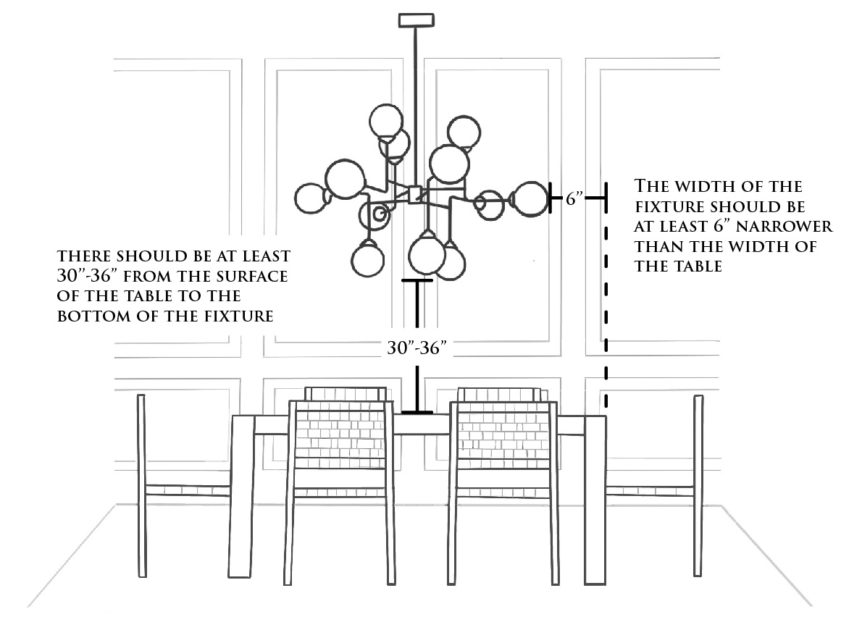
This one can be tricky! Too close to the table and the light fixture will be in the way of serving or sight lines for your guests, and may make the light too focused. Too far away, and it may not provide enough illumination. Also, a poorly located chandelier can throw off the scale of an otherwise well-designed space.

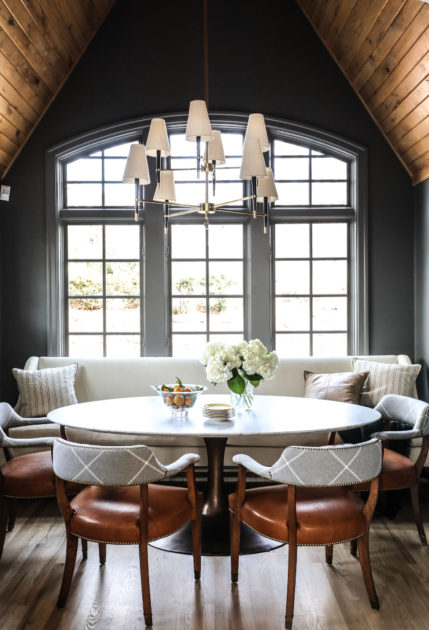
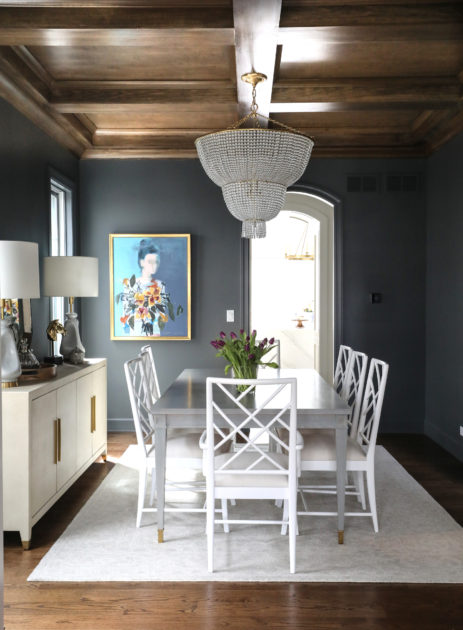
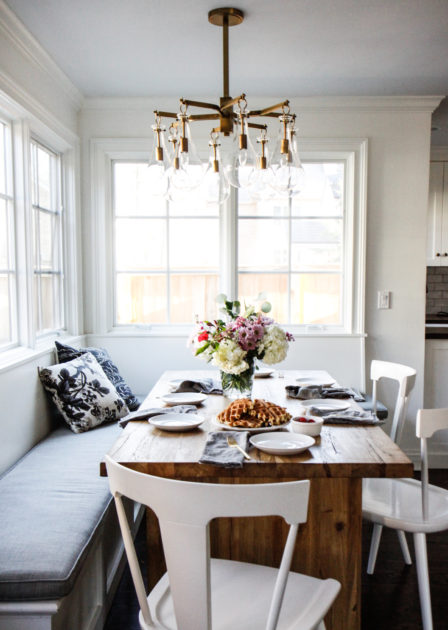
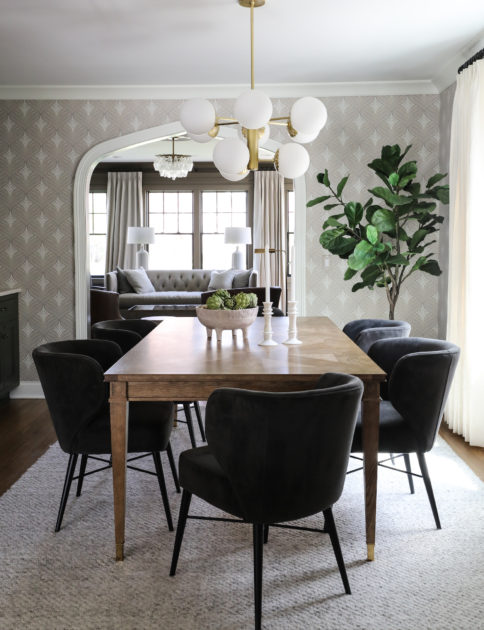
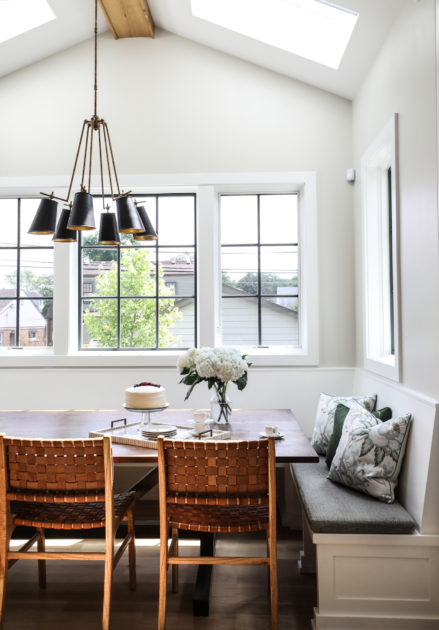
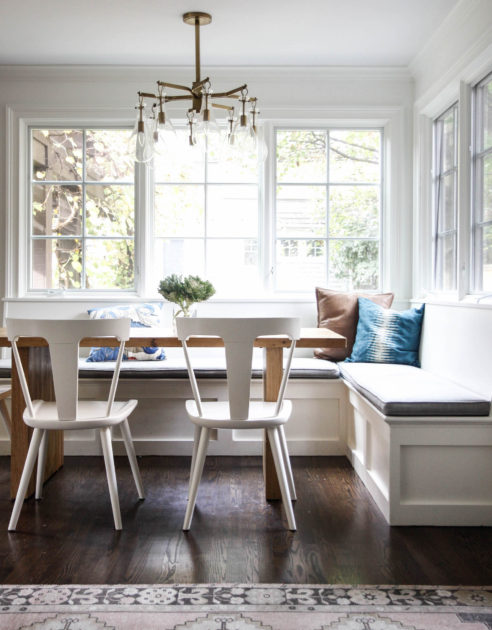
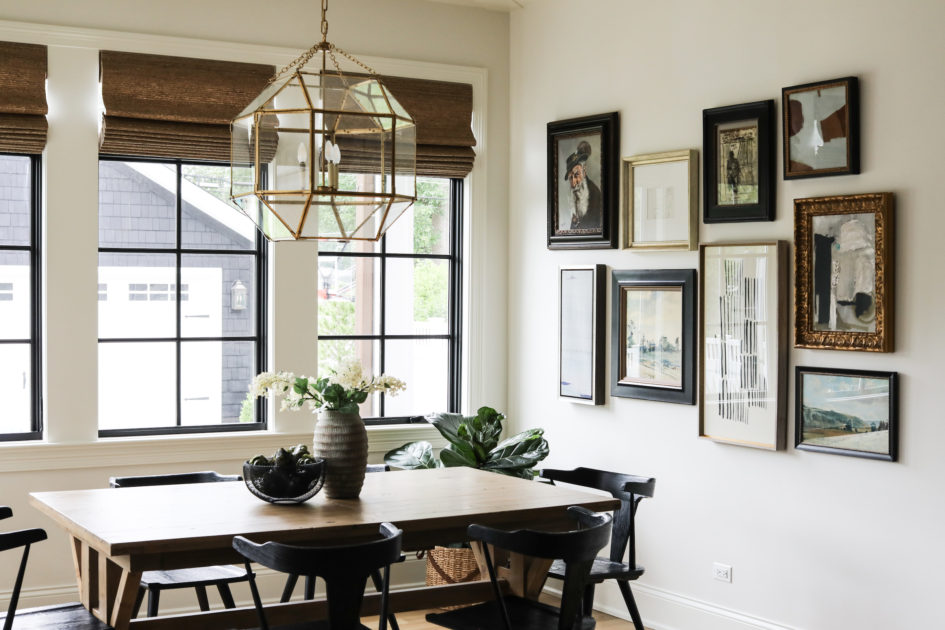
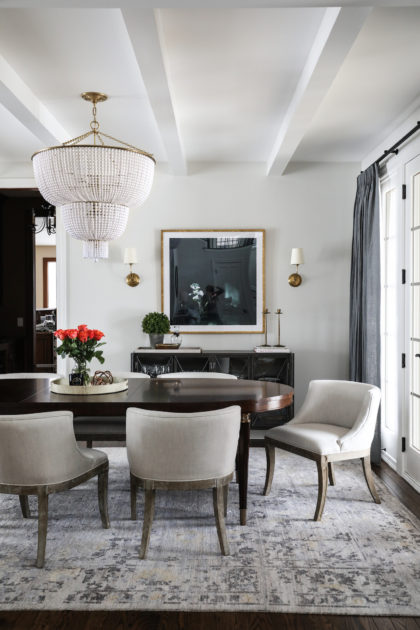
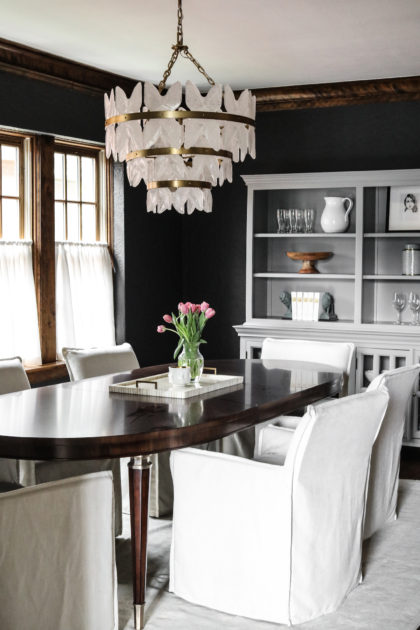
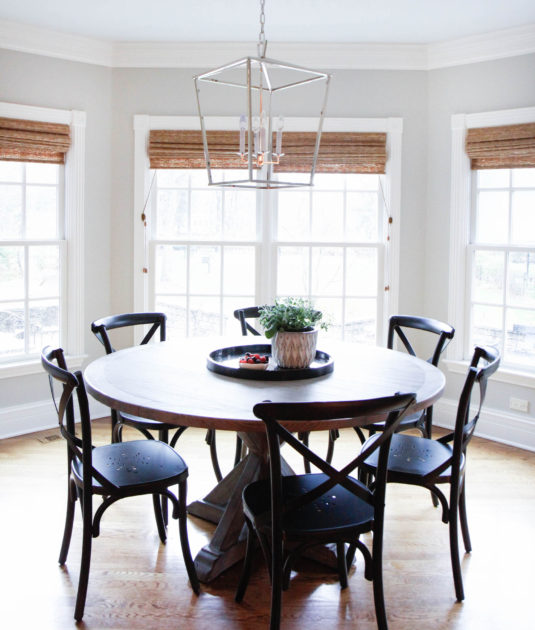
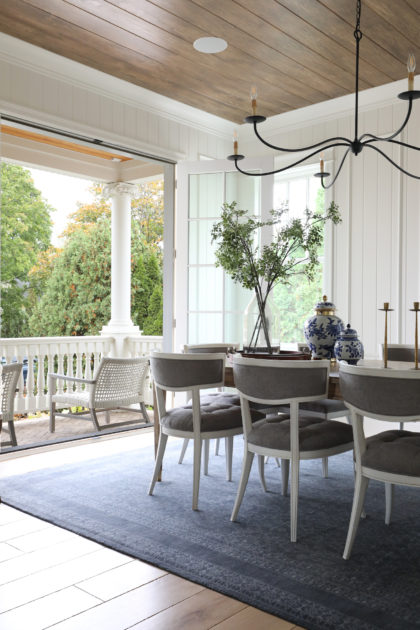
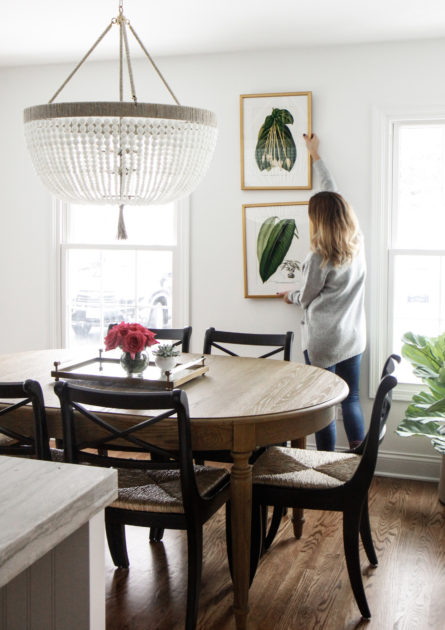
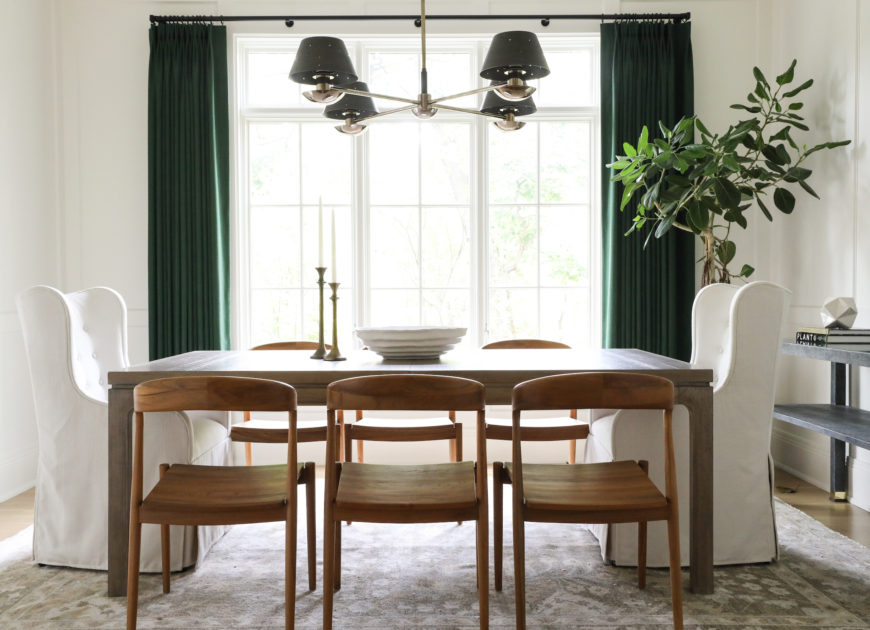
One of our designers came to the rescue with the helpful illustration below. As you can see in her rendering, generally, a light fixture should leave 30-36″ clearance from the table’s surface to the bottom of the fixture. It’s also important to note that the width of the fixture should be at least 6″ narrower than the width of the table. You’ll see in the Inspiration gallery following the illustration that by adhering to these guidelines, you’ll create a dining area where everything is in proper scale and fits together nicely to form a cohesive space.

Good luck!

Inspiration

0 In Research

Integrated vs Panel Ready Appliances

If you’re embarking on a kitchen renovation, you’ve got a lot decisions in your future. Paint and stain colors. Styles and finishes of cabinet pulls and knobs. Tile. Countertops. Island configurations. And, of course…appliances. In fact, choosing appliances is usually one of the first steps in the process since their specific dimensions dictate cabinet sizes and placement and virtually all other layout decisions.

It used to be you picked a refrigerator, chose black or stainless, and called it a day. However, there are options available now that allow you to blend the refrigerator into your kitchen in a way that highlights your beautiful cabinetry and other finishes and minimizes those hulking silver giants. The two options we turn to most frequently are integrated and panel ready.

An integrated refrigerator is indistinguishable from your other cabinetry. No vents or spacing, no special hinges. It can be difficult to even pick out which cabinet is the refrigerator when you choose an integrated design. We love integrated appliances at Park & Oak for their seamless look and prefer to use them whenever possible to let other design elements play a starring role and help the cabinetry look like finished furniture.

Panel ready (sometimes called “built-in”) appliances are also an option if you don’t want your kitchen dominated by appliances. With a panel ready design, you can still cover the refrigerator with a cabinet panel that matches your kitchen. However, you’ll likely still have a visible vent and hinges and the refrigerator door can protrude past counter-depth. With a panel ready design, the refrigerator is more easily identifiable.

Integrated

Where’s Waldo?? Can you find the integrated refrigerators in the Park & Oak kitchens below?

Panel Ready

You can see in these kitchens that while the refrigerator is covered by matching cabinetry, it is more easily identifiable.

0 In Research

Chinoiserie

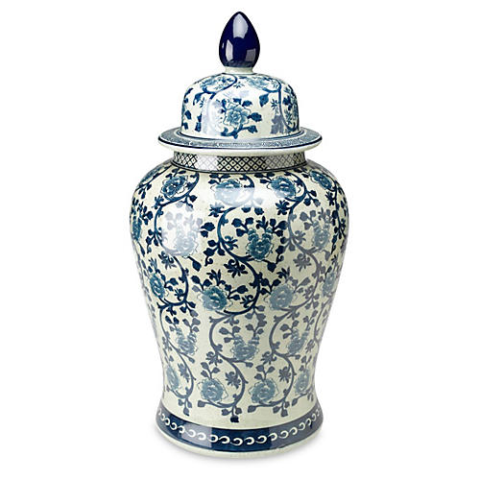
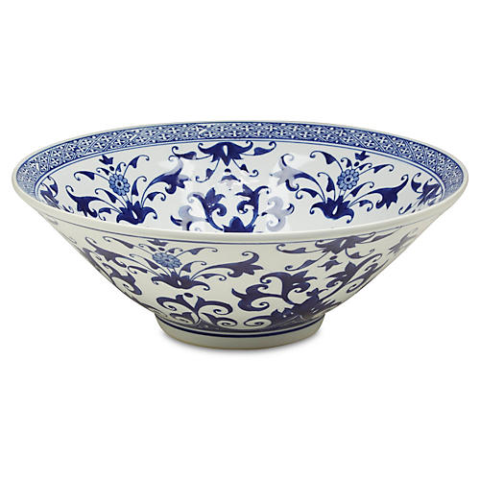
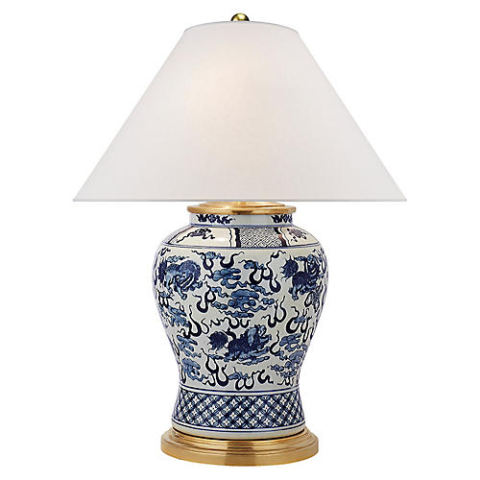
Chinoiserie. (It’s ok, we can’t pronounce it either.) The term describes European interpretations of Asian culture and objects, and originated in 17th century, when European trade with China was flourishing. Europeans, tiring of the same old, same old, were fascinated by China’s foo dogs and dragons, nature scenes, lacquered furniture, and most notably and most recognizable of the chinoiserie style today, their blue and white ceramics with intricate patterns.

Louis XIV cemented chinoiserie as a foundational style of the French classicism era he is famed for, when, in 1671, he ordered the Trianon de Porcelaine built on the grounds of the Palace of Versailles. It was almost entirely encased in blue and white tiles. Ever the trendsetter, his bold use of chinoiserie ignited a trend in Europe that lasted through the 18th century. Chinoiserie has waxed and waned in popularity since, but experienced a significant revival in the the U.S. in the 1930s during the height of the Art Deco period. And with the rise of grandmillennial and maximalist styles in the 21st century, chinoiserie is sought after once again.

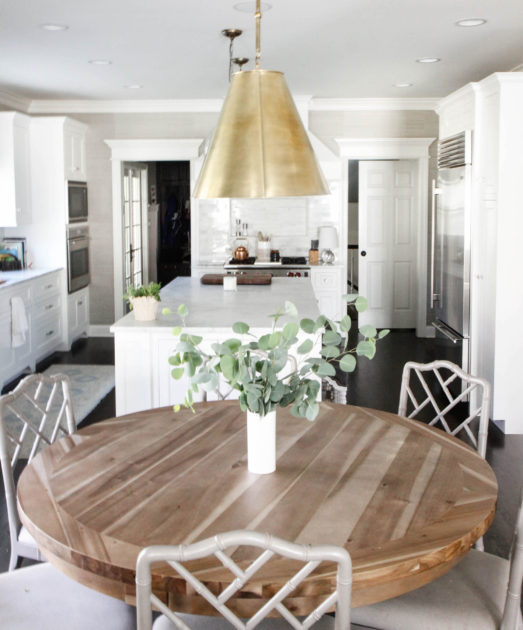
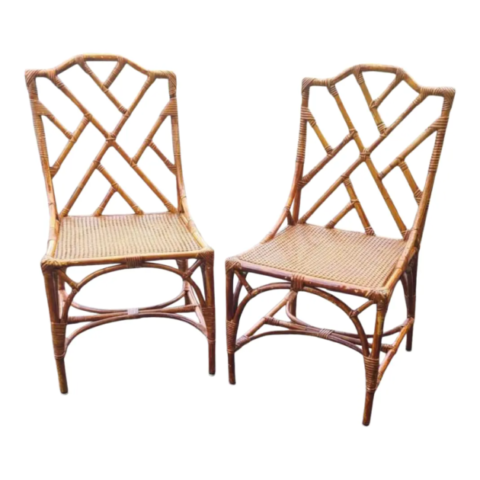
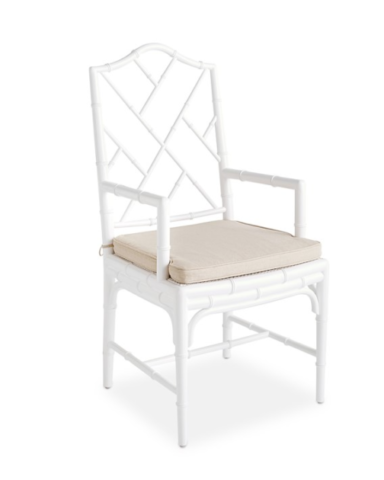
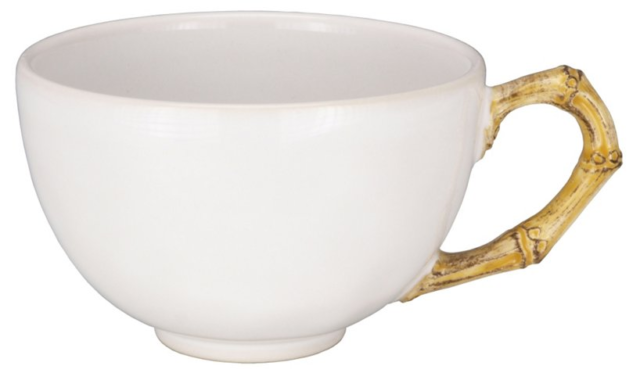
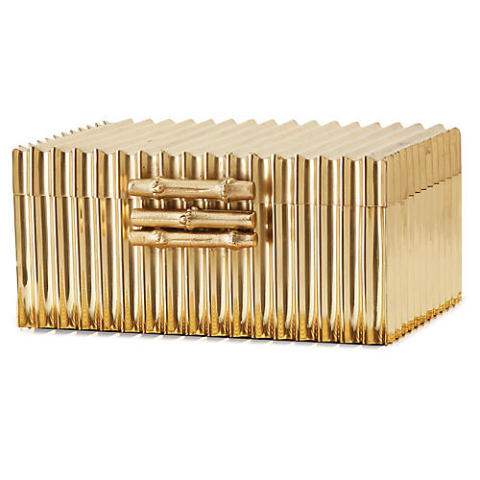
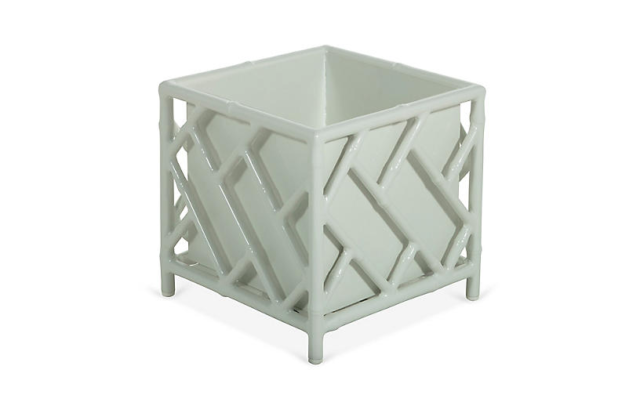
What is sometimes overlooked is the lasting place chinoiserie has in traditional interiors. At Park & Oak, we love to mix the traditional with a touch of the modern or unexpected. Chinoiserie provides so many ways to do that without overwhelming a room. The blue and white ceramics that are the lifeblood of chinoiserie do so much to lend just a little bit of interest and pattern without overwhelming. And a hint of bamboo via a modern Chippendale chair adds just the right amount je ne sais quoi to a classic room. Do we ever indulge our inner maximalists? You bet. When we are entertaining we break out all the ginger jars.

Check out Park & Oak’s use of chinoiserie in the gallery below, and then shop some of our favorite interpretations!

Chinoiserie at Park & Oak

Shop Chinoiserie

0 In Research

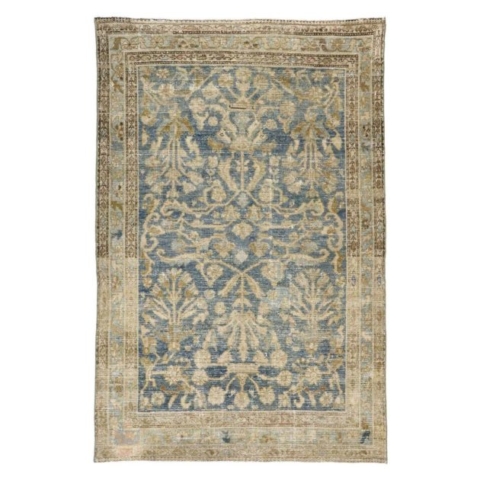
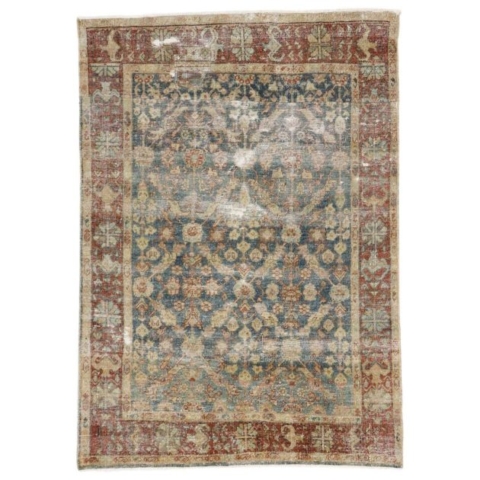
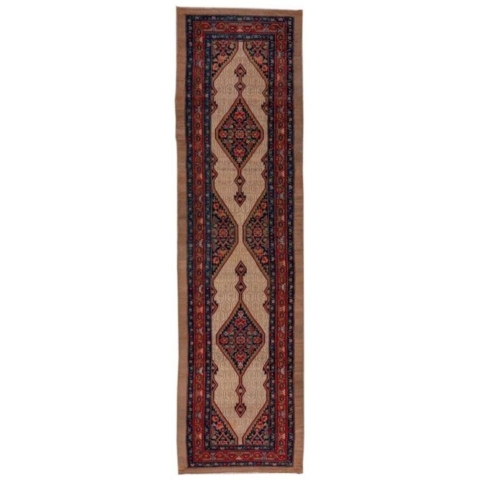
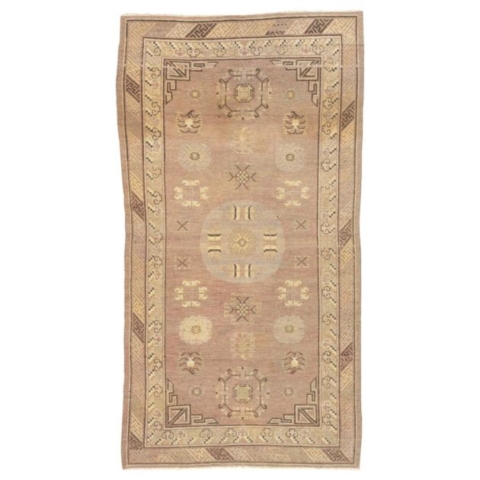
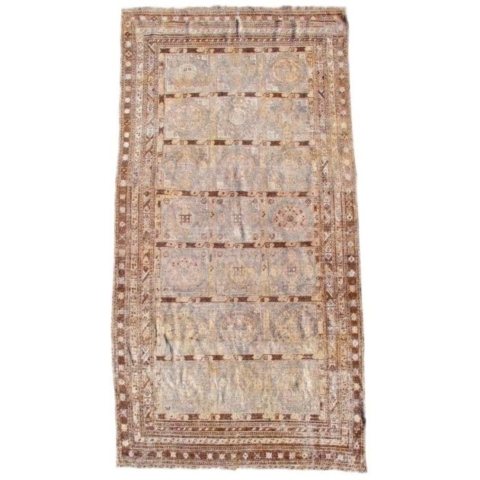
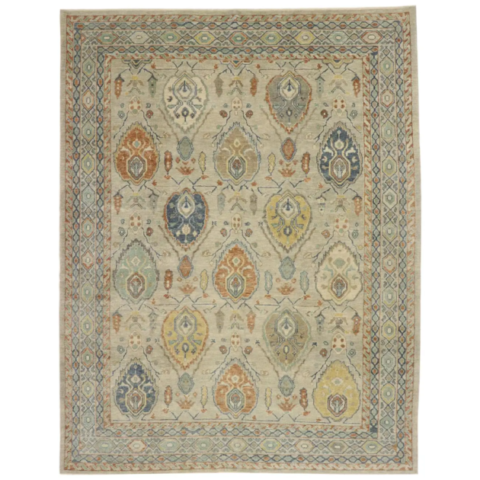
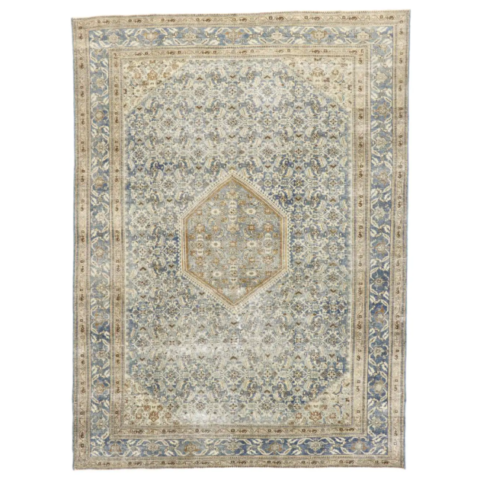
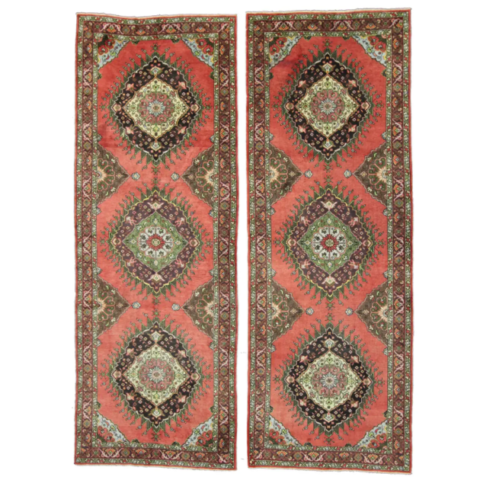
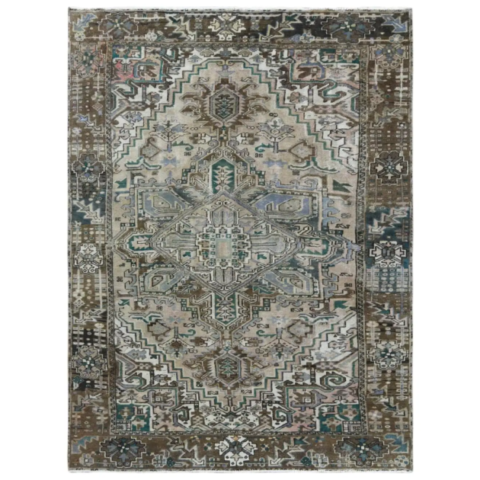
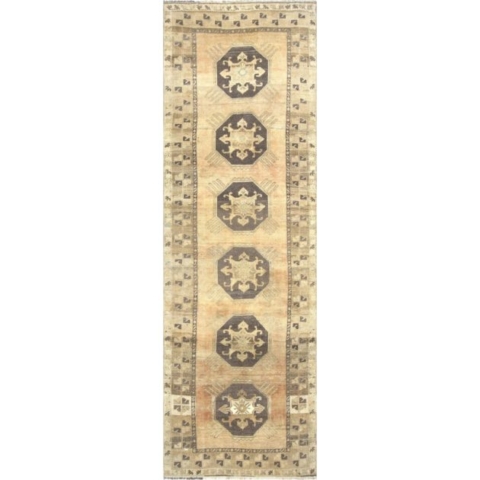
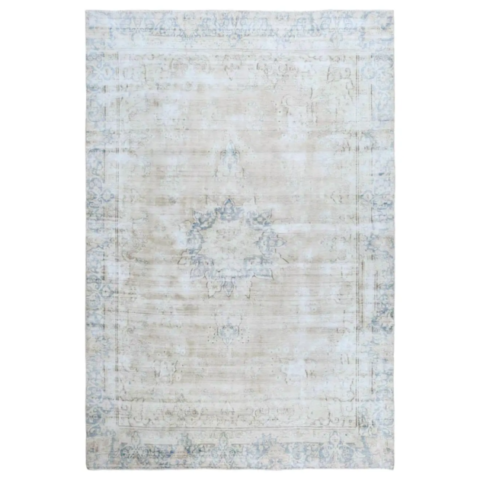
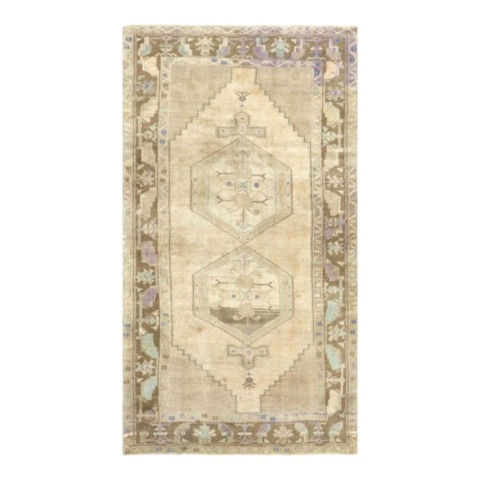
Antique & Vintage Rugs

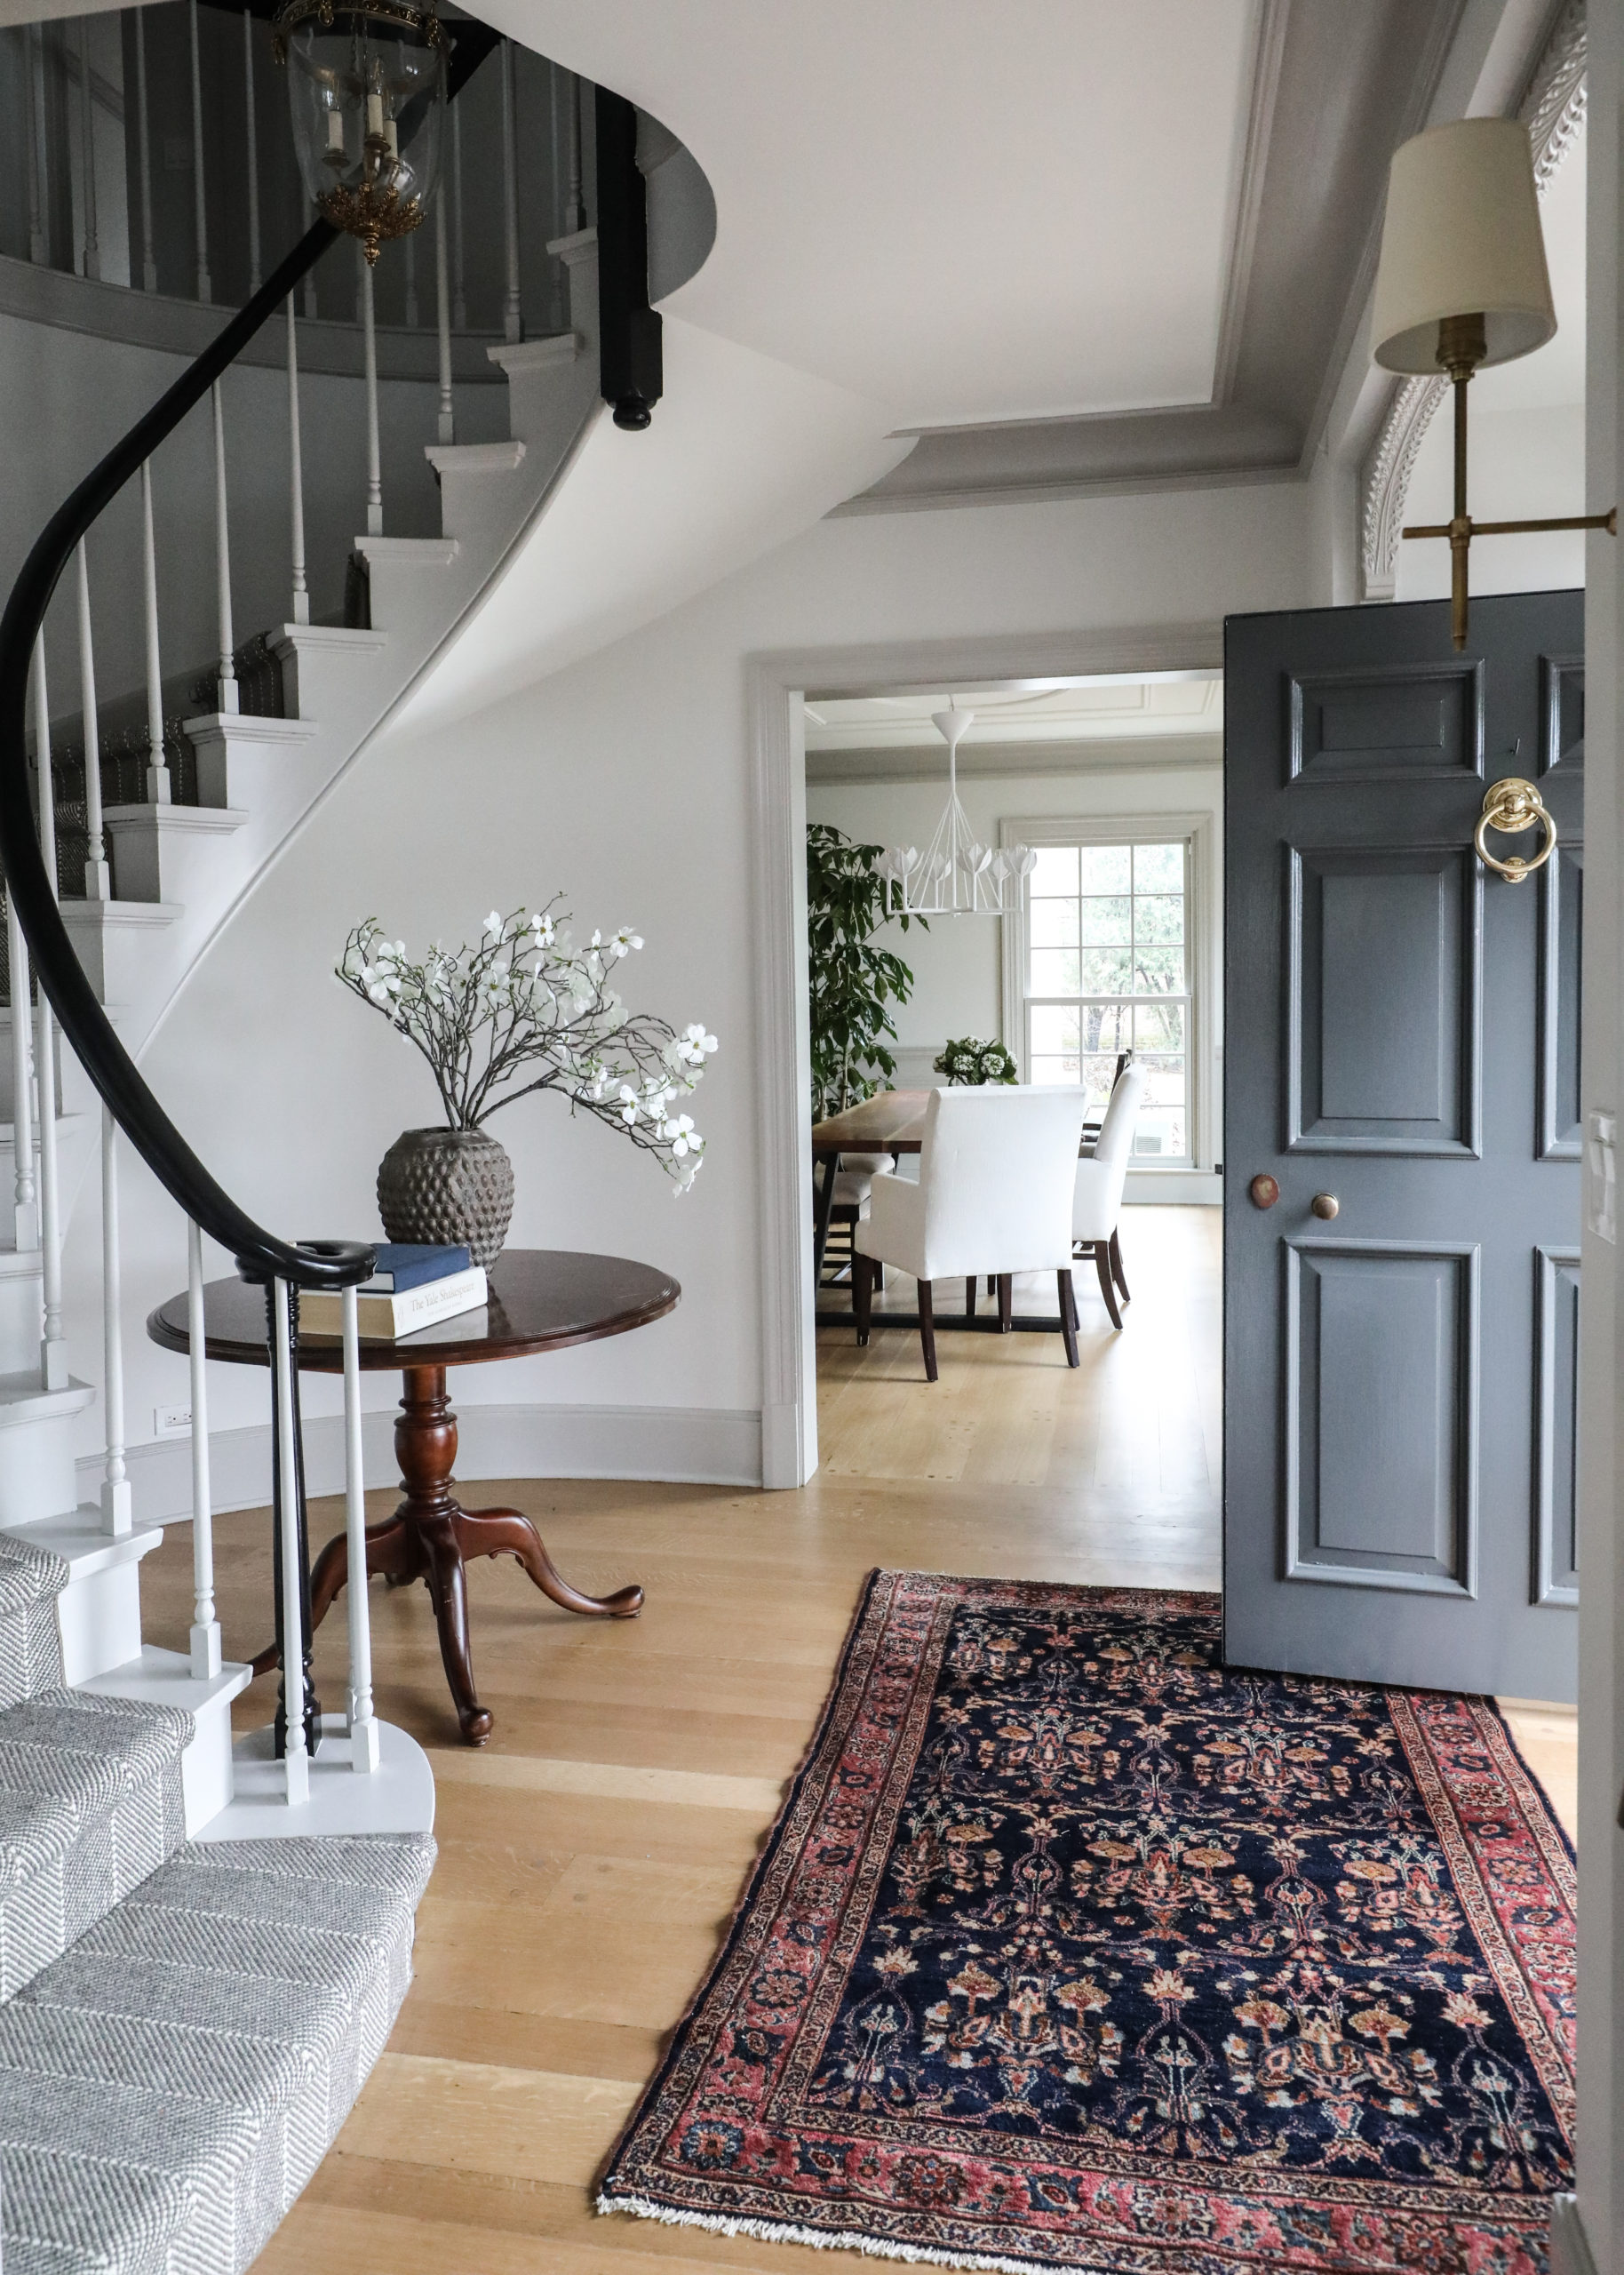
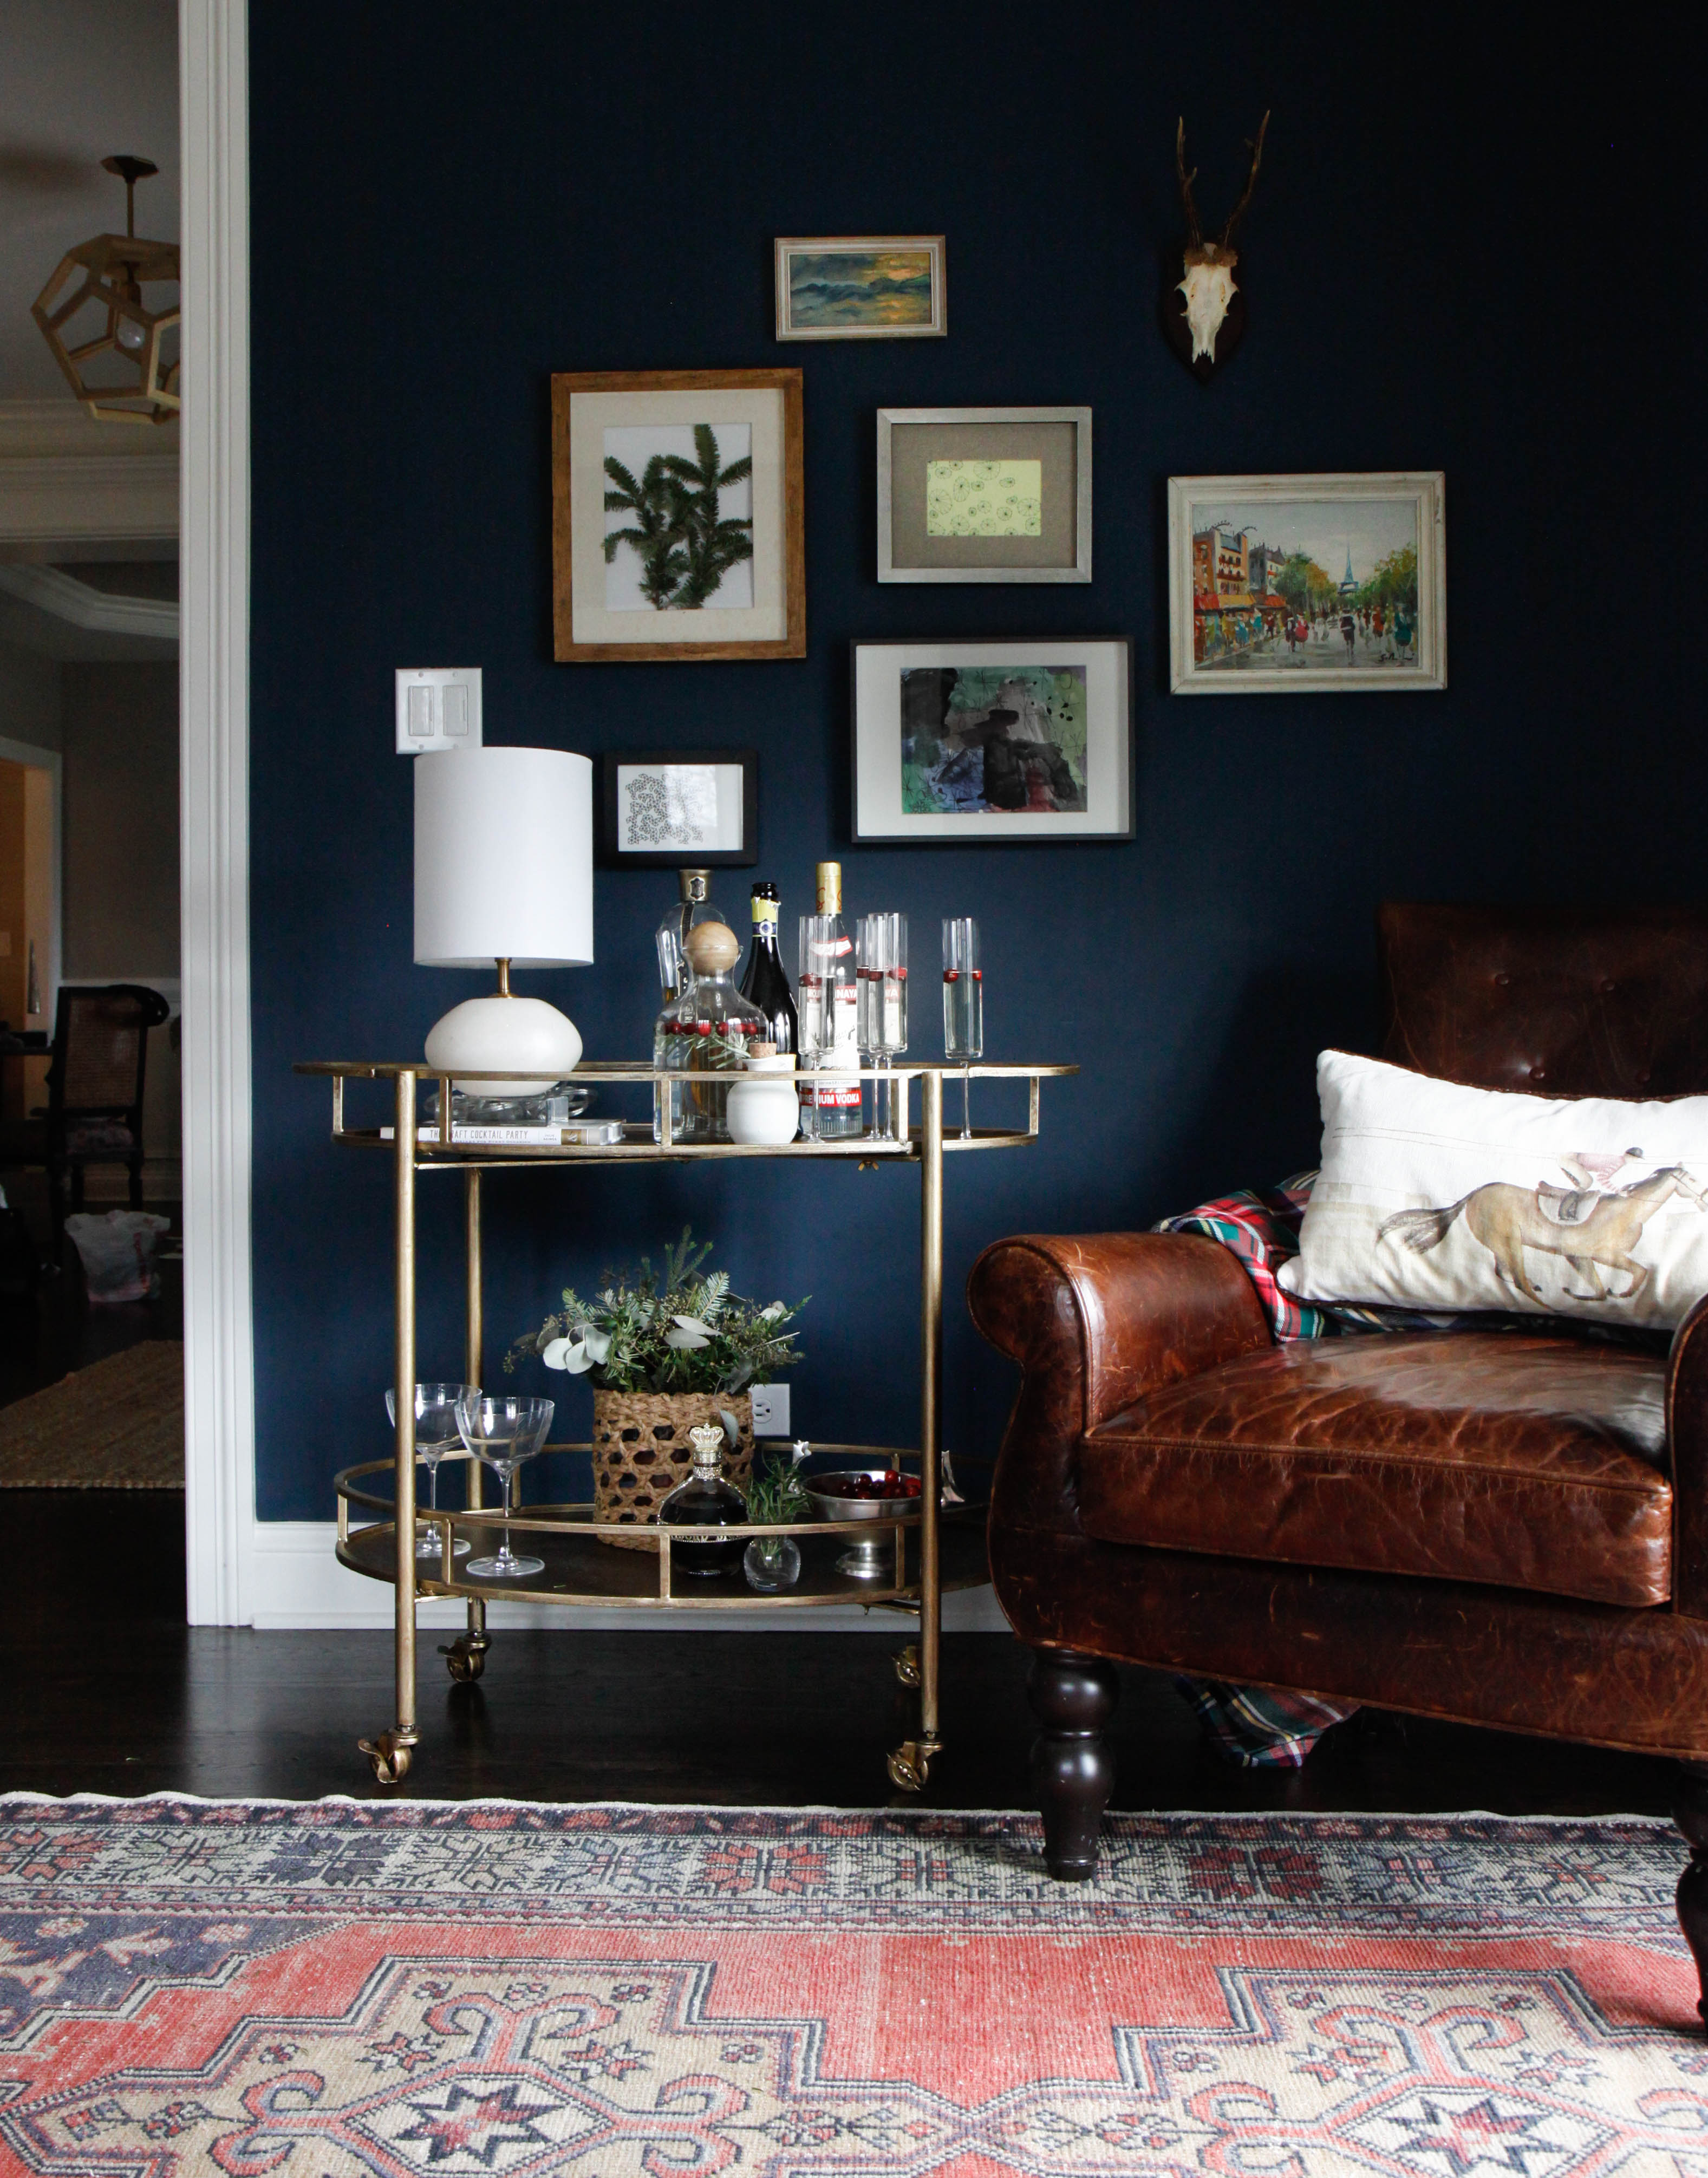
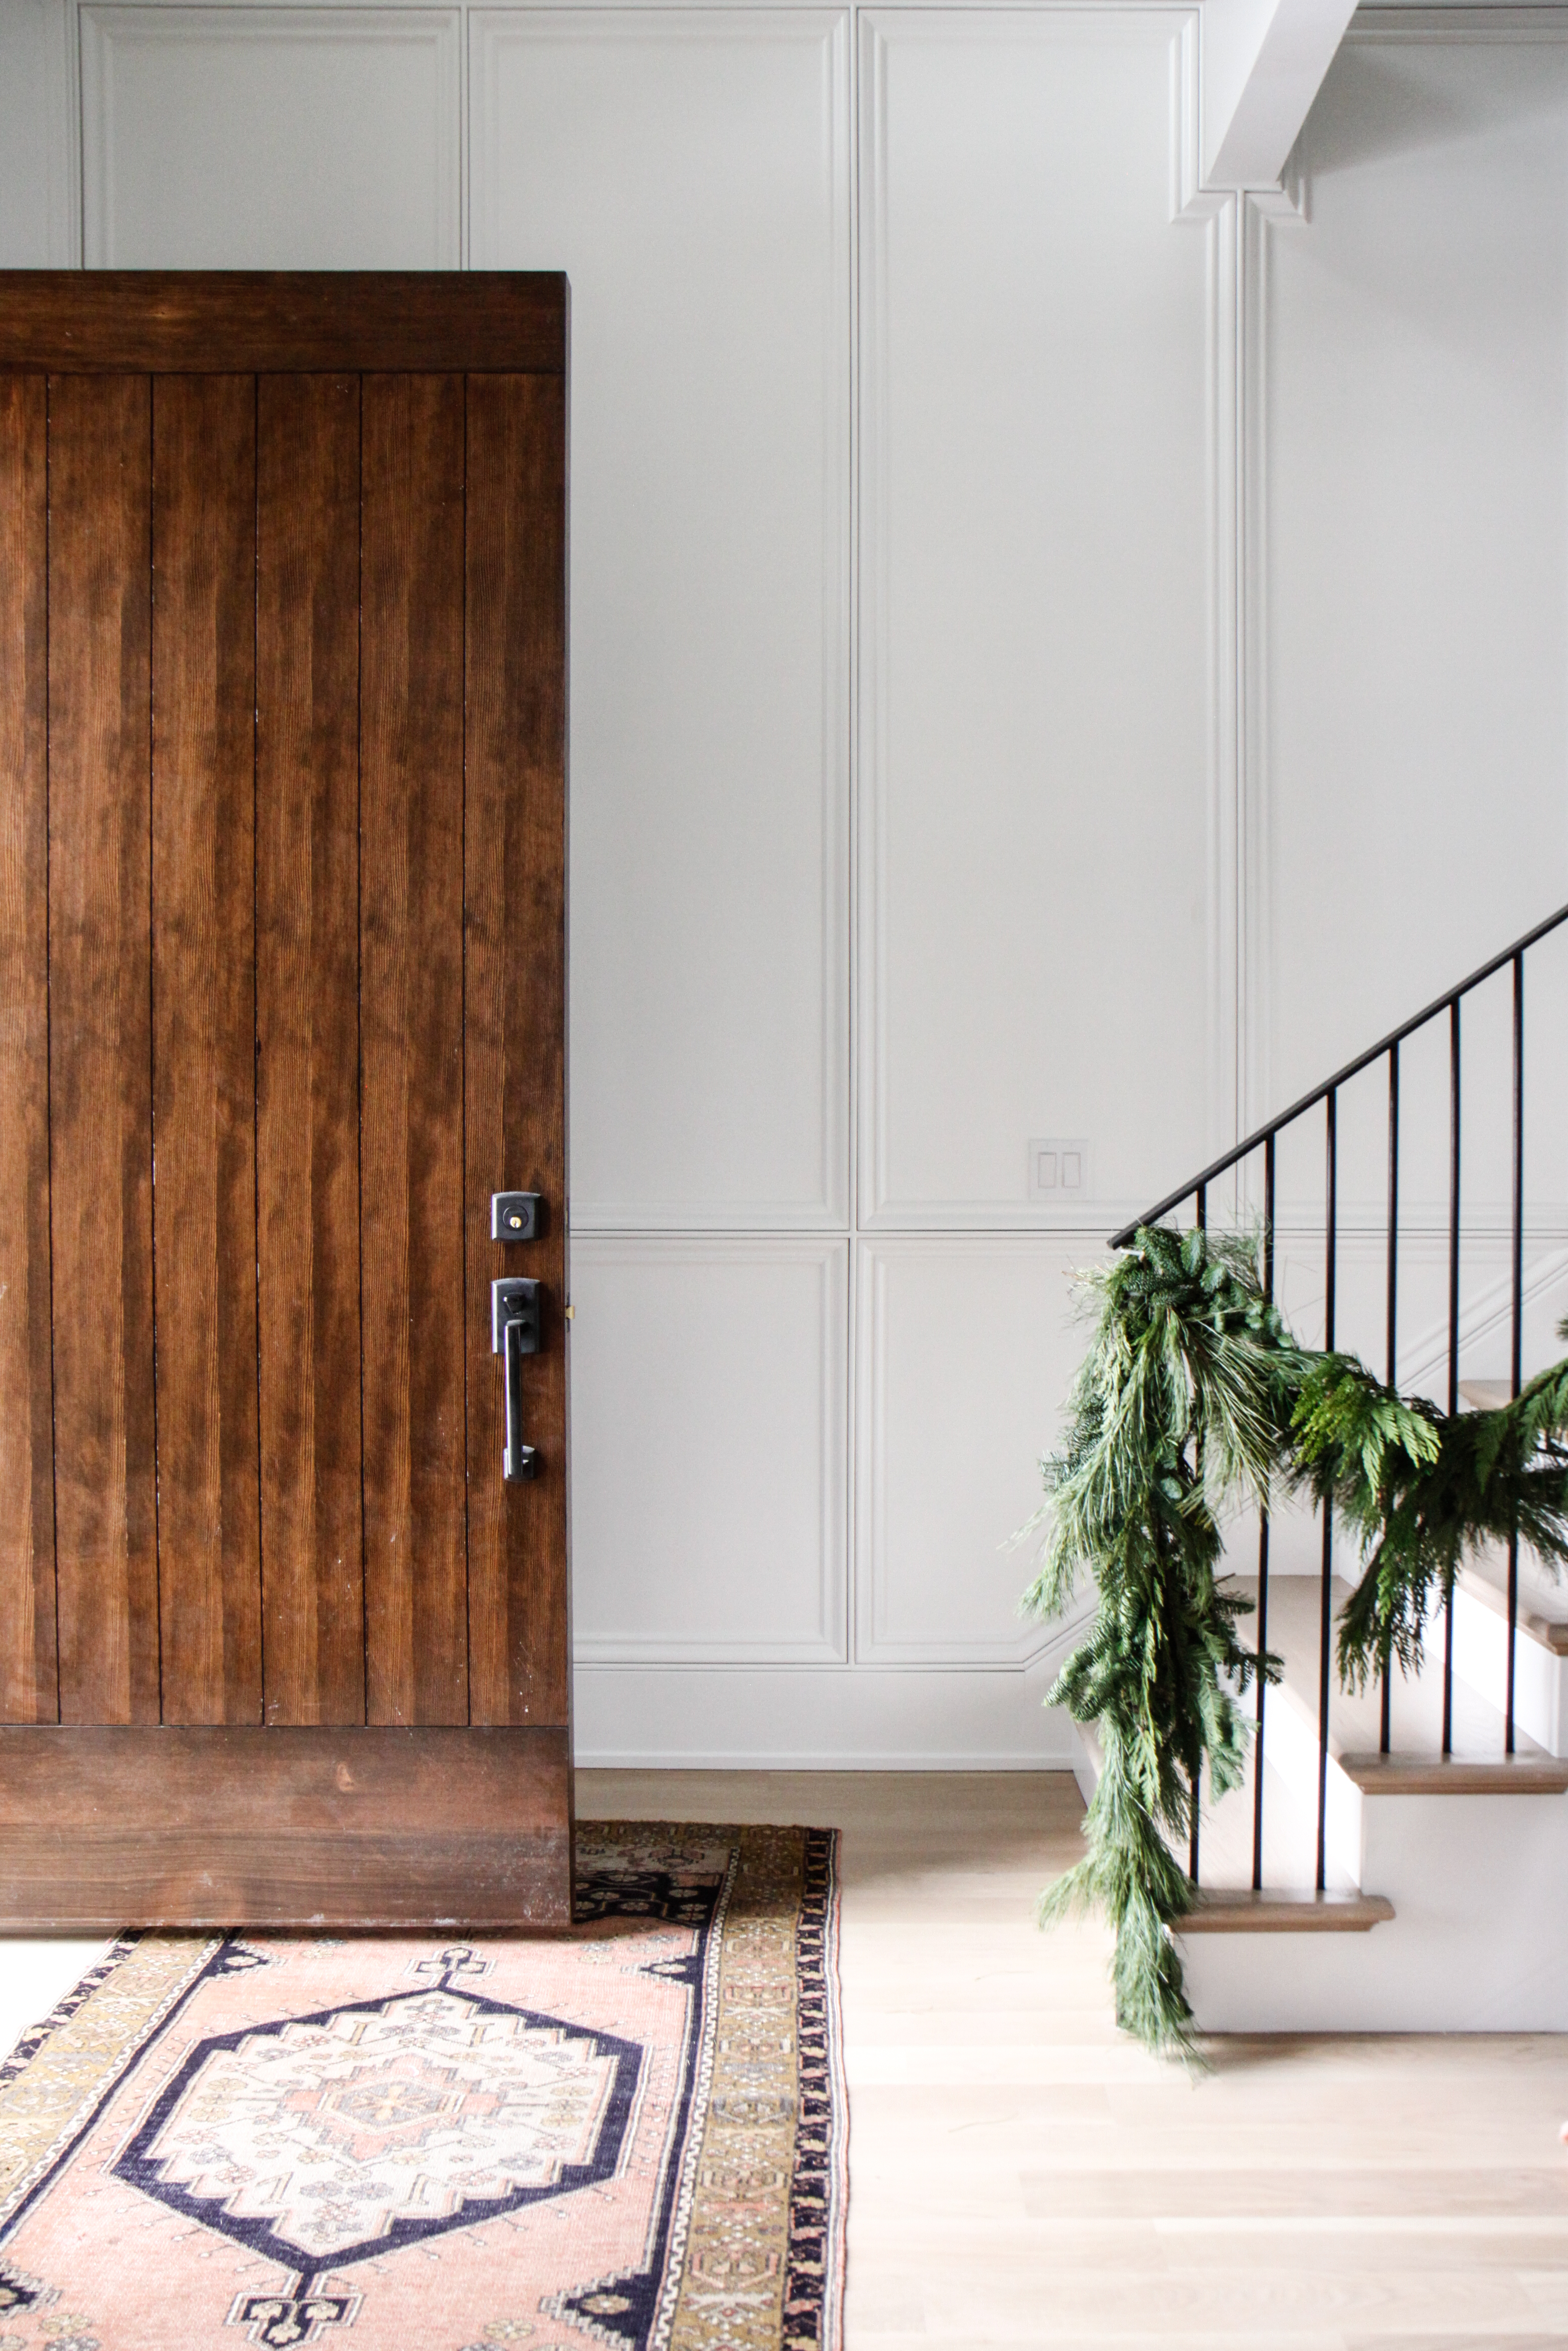
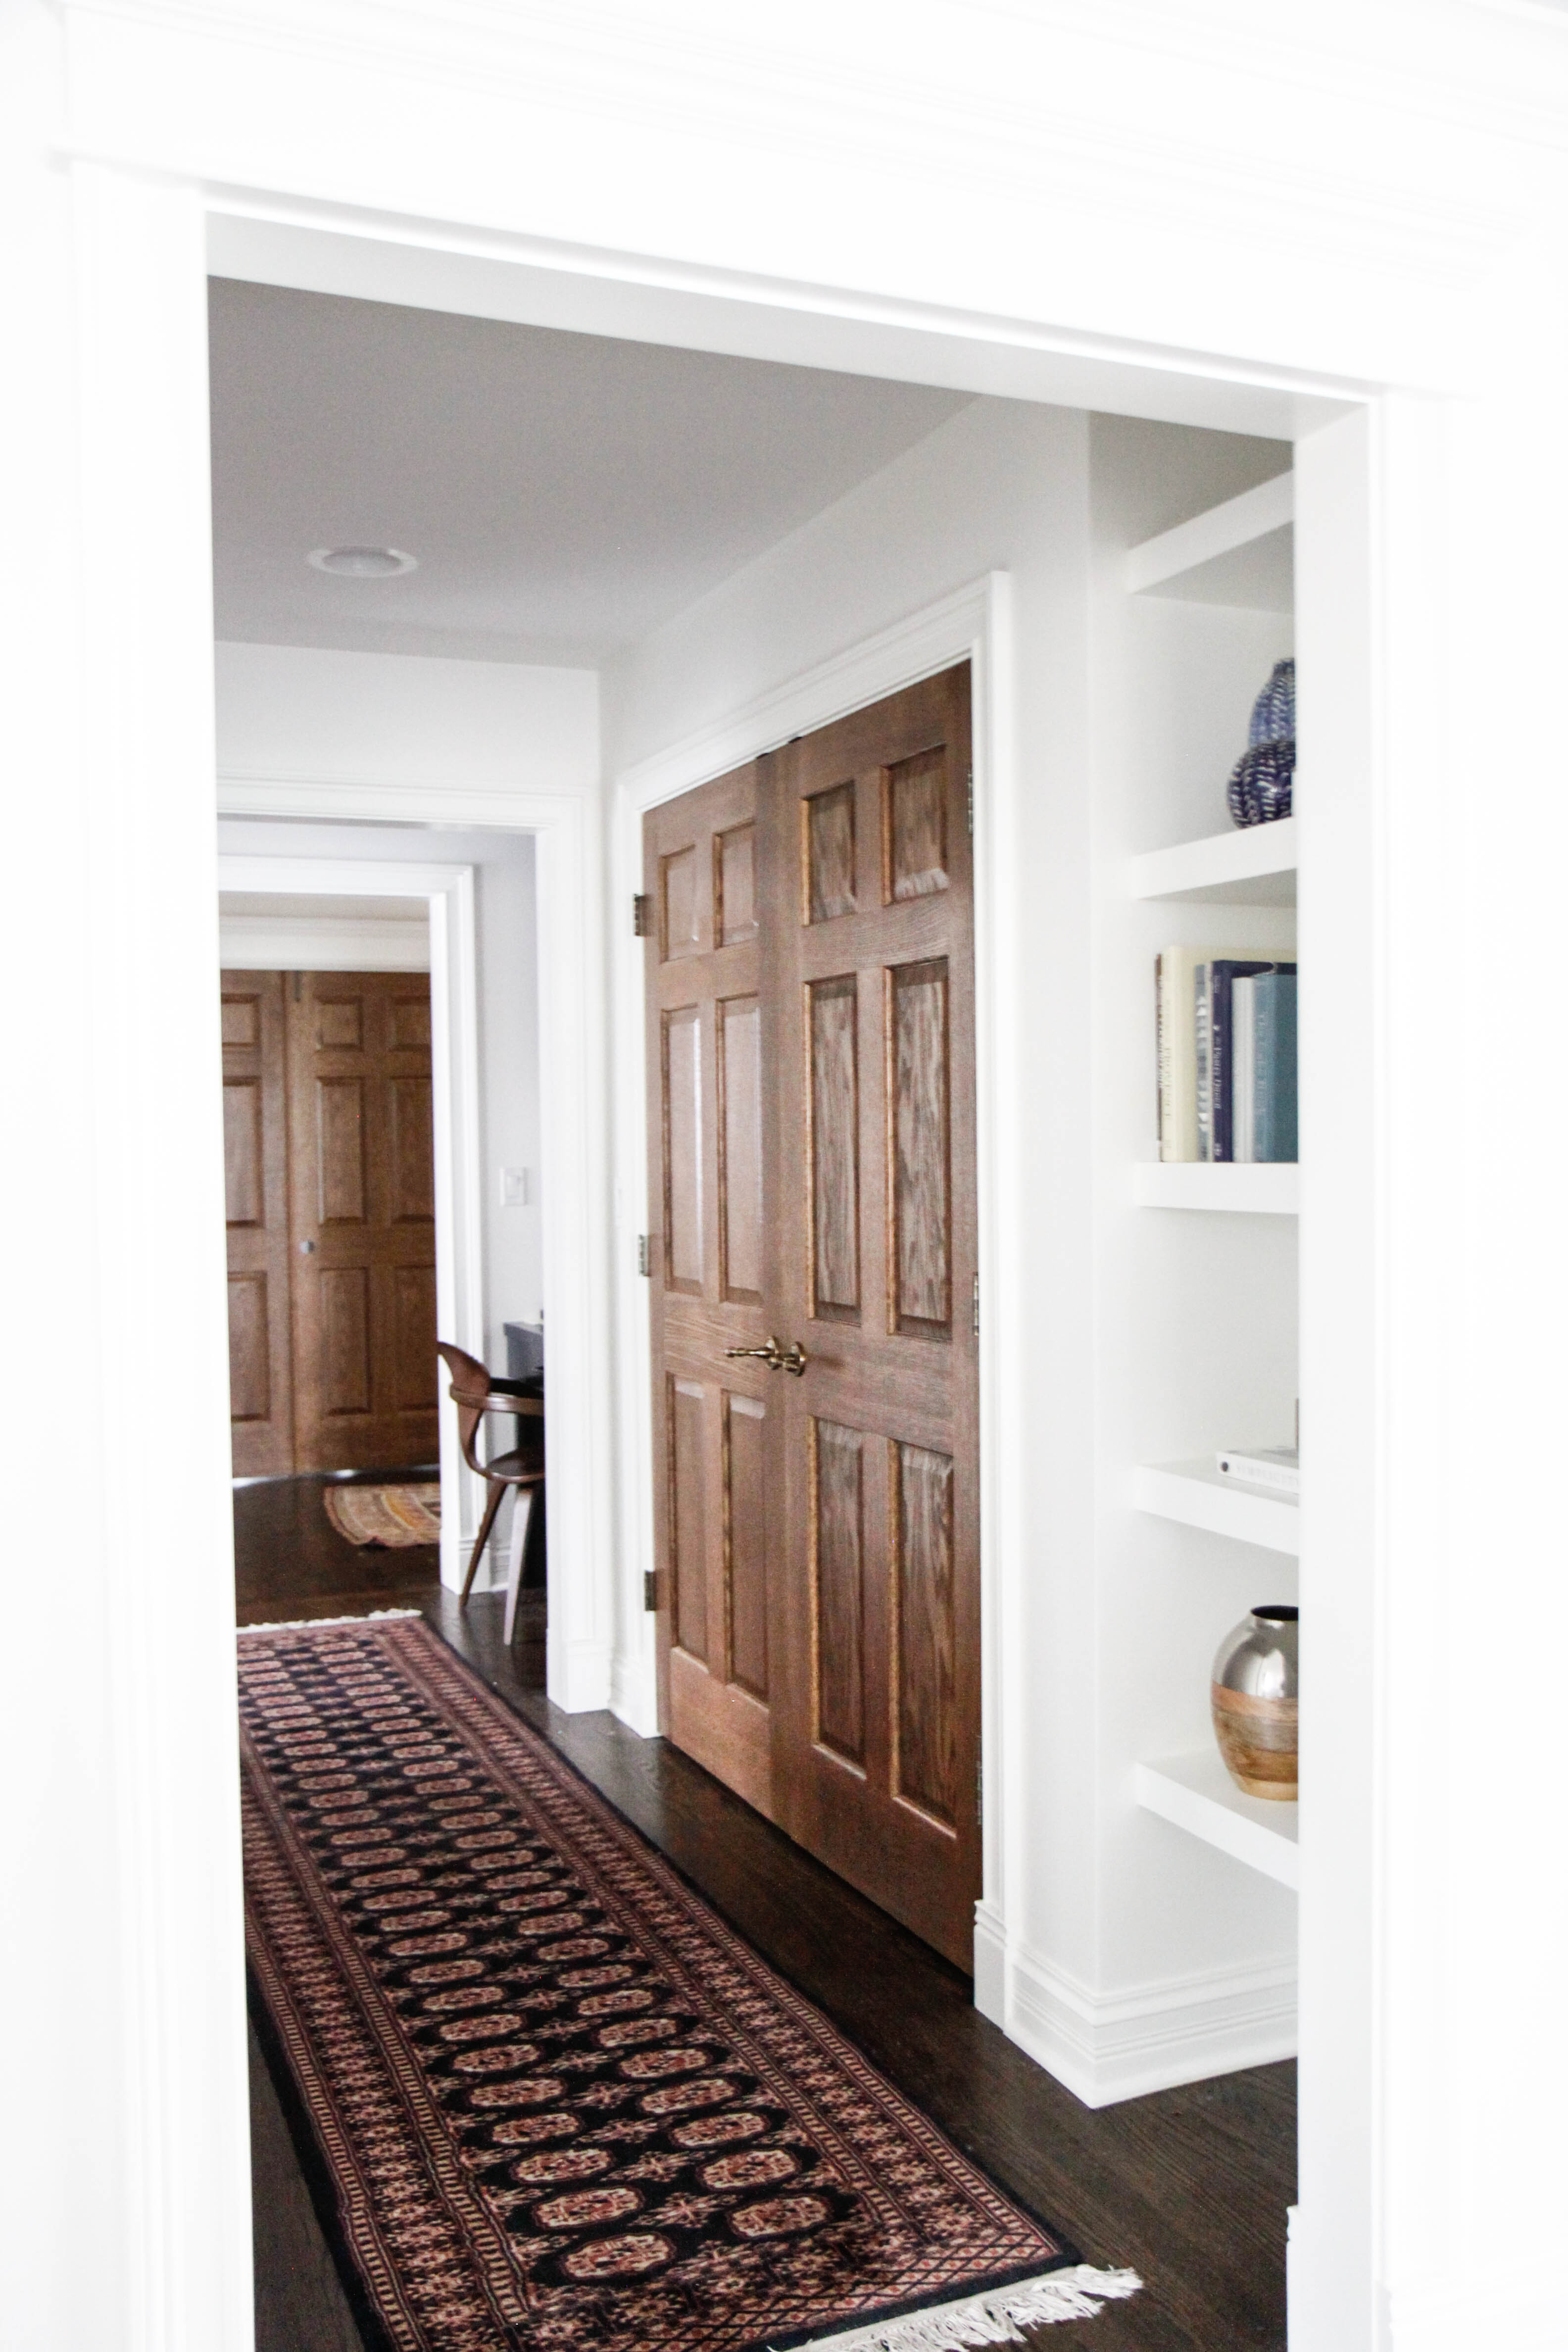
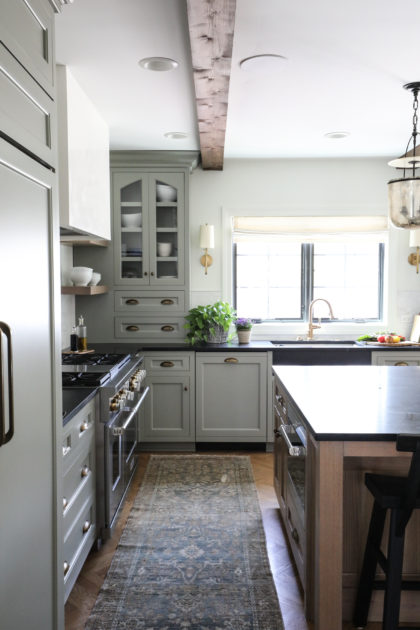
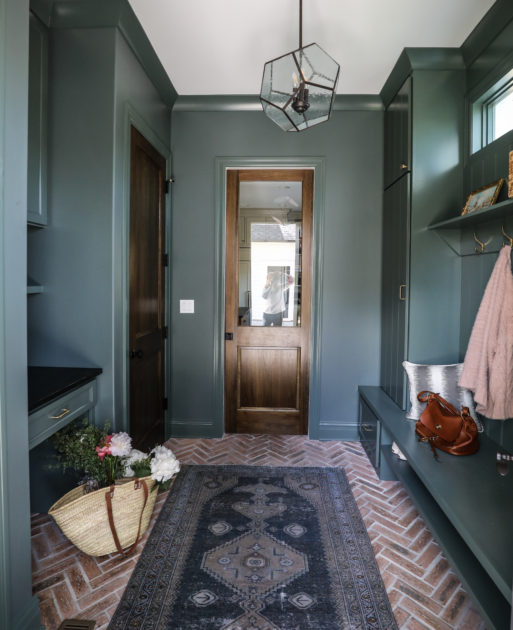
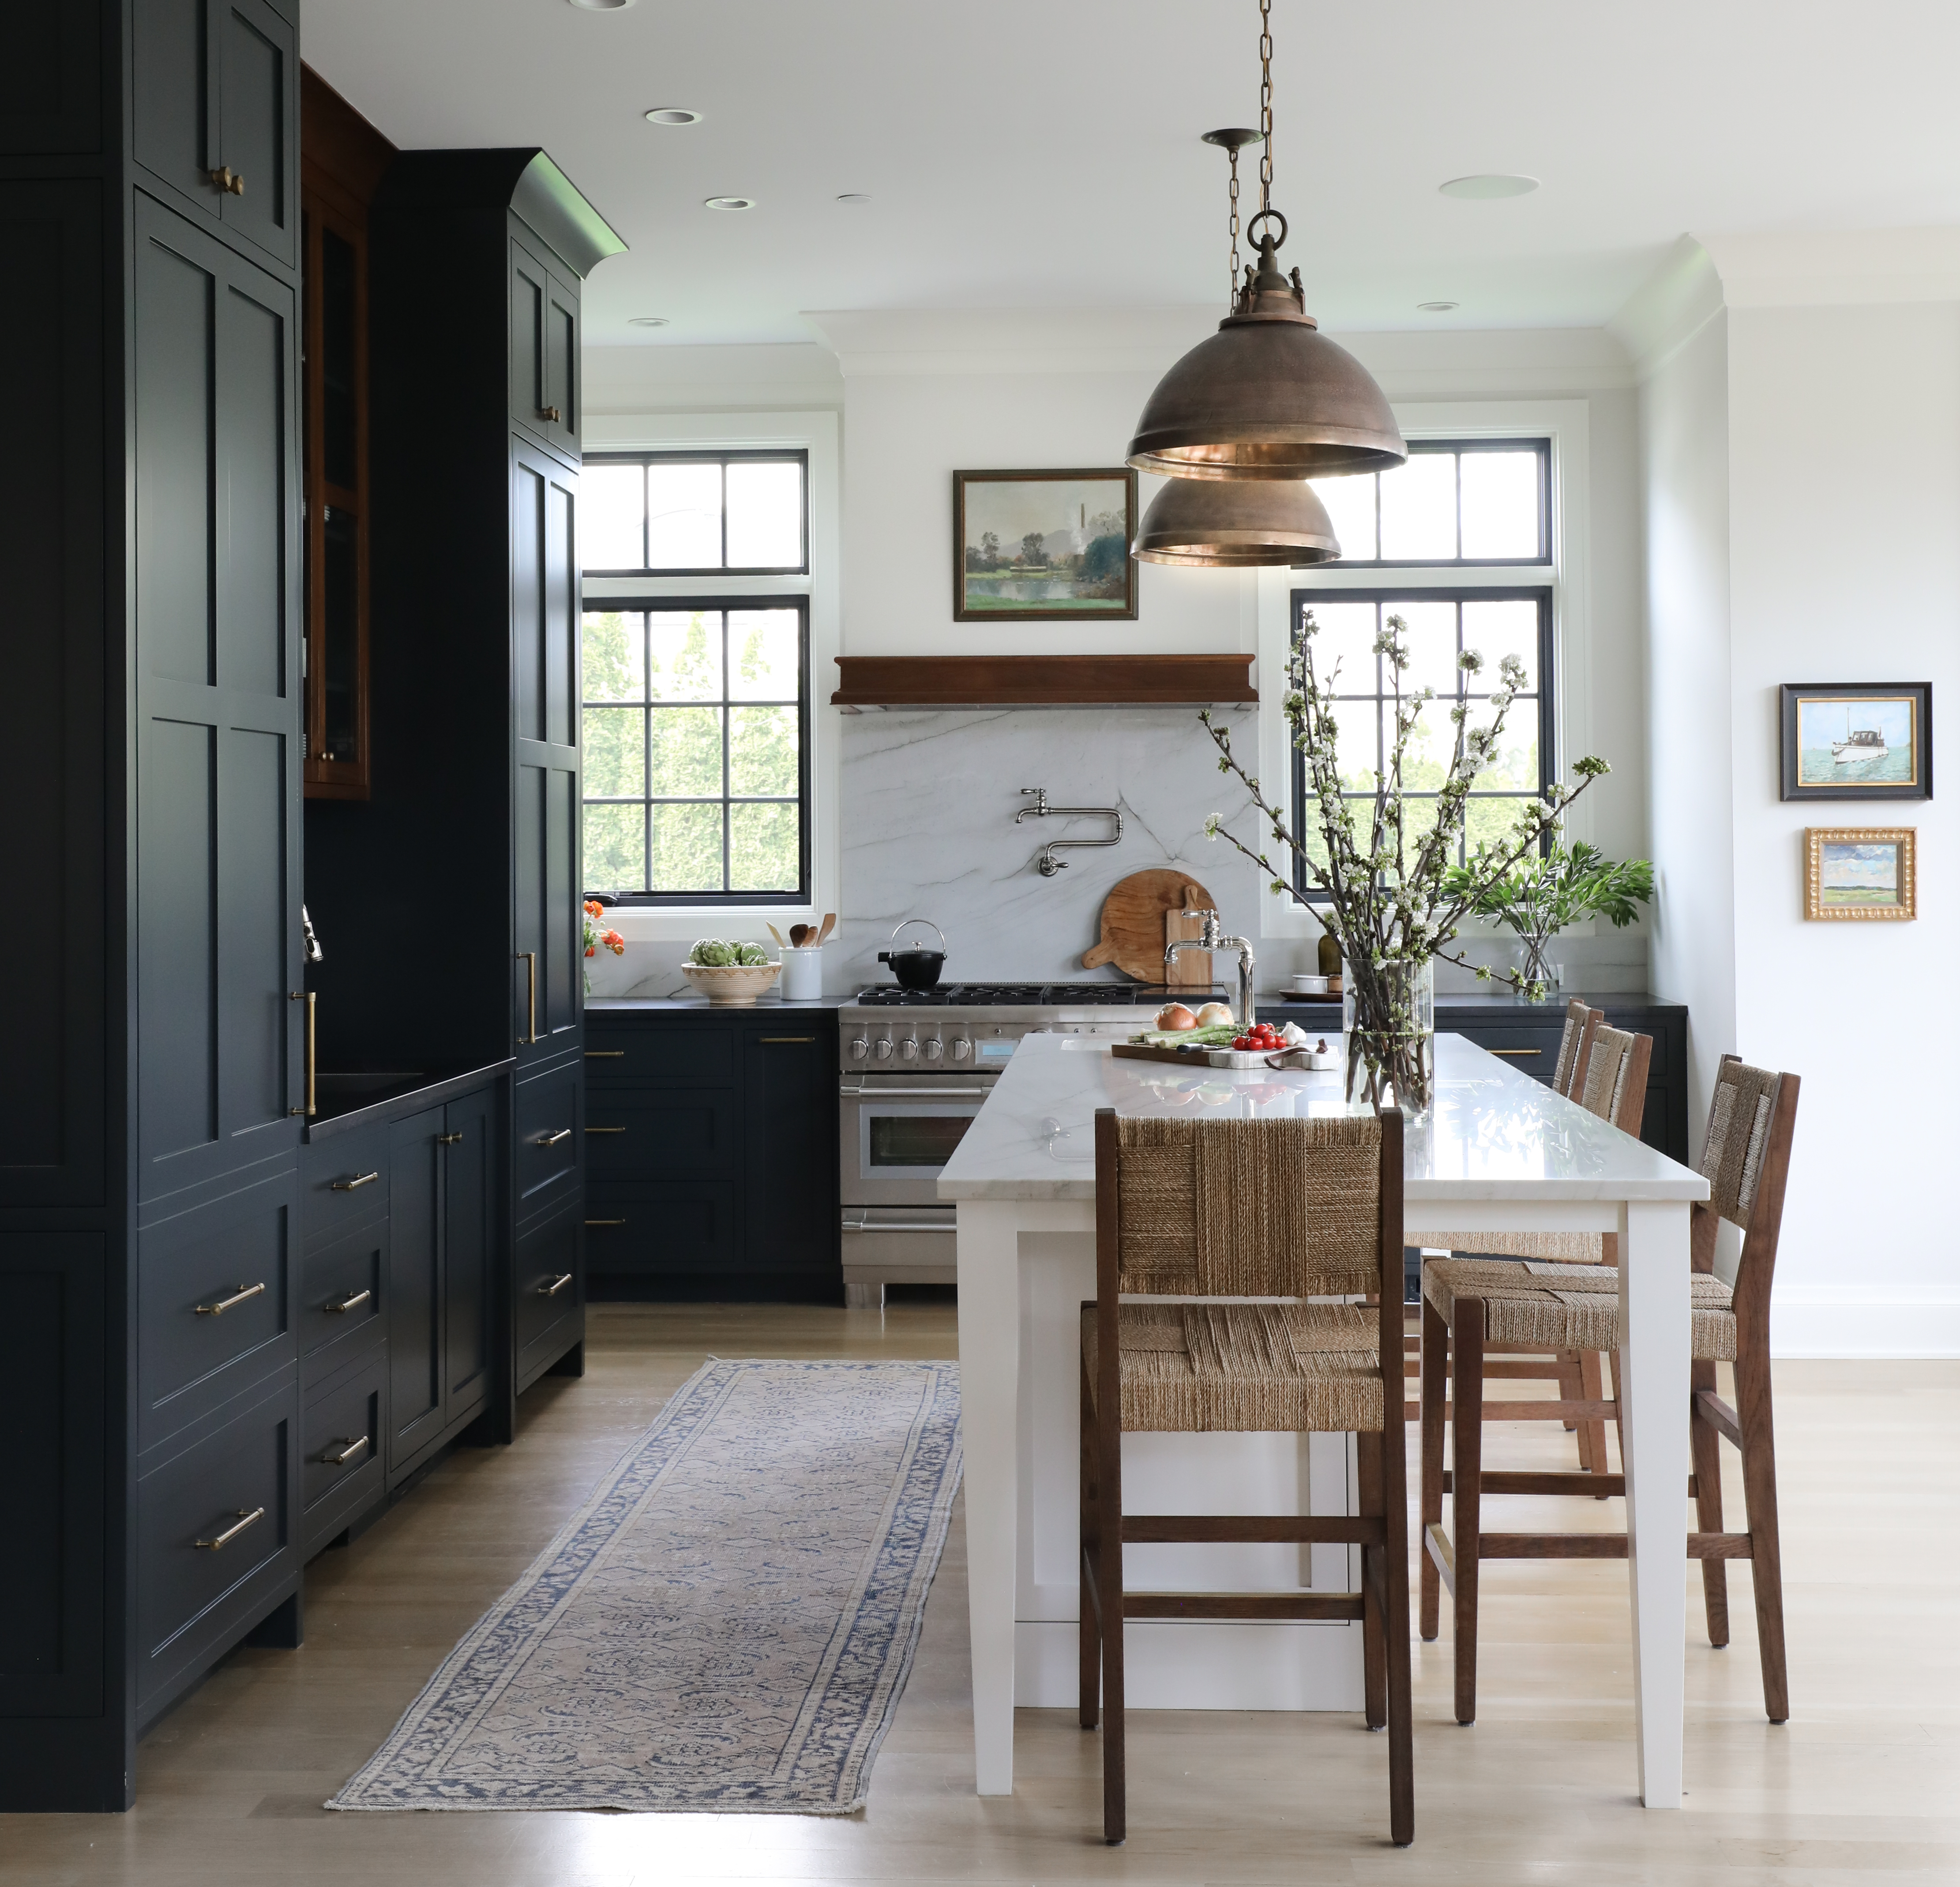
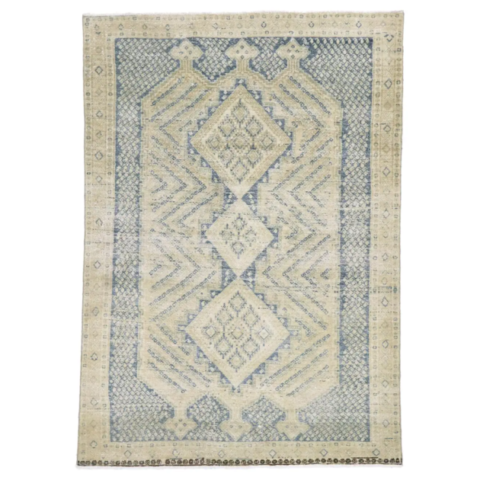
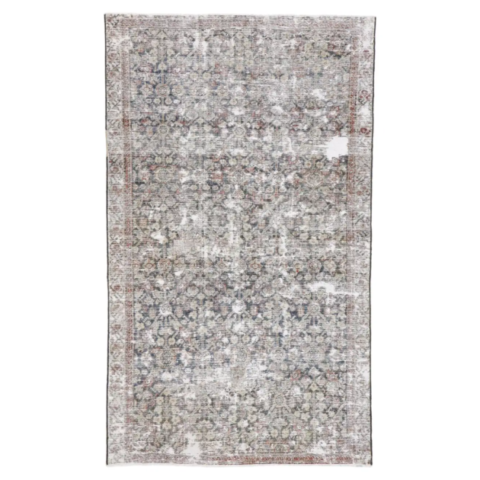
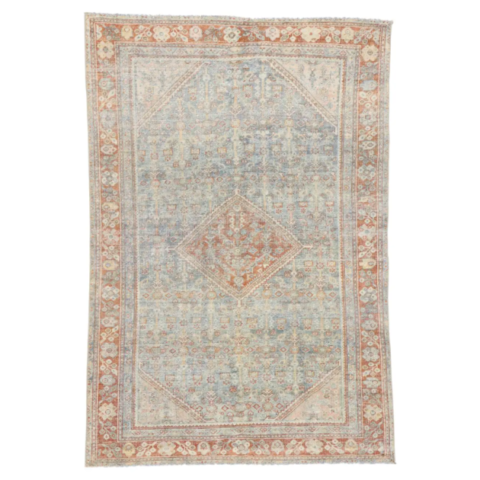
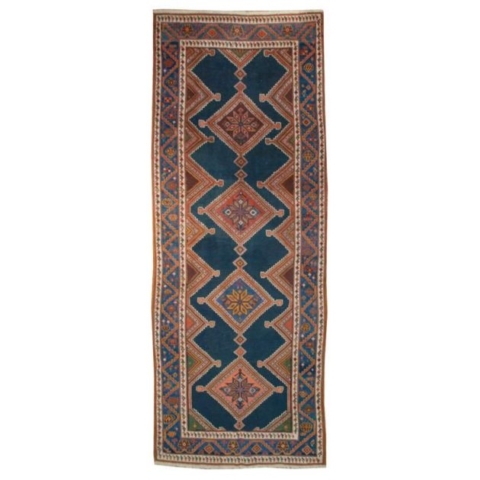
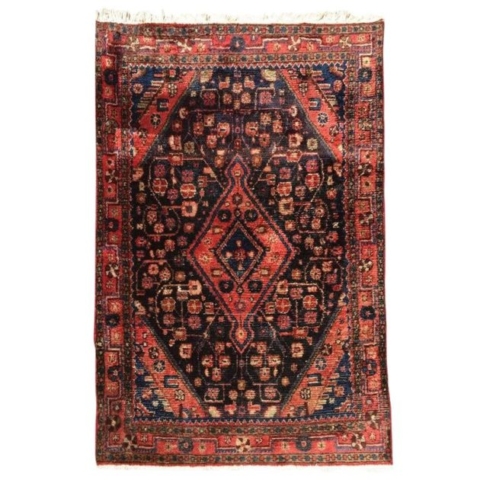
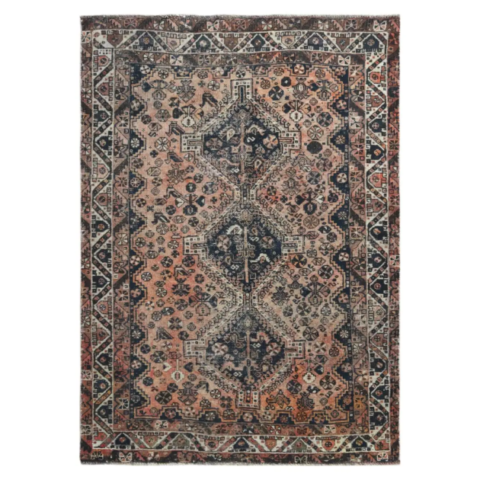
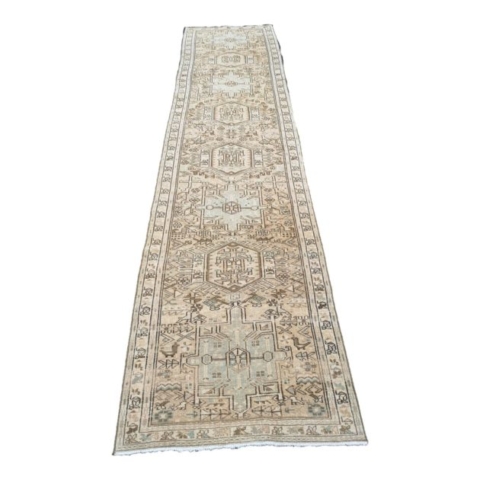
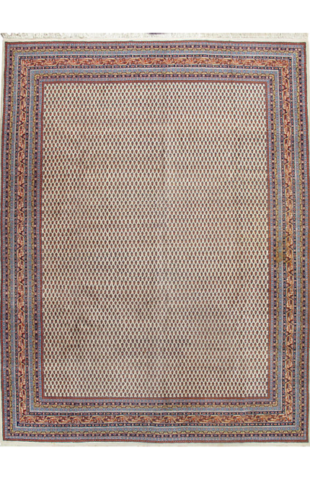
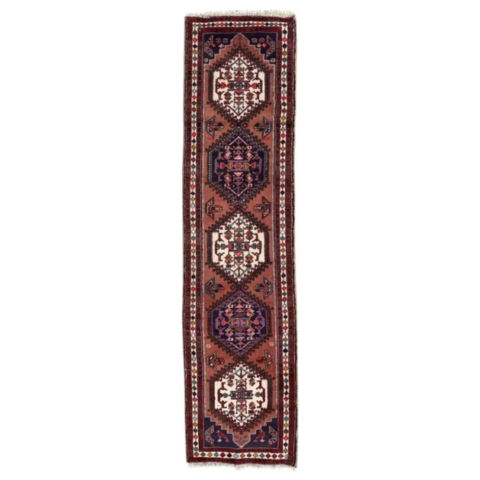
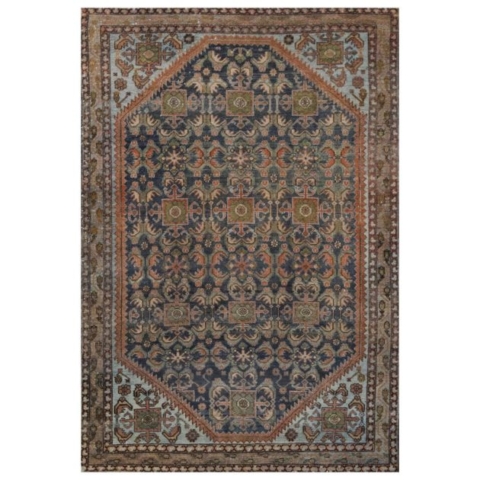
If you’ve been following us for awhile, you have probably noticed how much we love using vintage and antique rugs* in our designs. There is no better way to make a statement in a room. Vintage and antique rugs can introduce color and pattern where there is traditionally no upholstery, or primarily solid colors, like a hallway or mudroom. They can anchor the furnishings in a living or dining room, and lend interest in any space leaning just a little too neutral. They will add softness in kitchens full of the hard lines of cabinetry and appliances and warmth in a bathroom. They are among our go-to furnishings.

But why specifically vintage or antique, and not a new rug? For us, a lot comes down to patina. We are always looking for ways to add depth and character to a room. Sometimes a new rug is necessary to tie furnishings together, or to add a specific texture to a space that is already full of collected items and personality. But if a room needs a little something to help it look lived-in and reflect the tastes of its owners rather than appearing as though it has just jumped straight off the pages of a catalog, our answer is frequently in the form of the patina from a vintage rug.

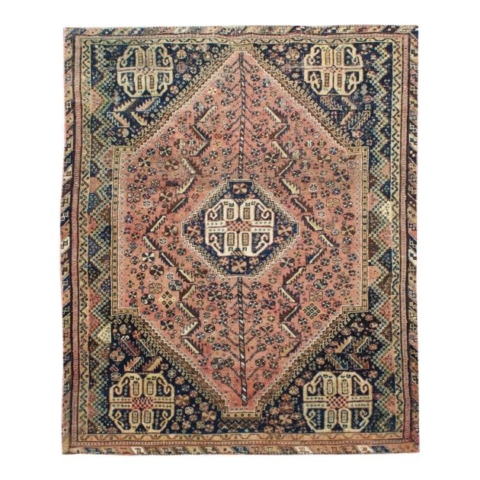
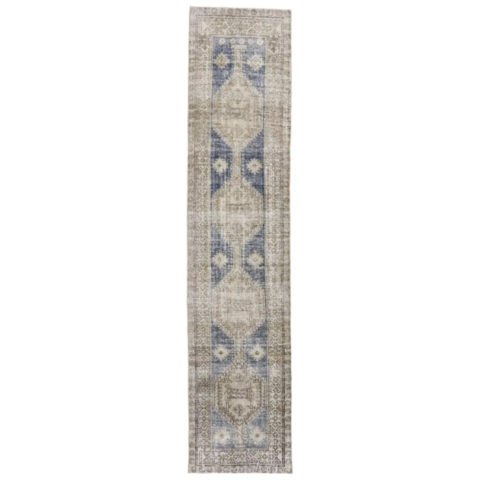
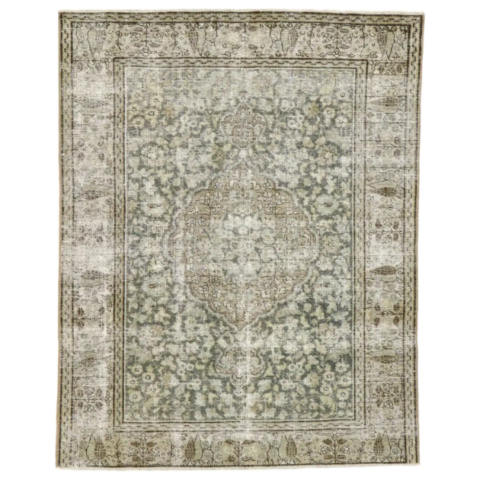
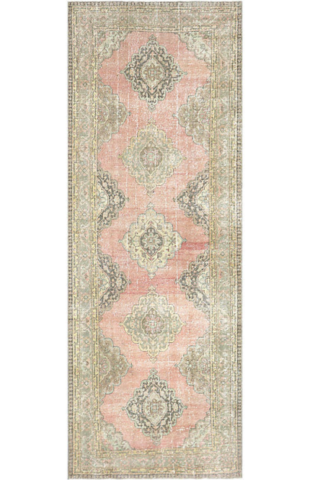
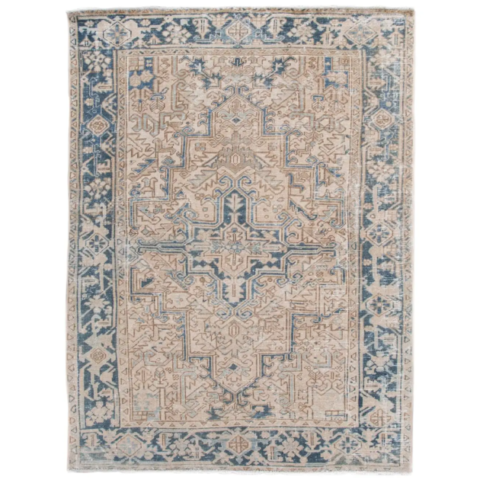
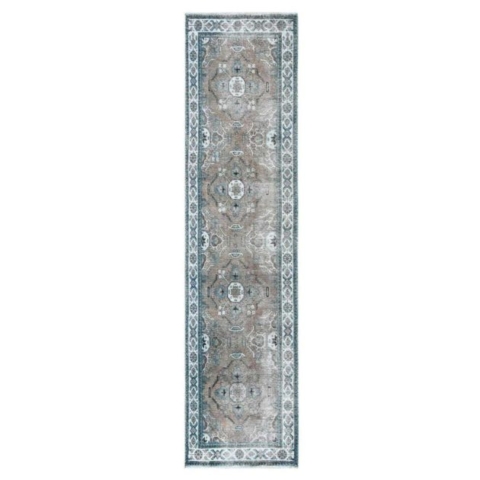
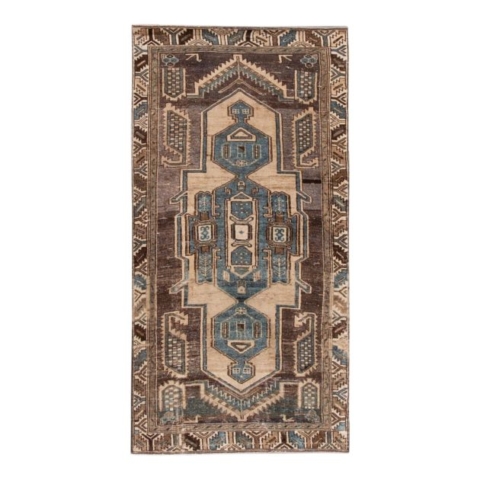
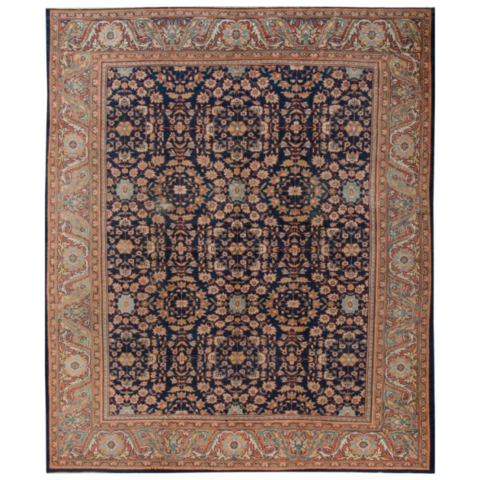
What kind of vintage or antique rugs do we look for? Most commonly, we use 100% wool, hand-knotted Turkish and Persian rugs. These are the rugs that frequently come to mind when one pictures a vintage rug. When searching for vintage rugs, be sure to look for reputable dealers. Many new rugs are now made with similar patterns to the age-old Persian and Turkish styles, but will lack the patina we love and are frequently made with materials that will degrade more quickly. We’ve included a selection of one-of-a-kind rugs below from some retailers we trust to help kick off your search. And if you need inspiration, the gallery below is full of Park & Oak designs that incorporate vintage or antique rugs. Happy hunting!

*We are sometimes asked what the difference is between “vintage” and “antique.” Generally, an antique is something over 100 years old; vintage is between 25-100 years.

0 In Research

Countertops

Park and Oak

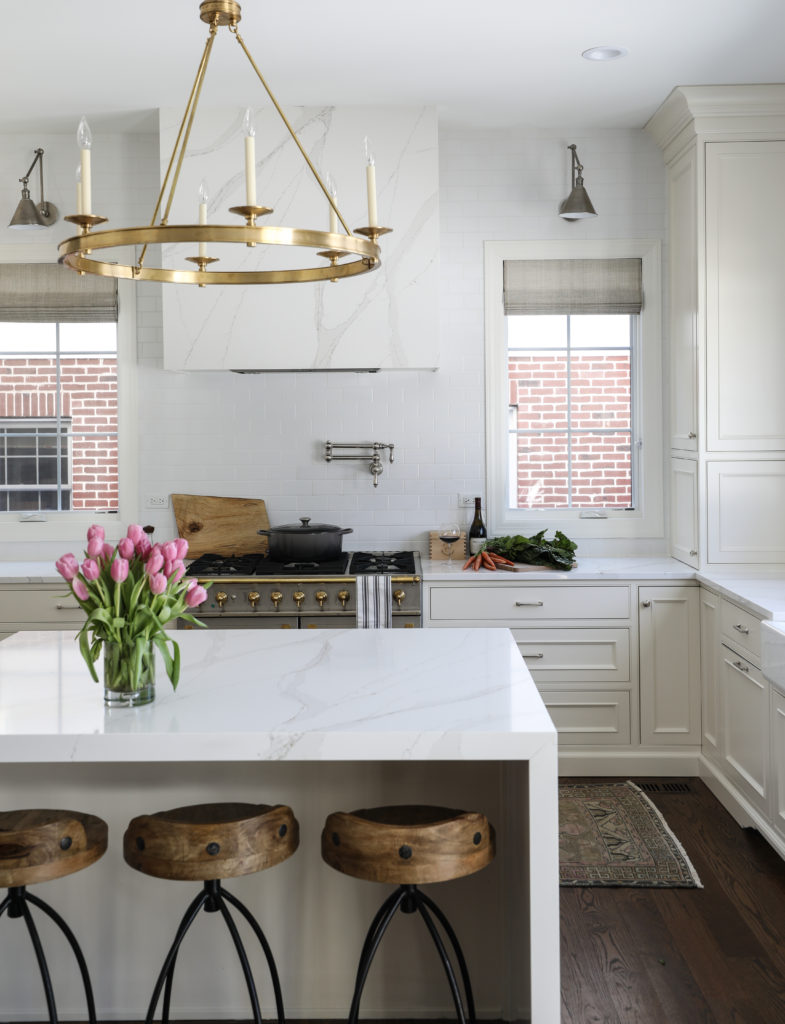
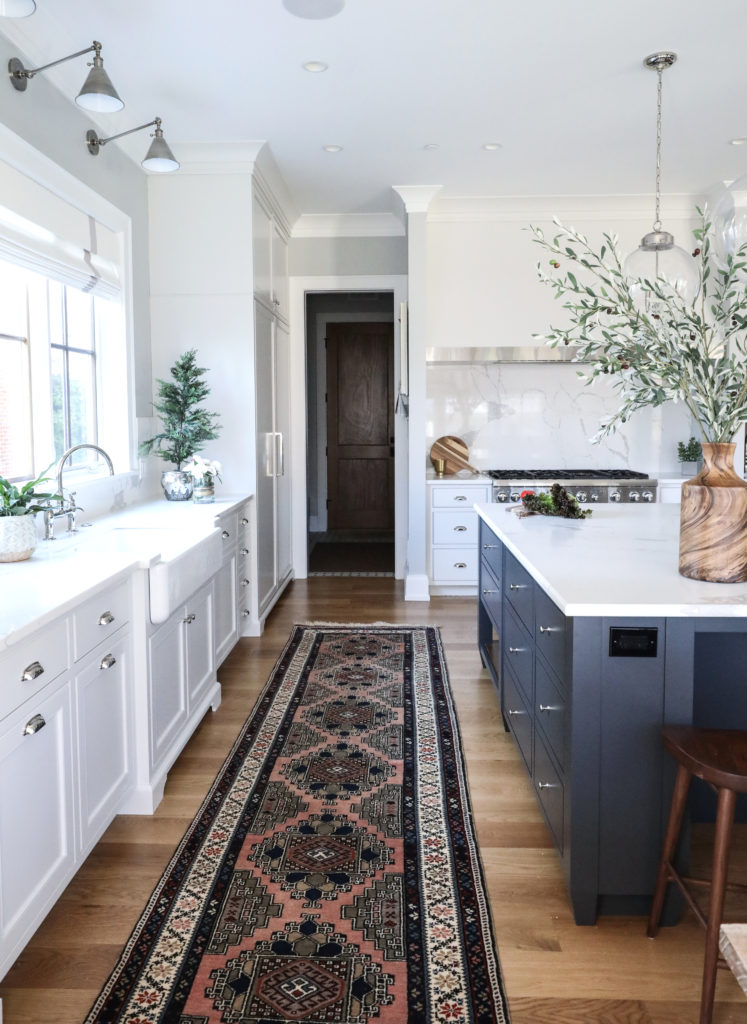
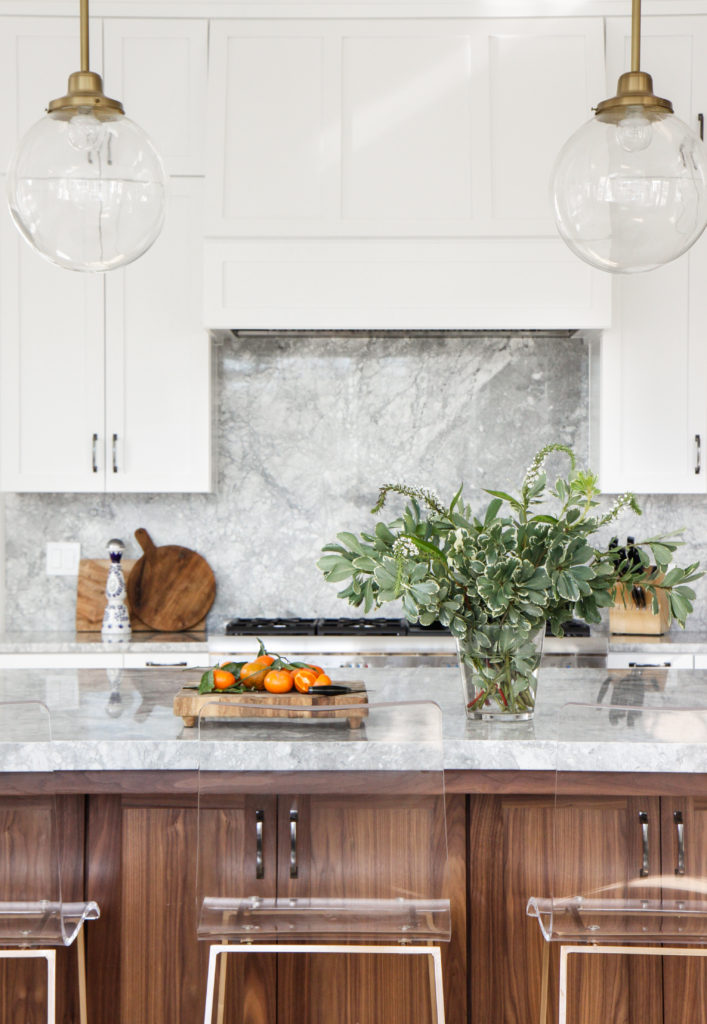
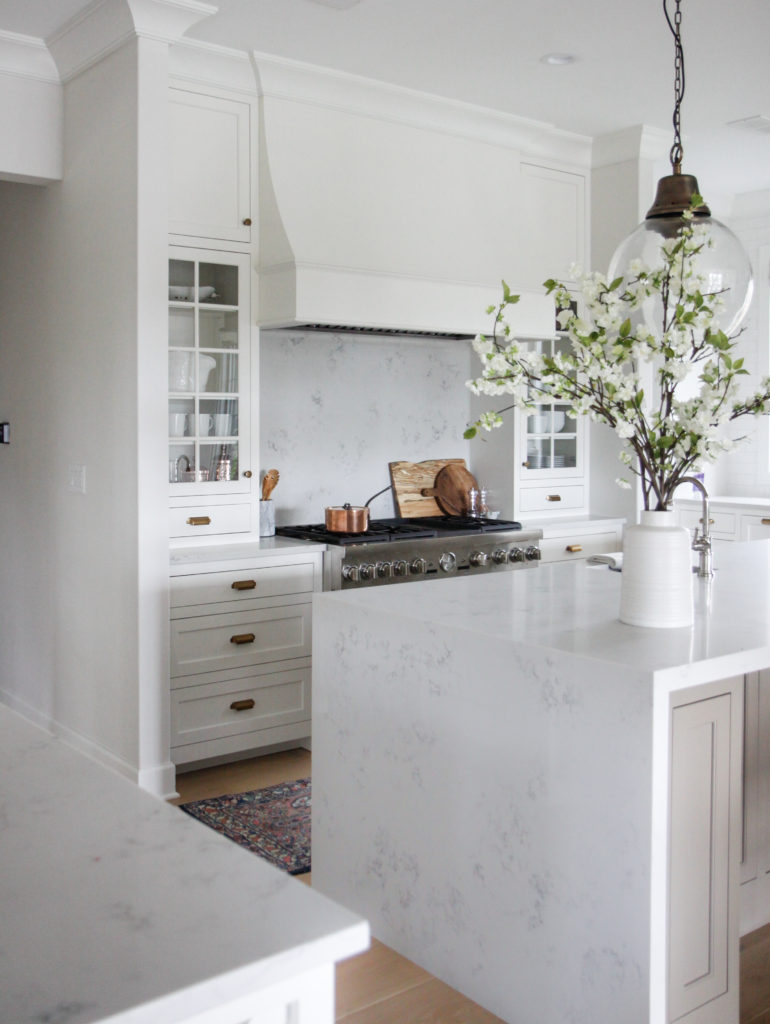
When designing a kitchen one of the toughest decisions a client will have to make is which countertop material they would like to use. Often times it creates a sense of uneasiness that we can definitely understand. Countertops are permanent. Once you pick a slab, cut it, and glue it to the cabinets, that’s pretty much it. You can always have your cabinets repainted and your hardware swapped out, but the countertops will need to remain in place unless you plan on ripping everything out and starting all over again. Of course plastic would be more forgiving but anything heavy like a traditional stone countertop is challenging to replace without damaging cabinetry or backsplash.

Like many other design decision dilemmas, it’s usually a question of form vs function. The most beautiful materials have functional drawbacks and vice a versa. Things like material type, color, durability, and cost all come into play.

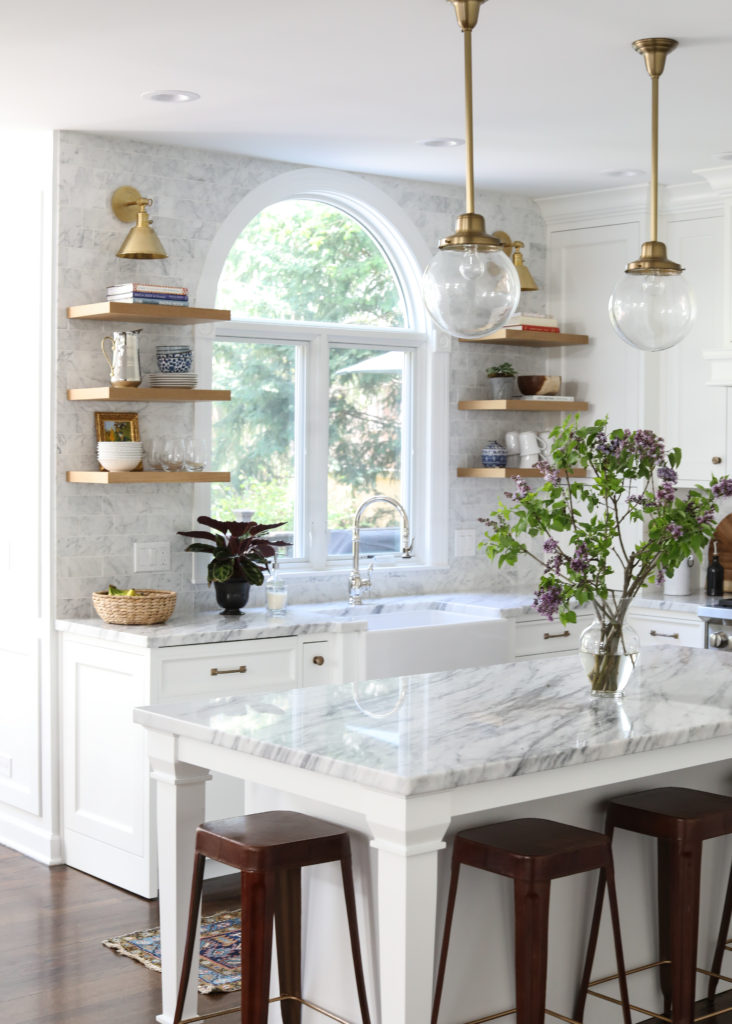
Marble is probably the most famous example of countertop jitters. Many clients love marble for it’s timeless elegance and light grey veining. Usually it’s their number one choice…until they start reading about it in online forums. Questions like, will they be okay with etching, scratching, having to wipe up spills quickly, and re-sealing start to arise. This is where the soul-searching comes in. Will scratches and etches drive you bananas or will you see them as part of the charm? Everyone has a unique perspective.

Bottom line, it’s good to take your time making a decision like this. You want to be comfortable and happy in your kitchen. Our take, if you love it, sometimes you have throw caution to the wind. The Taj Mahal is clad in marble, has been around for 370 years, and still looks great.

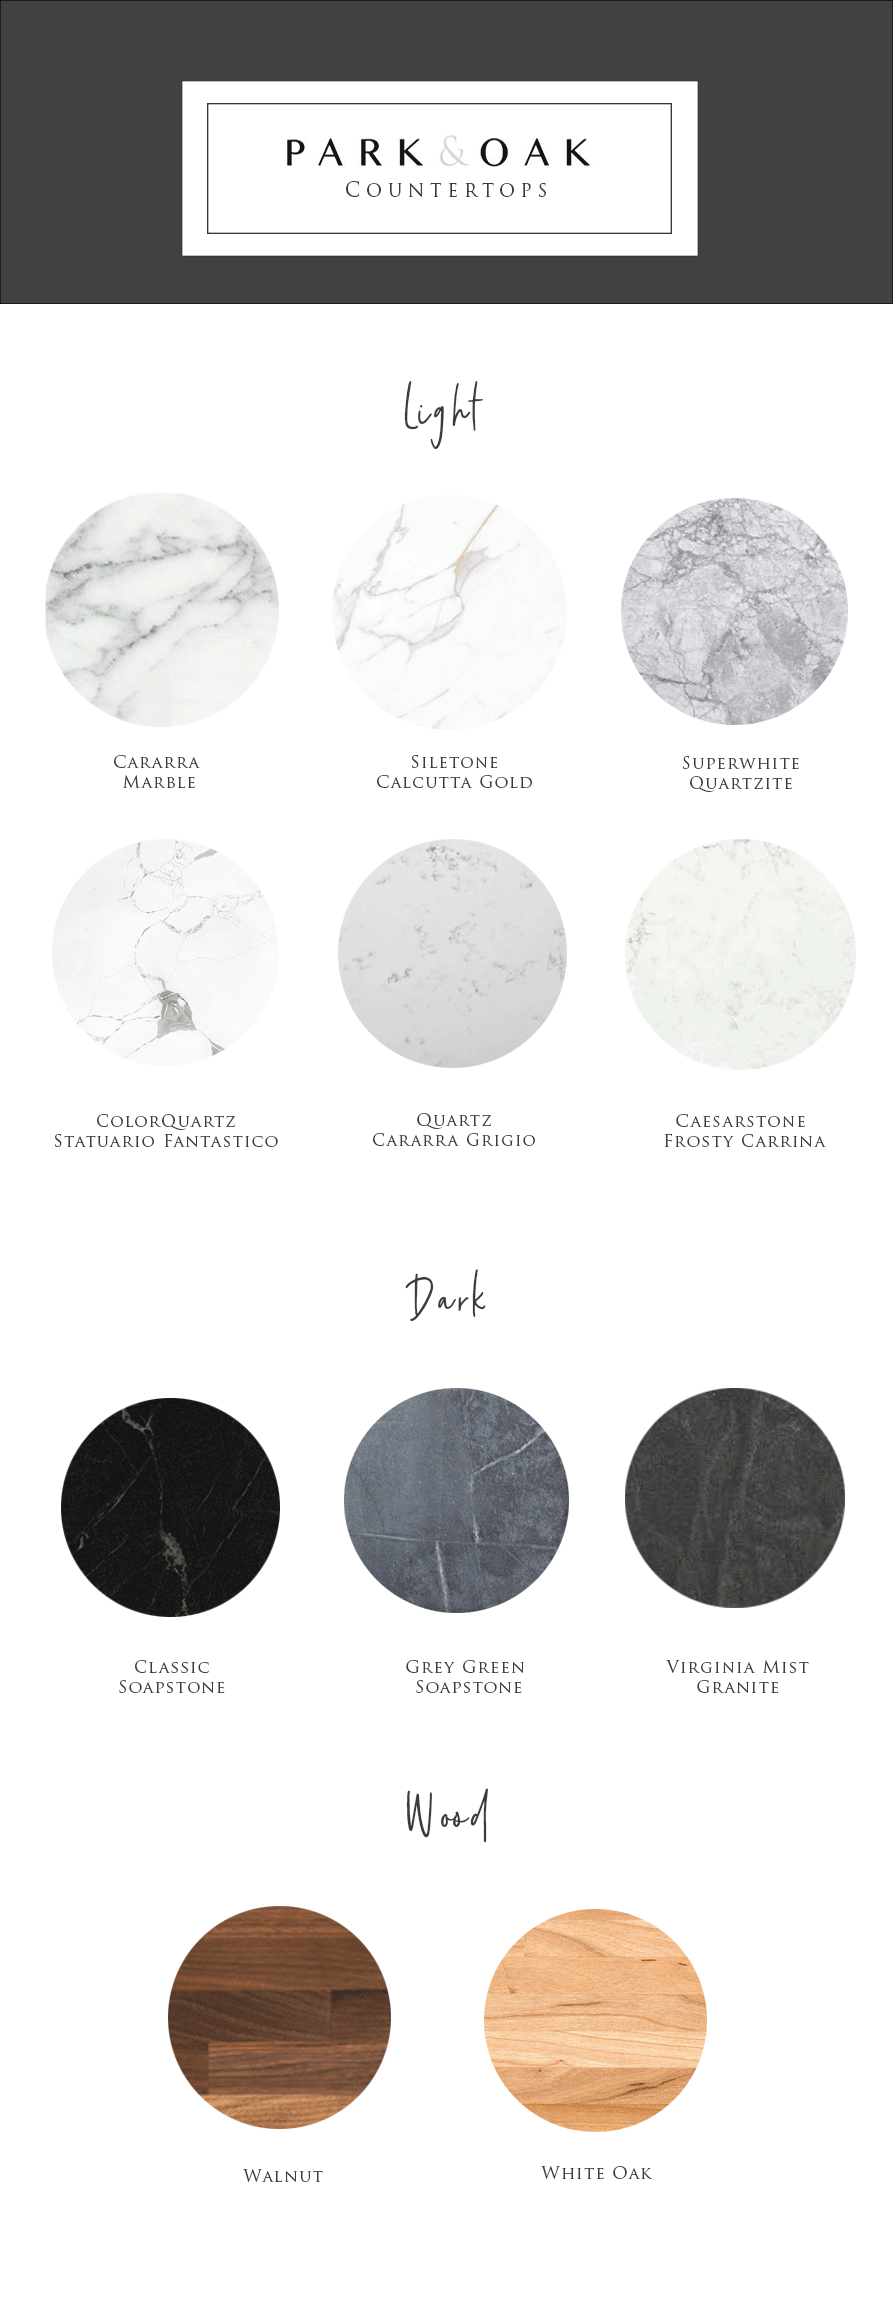
To help, we created a list of our go to light and dark countertop materials with pros and cons to consider. We find that these options accomplish both form and function well. We also included inspiration images so you can see how each surface looks in real life and a board for quick reference.

Marble

We use marble in many of our designs. Marble is clean, bright, and elegant. Colors range from mellow white, to gold, and dark grey. Since marble is a soft and porous material it’s prone to etching and scratching. Acidic foods will strip the surface if you are not careful. Or you can be like Meg Ryan. A design urban legend says she poured tomato sauce all over her marble countertops day 1 just to get it over with! Rare types of marble can be costly but Carrera marble is affordable and always readily available. You can have it honed or polished. We usually recommend honed to clients for the matte finish. It hides nicks and scratches better. Either way, we’ve never seen a marble countertop we did not love.

Quartz

Quartz is made from one of the hardest minerals on Earth and is arguably one of the most durable kitchen countertop materials there is. Unlike marble, which is mined, this material is engineered in a factory. Because of that, you can find it in a wide variety of colors, everything from white to red. They even make natural stone look-a-likes with sparkles and grey veining. Quartz is low maintenance (doesn’t even need to be sealed) and designer friendly coming in very large slab sizes. It’s rare but sometimes slab size can be an issue with mined stones depending on how much surface area you need to cover. There are not many drawbacks to report on Quartz other than it can be a bit more expensive and cannot take extreme heat or outdoor use.

Quartzite

If you like the look of marble, but are worried about patina, quartzite is an excellent choice. Quartzite is a natural stone that looks just like marble without the maintenance. It comes in whites and greys and shades in between. Fine by us! We love those tones. Quartzite can be nicked and scratched, not as easily as marble, but won’t etch. So while it will need to be resealed annually, at least you don’t have to worry about squeezing a lemon over it. Since Quartzite is such a strong and versatile natural stone it can be on the pricey side, but it offers peace of mind.

Soapstone

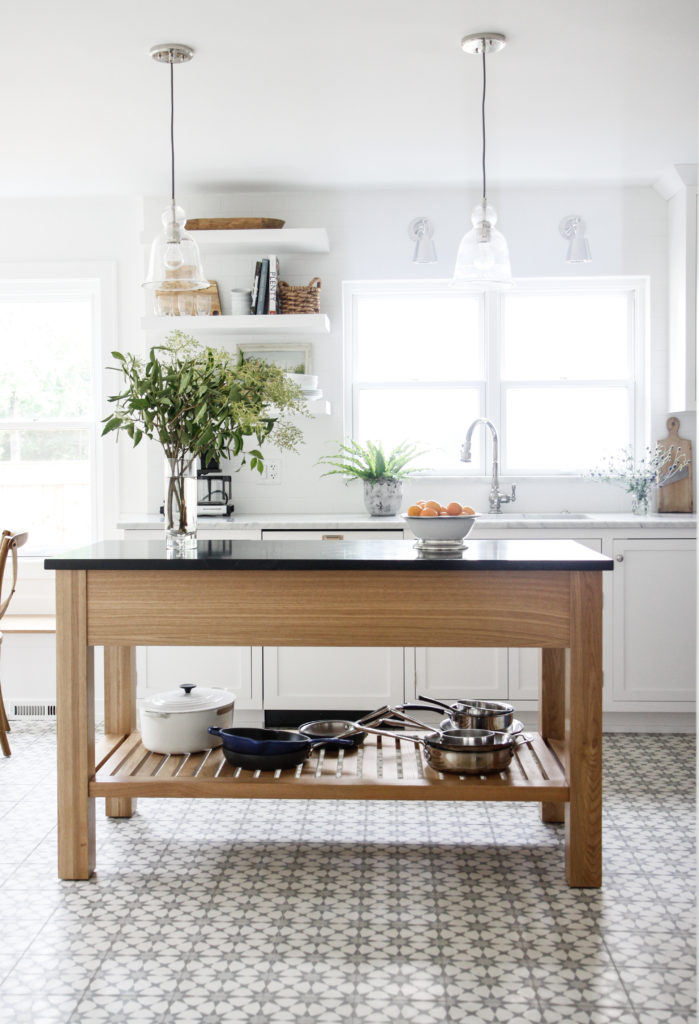
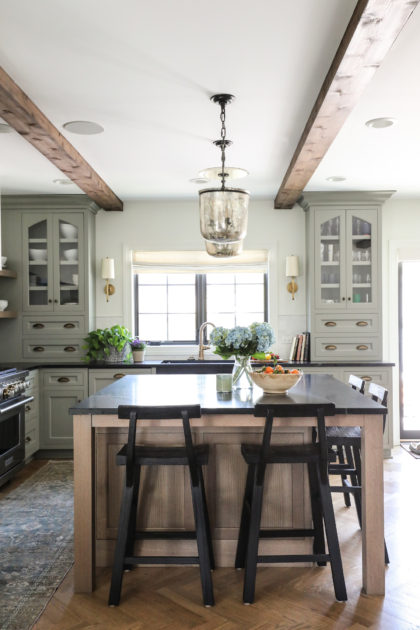
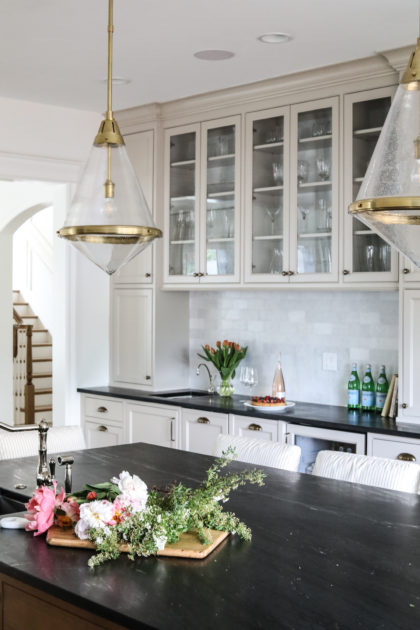
We love soapstone, this is an excellent dark countertop choice. It’s practically black with pretty white and grey veining. Some slabs can come in a deep green as well. Soapstone is used in science labs so we always recommend it from a durability perspective. The only drawback is that it’s a soft natural stone. If your knife slips, you’ll definitely give it a good scratch. We find it doesn’t tend to show much though. Soapstone is highly resistant to heat. It can take a pot directly off the stove without consequence. We also like soapstone for 2 toned countertop designs (eg, soapstone island with marble around the perimeter). Regular mineral oil is all that’s really needed for upkeep.

Honed Granite

Honed Virigina Mist granite is soapstone’s lovely cousin. It has almost an identical look without needing to mind sharp objects or treat with mineral oil. Granite in general is a very strong material and has been traditionally used in kitchens for a long time. It’s so strong that it can even be used as pavers outdoors. However, depending on the size of your counters and shape, you may get a few seams. Average slab size is around 9ft by 5ft. As far as granite goes, the honed Virginia Mist variety is our favorite. Granite will eventually need to be re-sealed at some point but not as frequently as it’s natural stone counterparts. It is also highly resistant to chemicals and budget friendly.

Wood

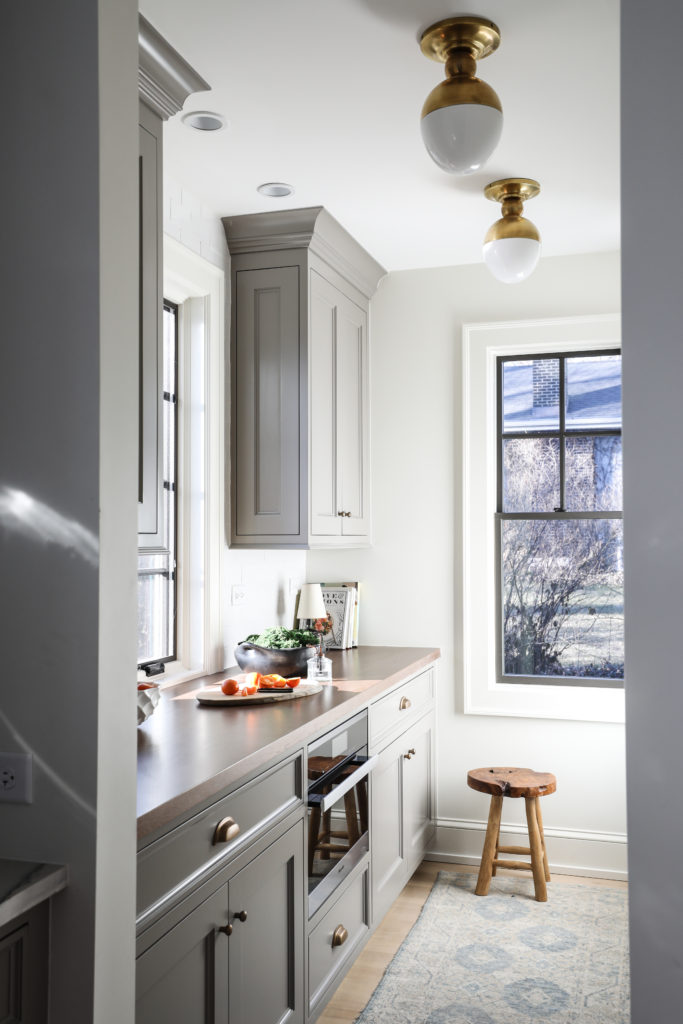
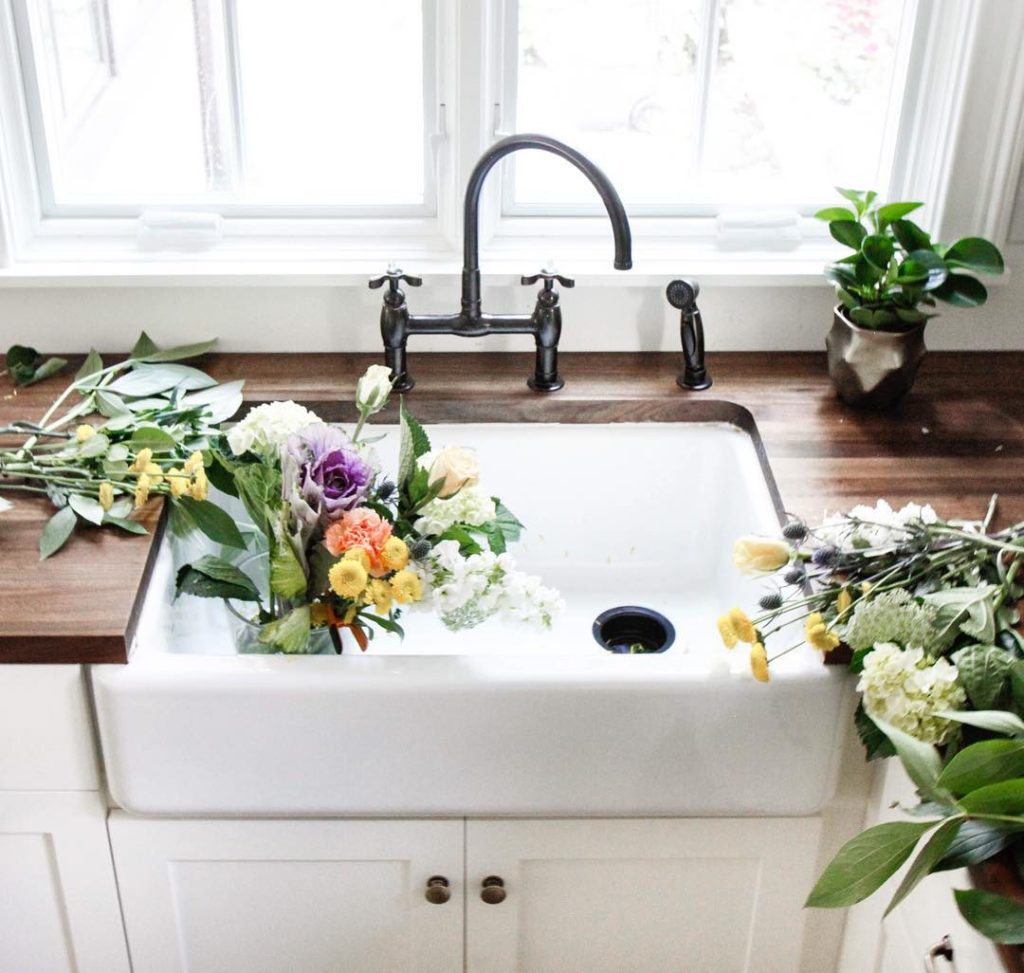
Butcher block is a another popular choice for kitchen countertops. We even use it in our own homes. It’s a warm and extremely quiet option. The sound of pots and pans hitting wood is so much nicer than stone. This benefit is not immediately obvious but it will not go unnoticed. Wood does come with other drawbacks though. It’s not heat or scratch resistant. The good news is, scratches can be sanded out, or left for character, but hot plates will always need to be used so you don’t end up with a giant burn mark. Spills and water may also warp the wood over time. Otherwise, wood is a gorgeous cost effective option. We would also recommend wood for 2 toned countertop designs.
Park and Oak

Polished Marble

Park and Oak

Silestone Calcutta Gold

Park and Oak

Color Quartz Statuario Fantastico

Park and Oak

Superwhite Quartzite

Park and Oak

Quartz Carrara Grigio

Park and Oak

Honed Carrara Marble & Classic Soapstone
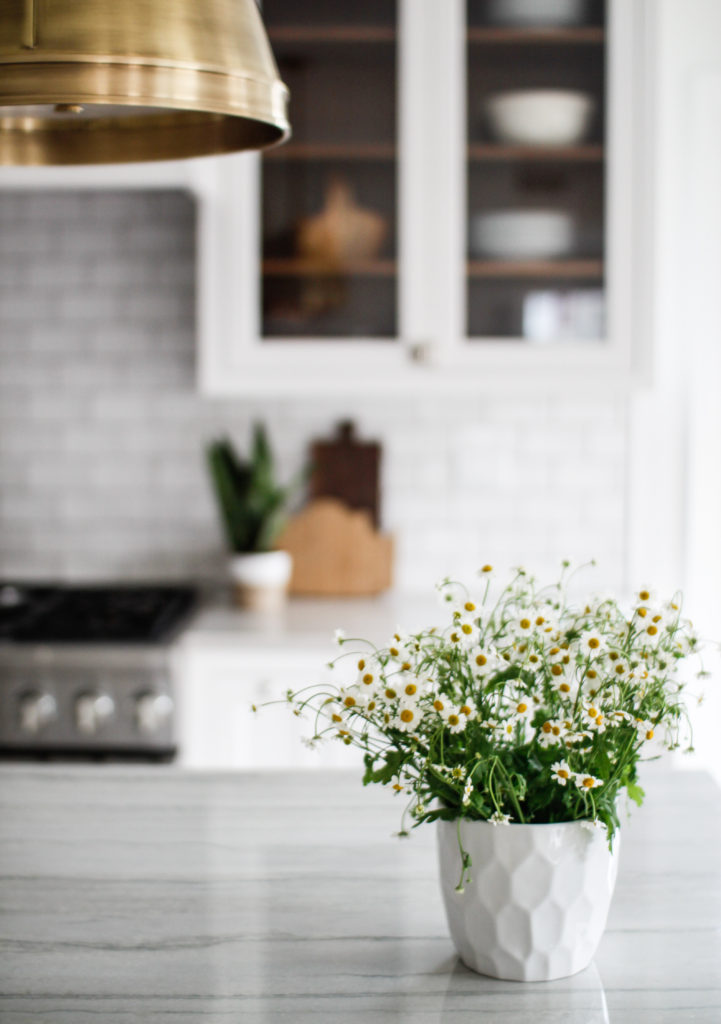
Park and Oak

Honed White Macabus Quartzite

Park and Oak

Calacutta Leather Finish Quartzite

Park and Oak
White Oak Wood

Park and Oak

Walnut Wood
Park and Oak